Times Square Hue

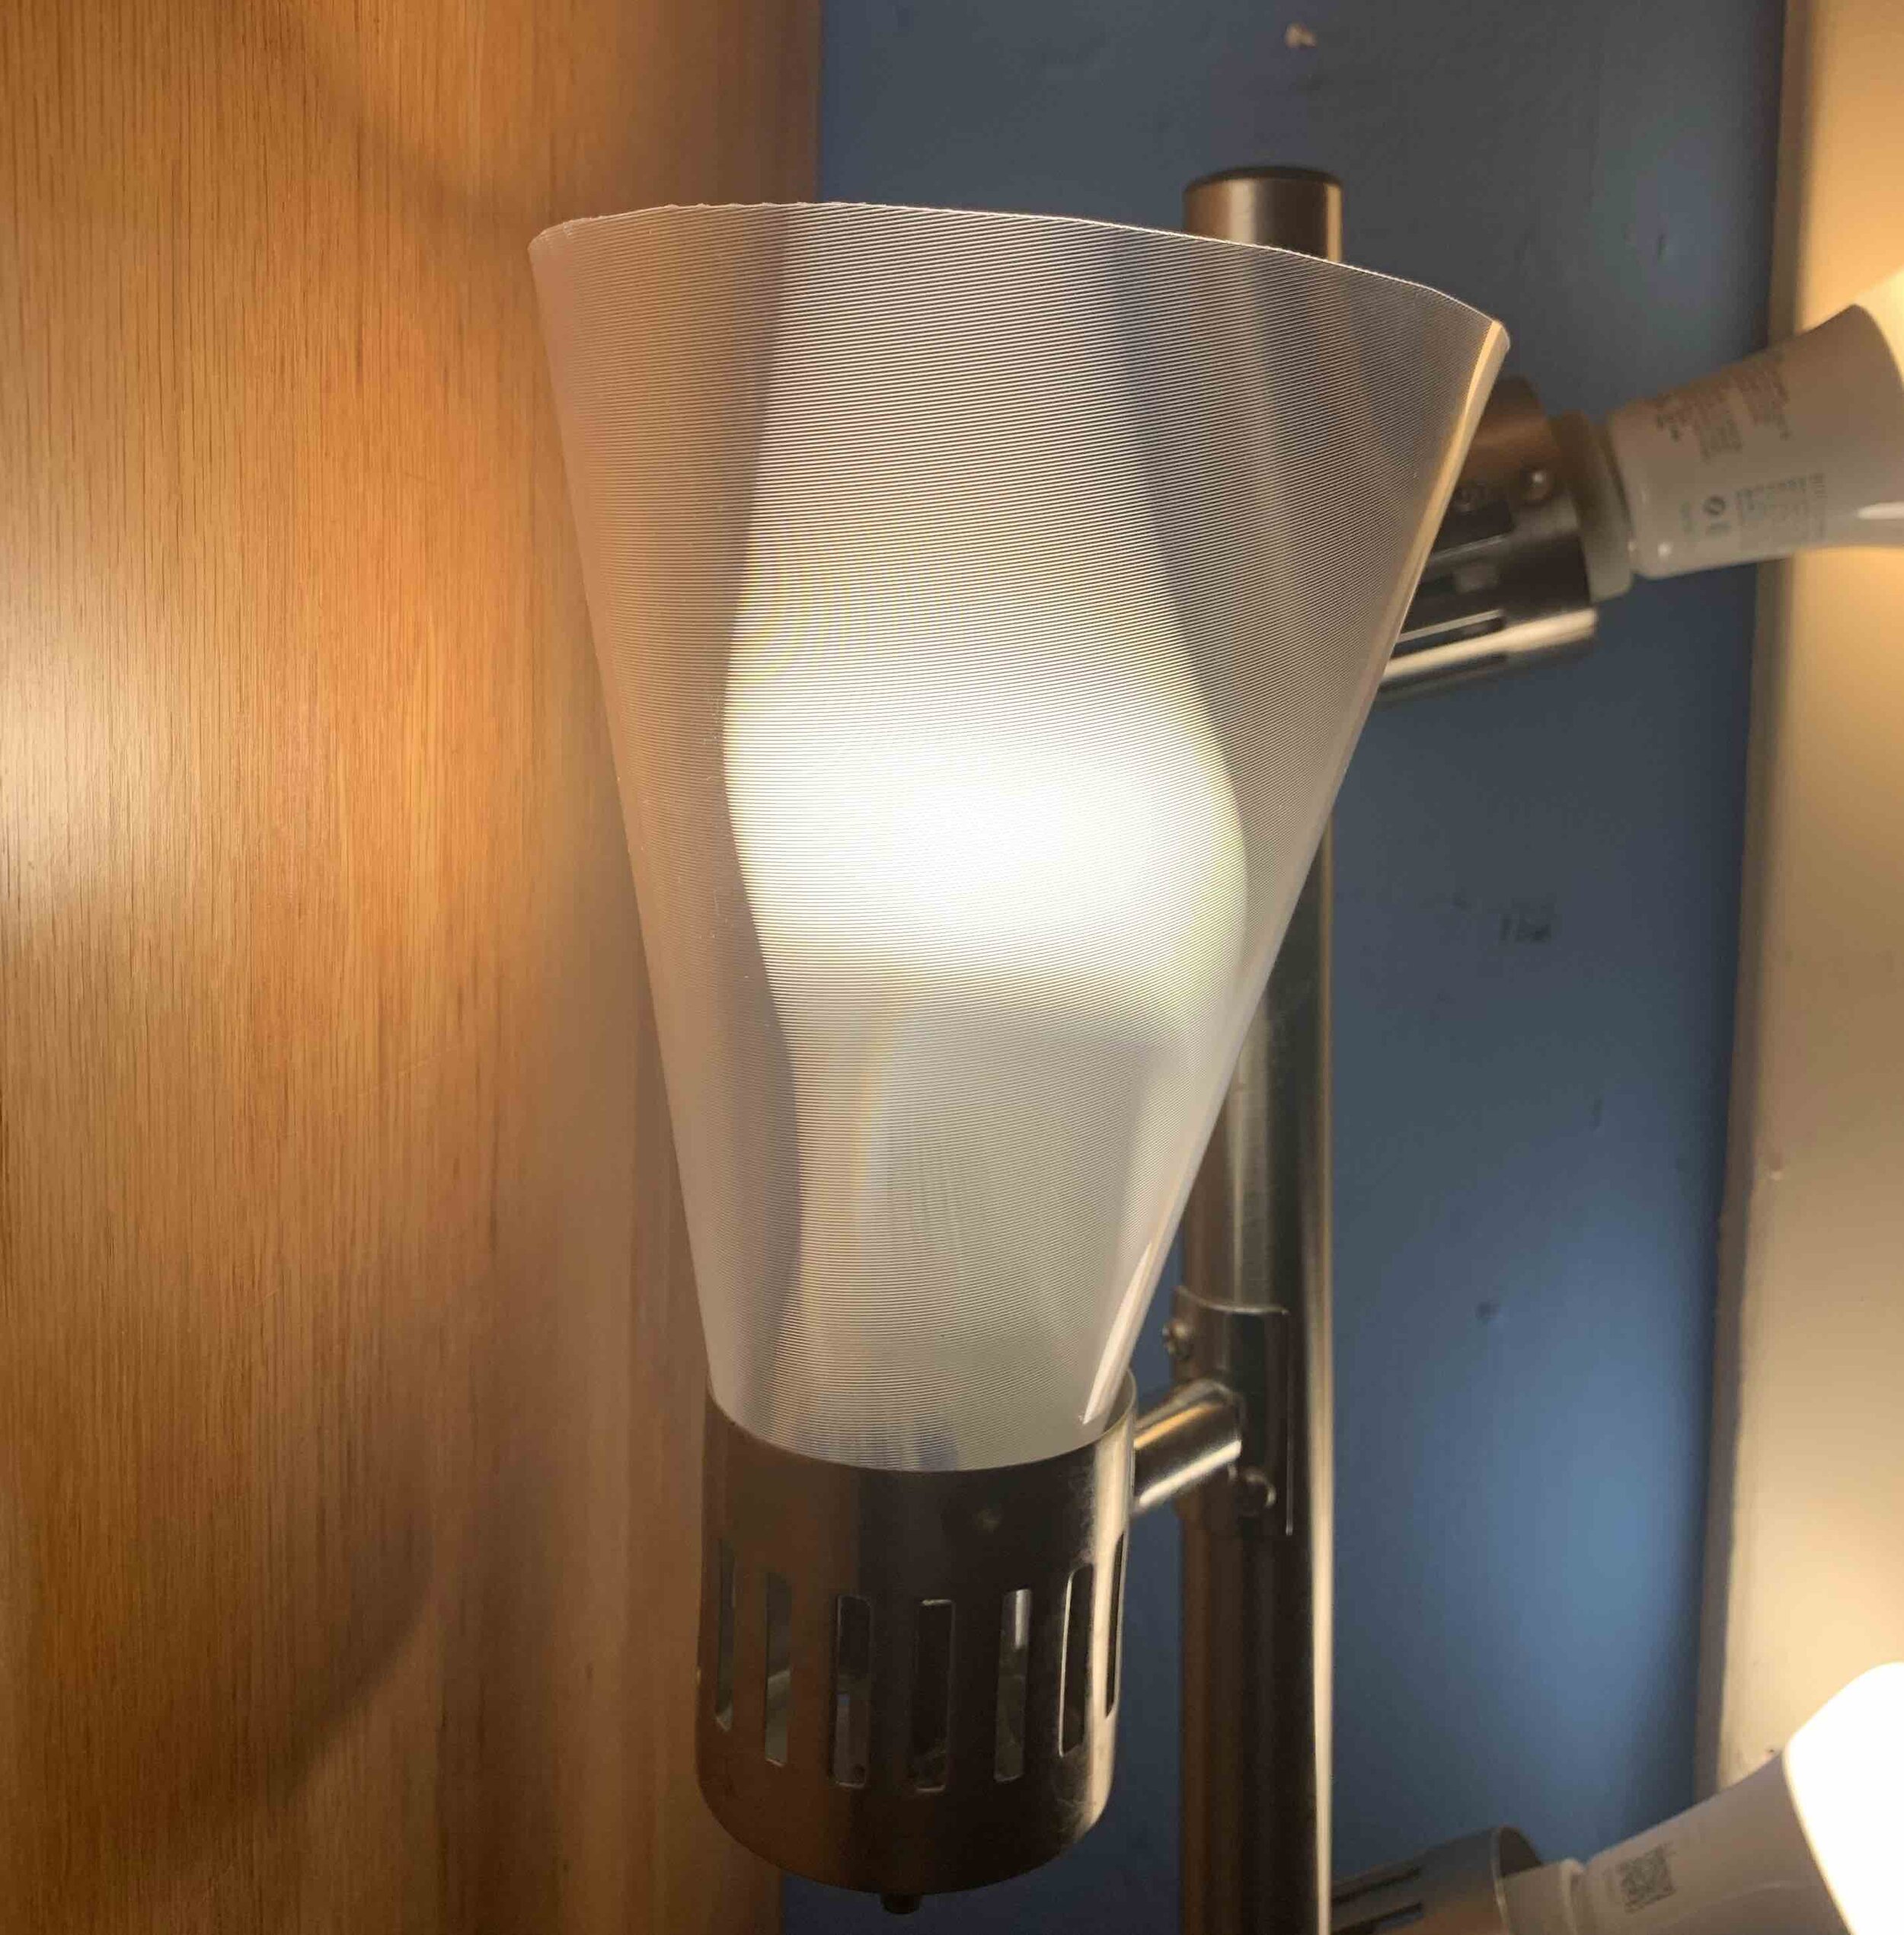
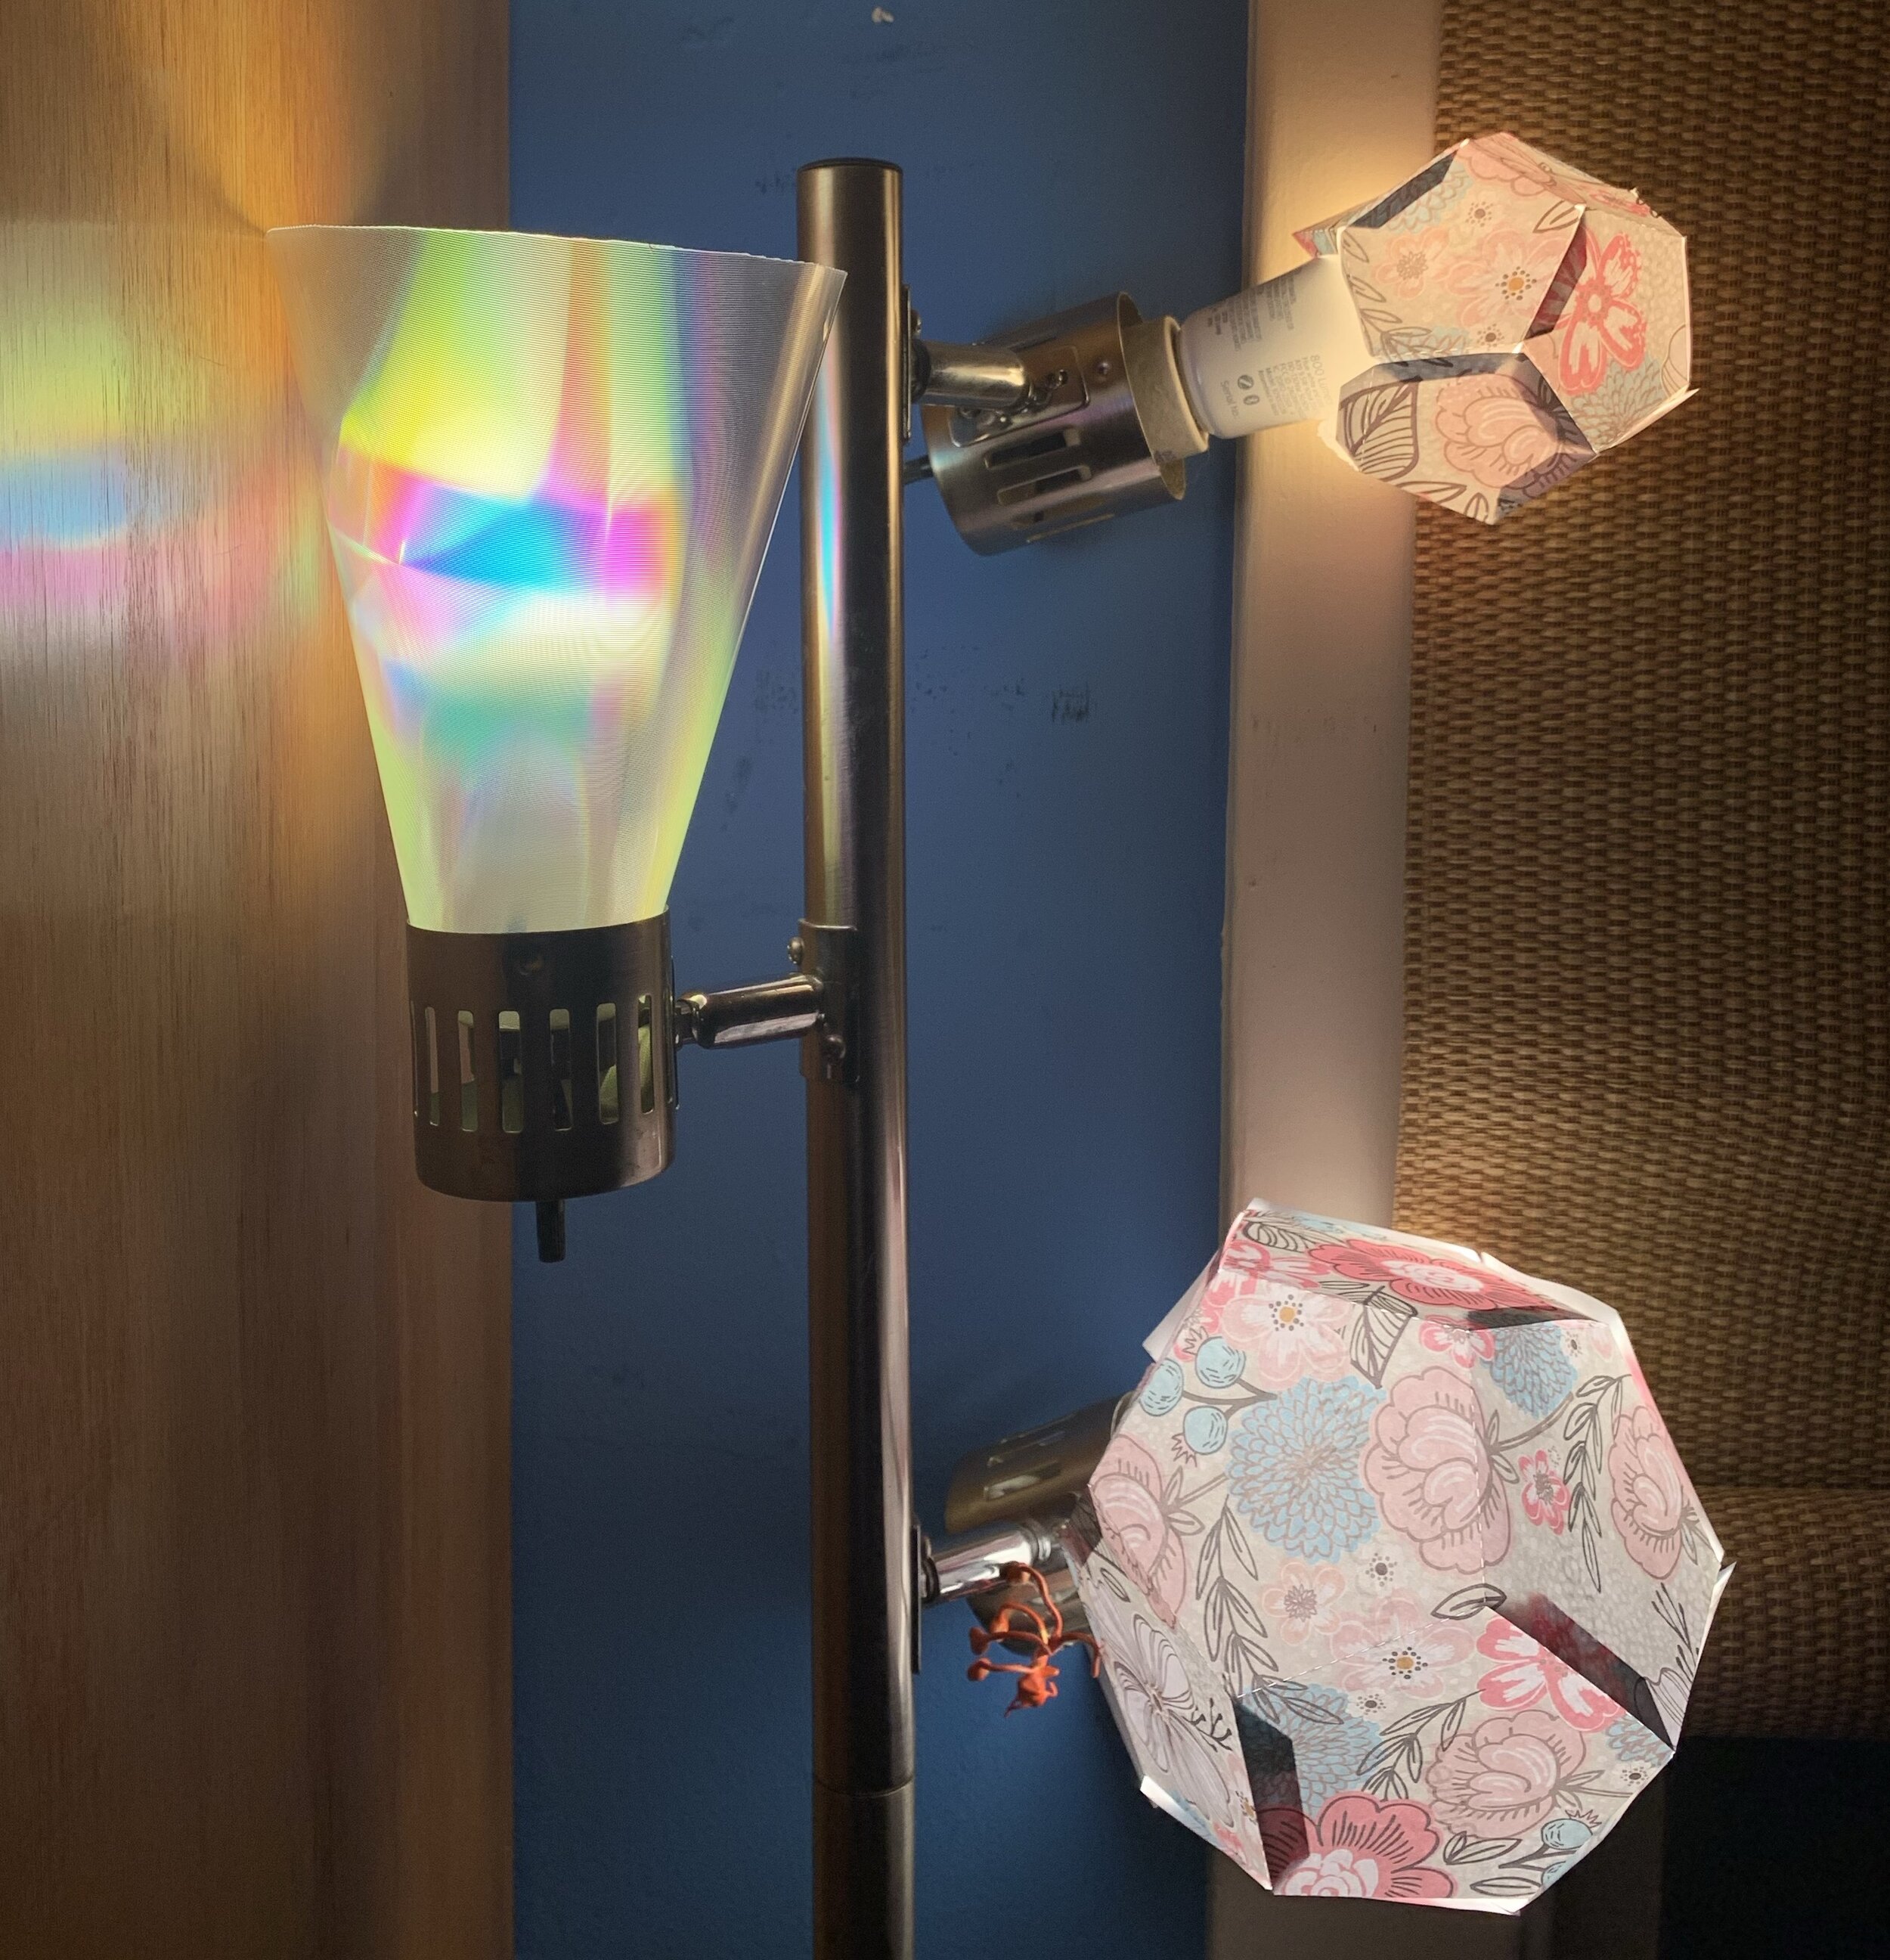
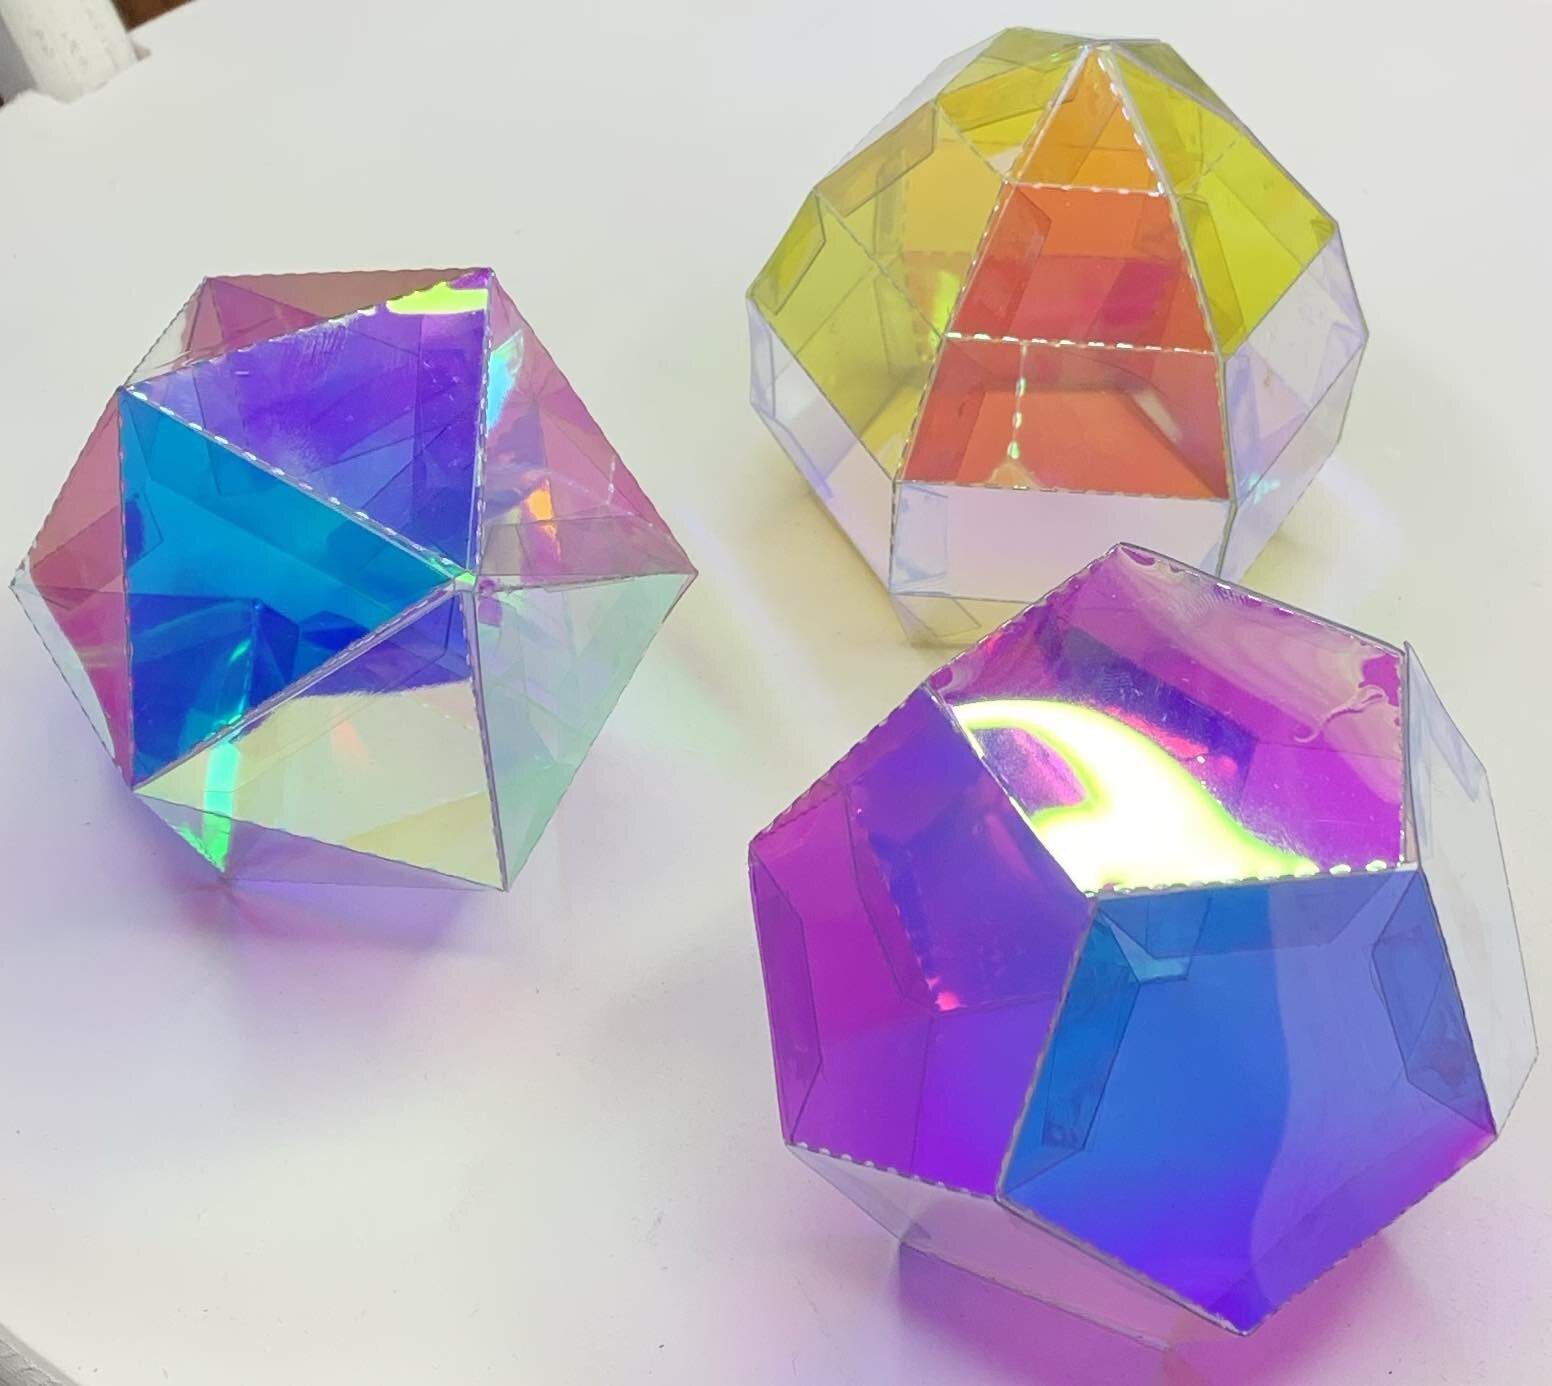
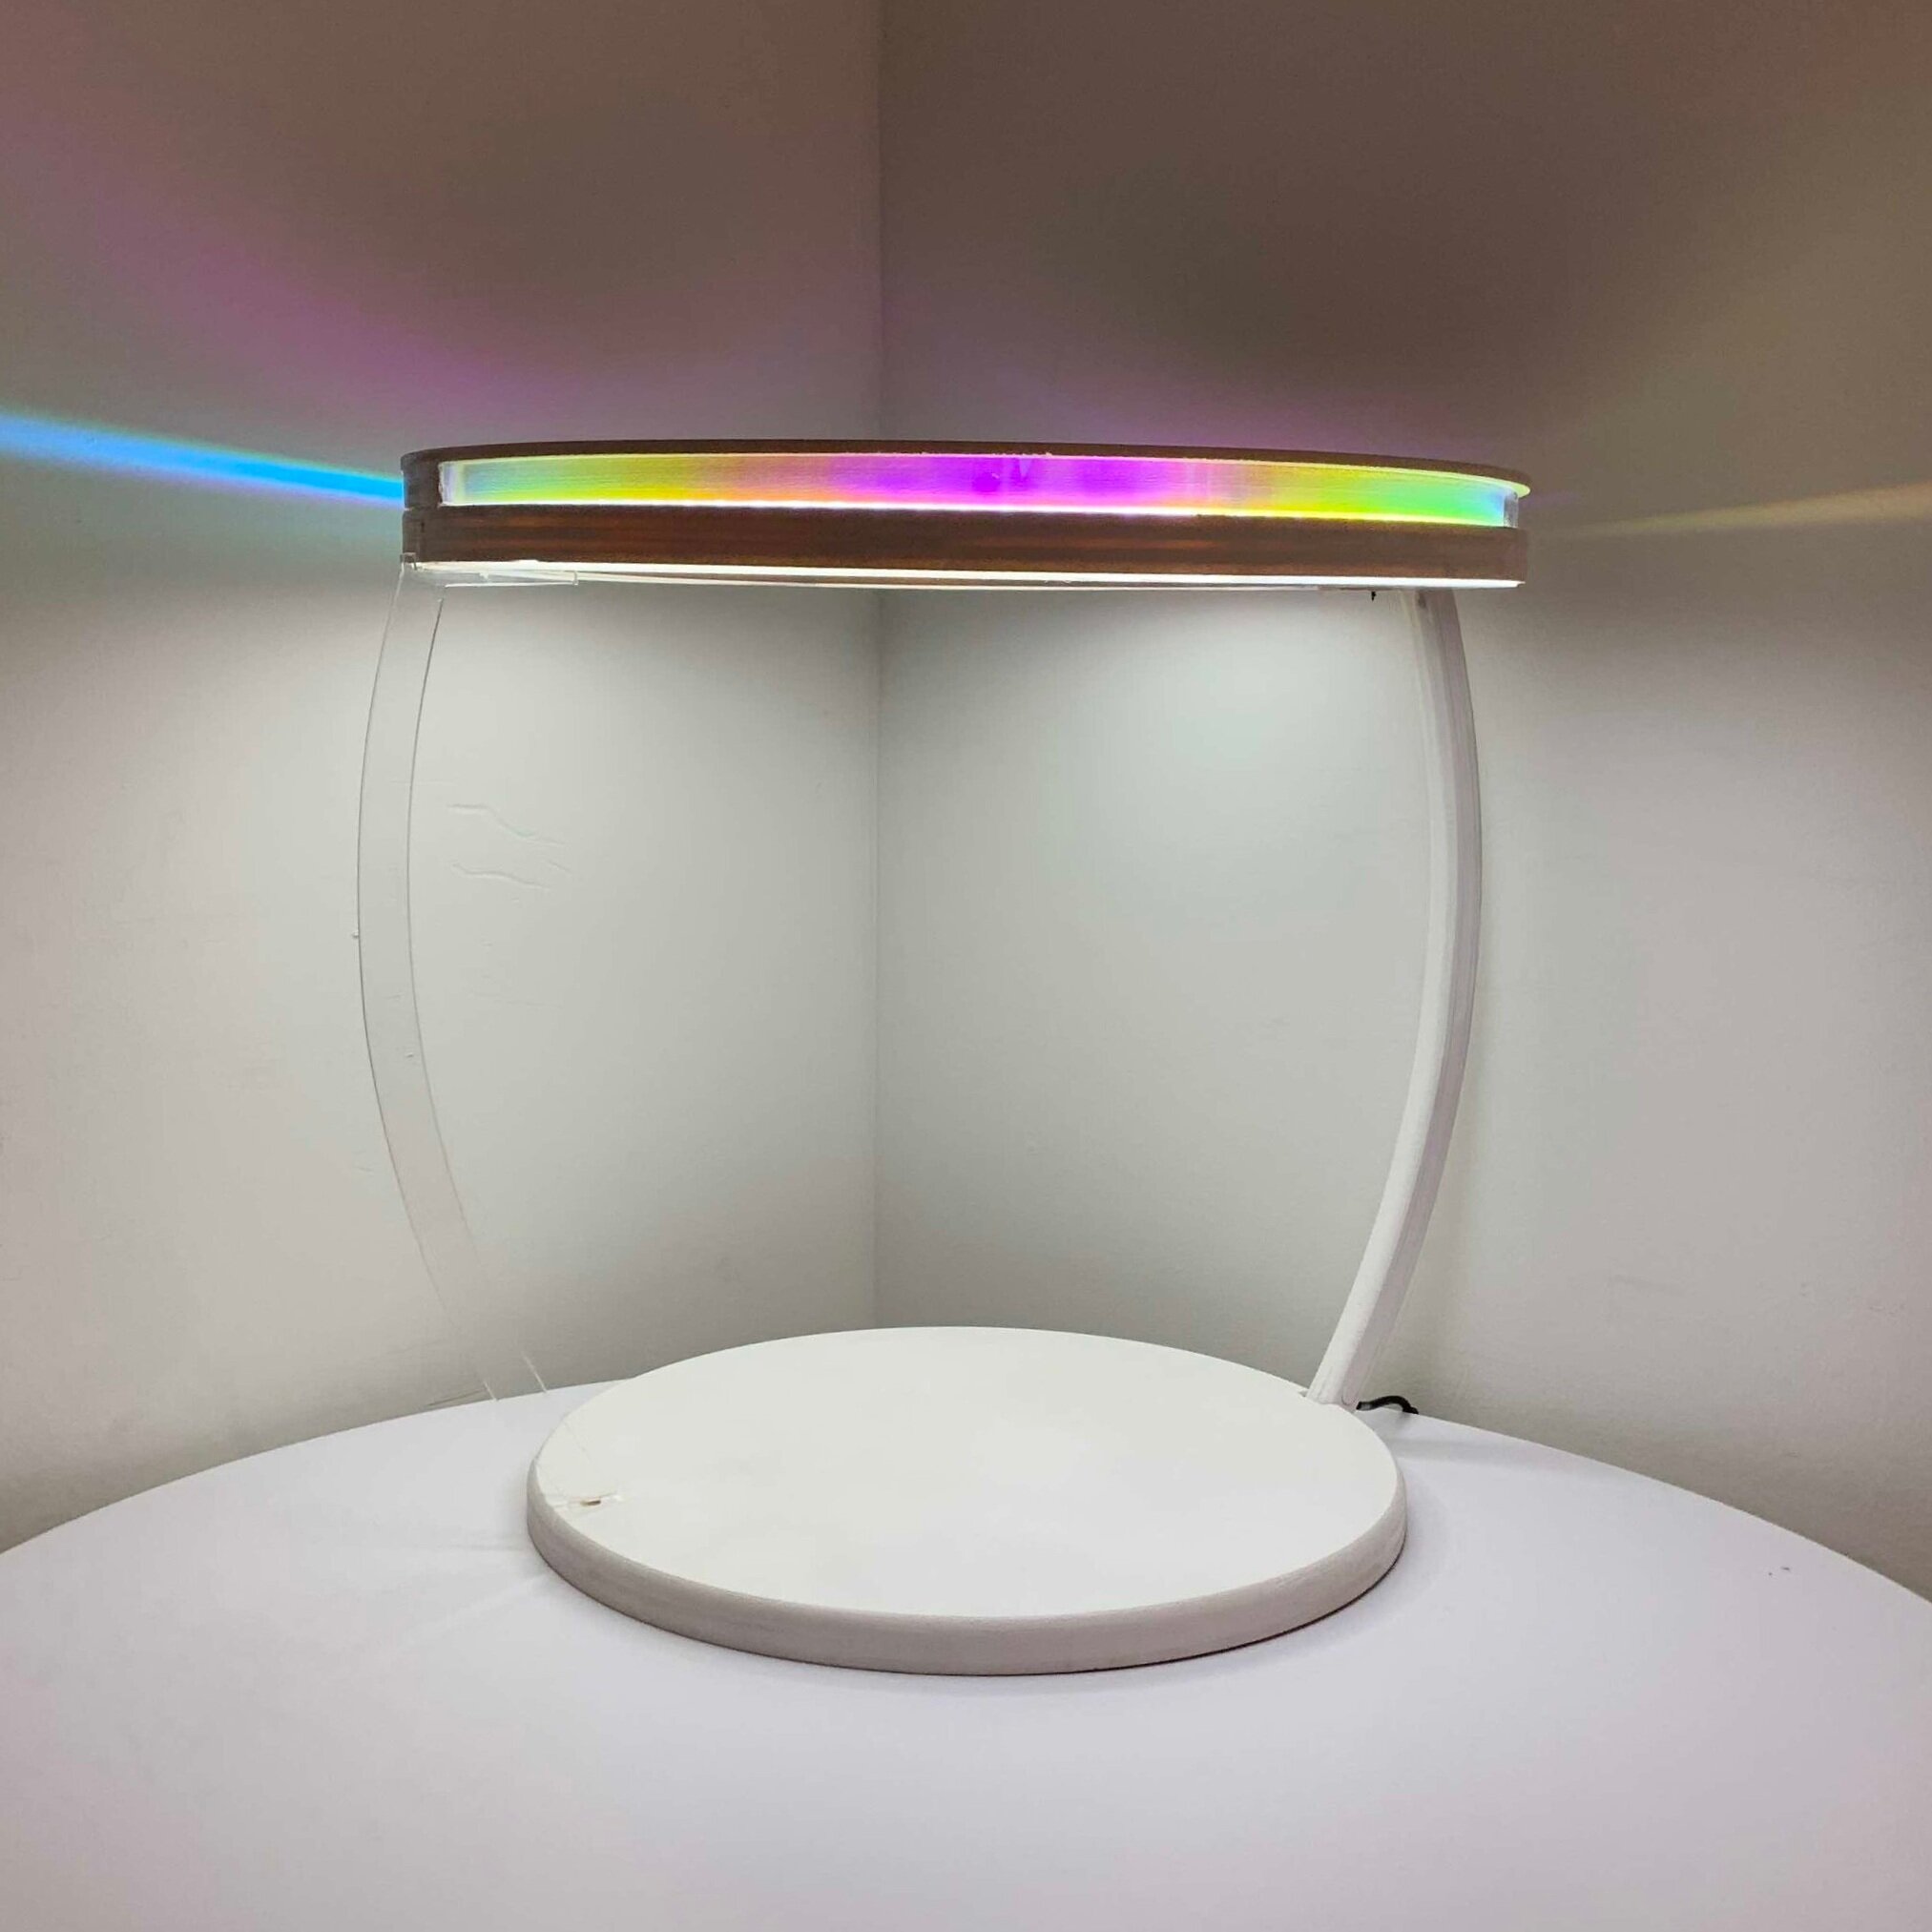
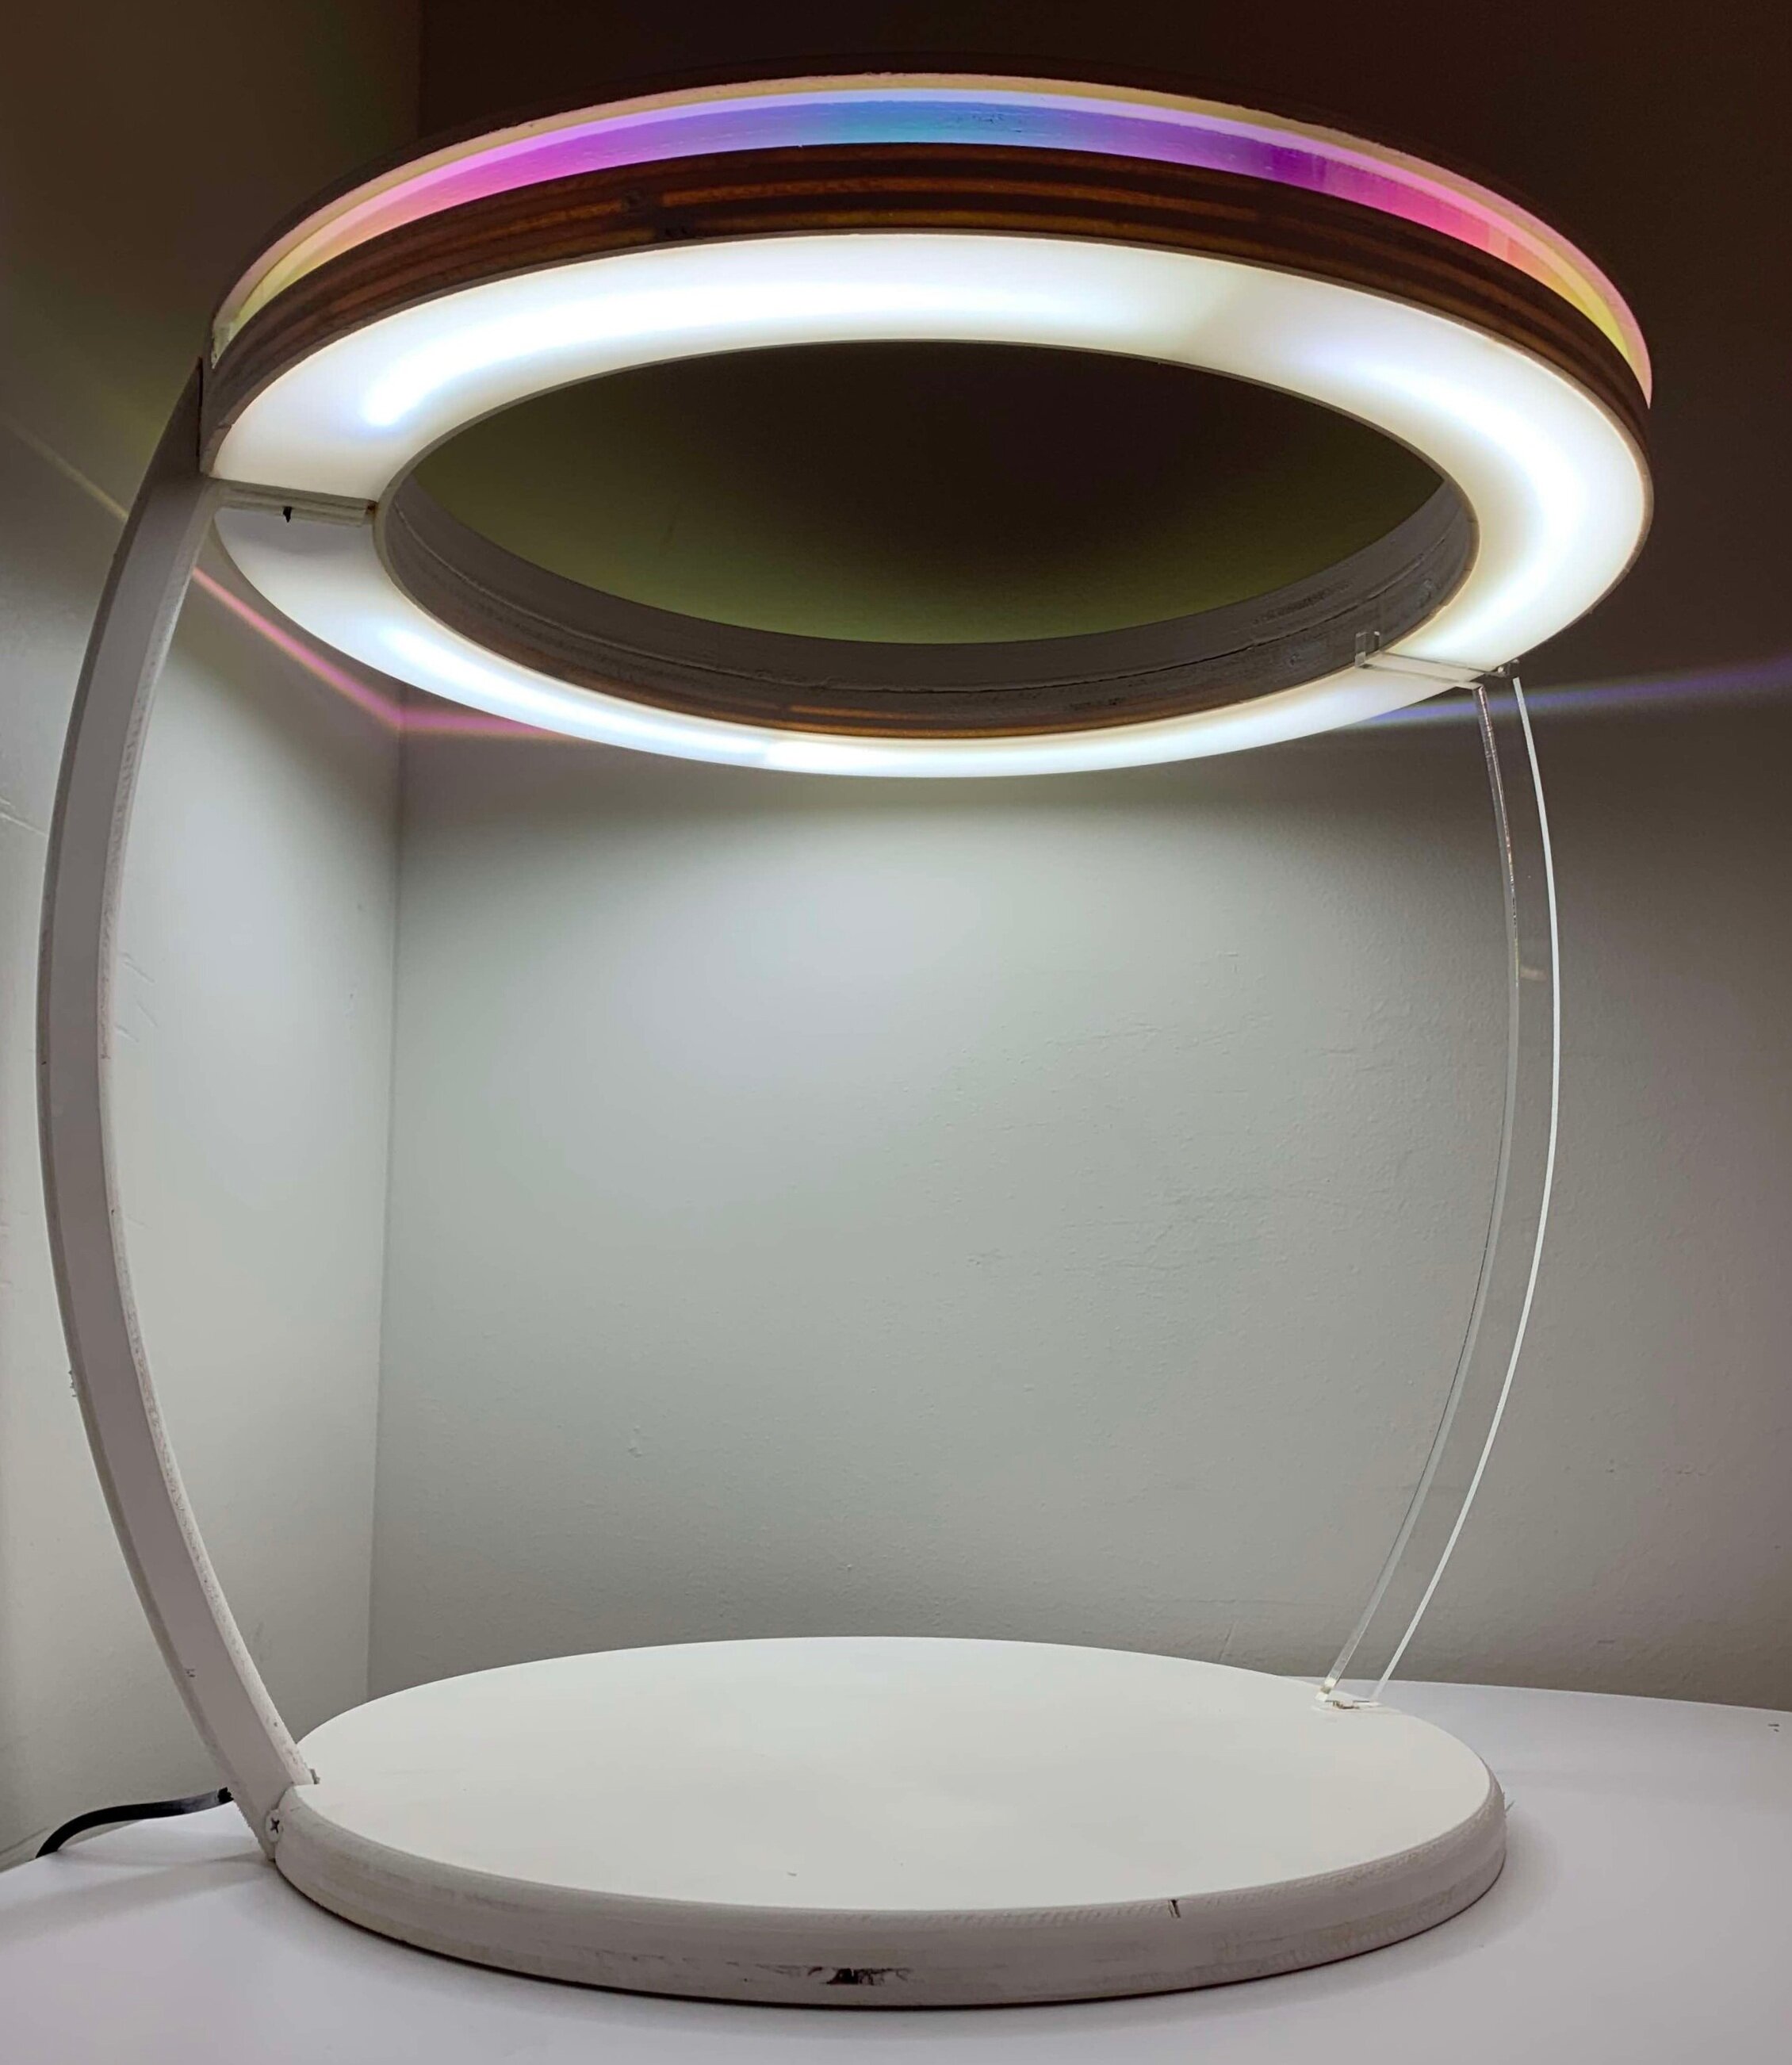
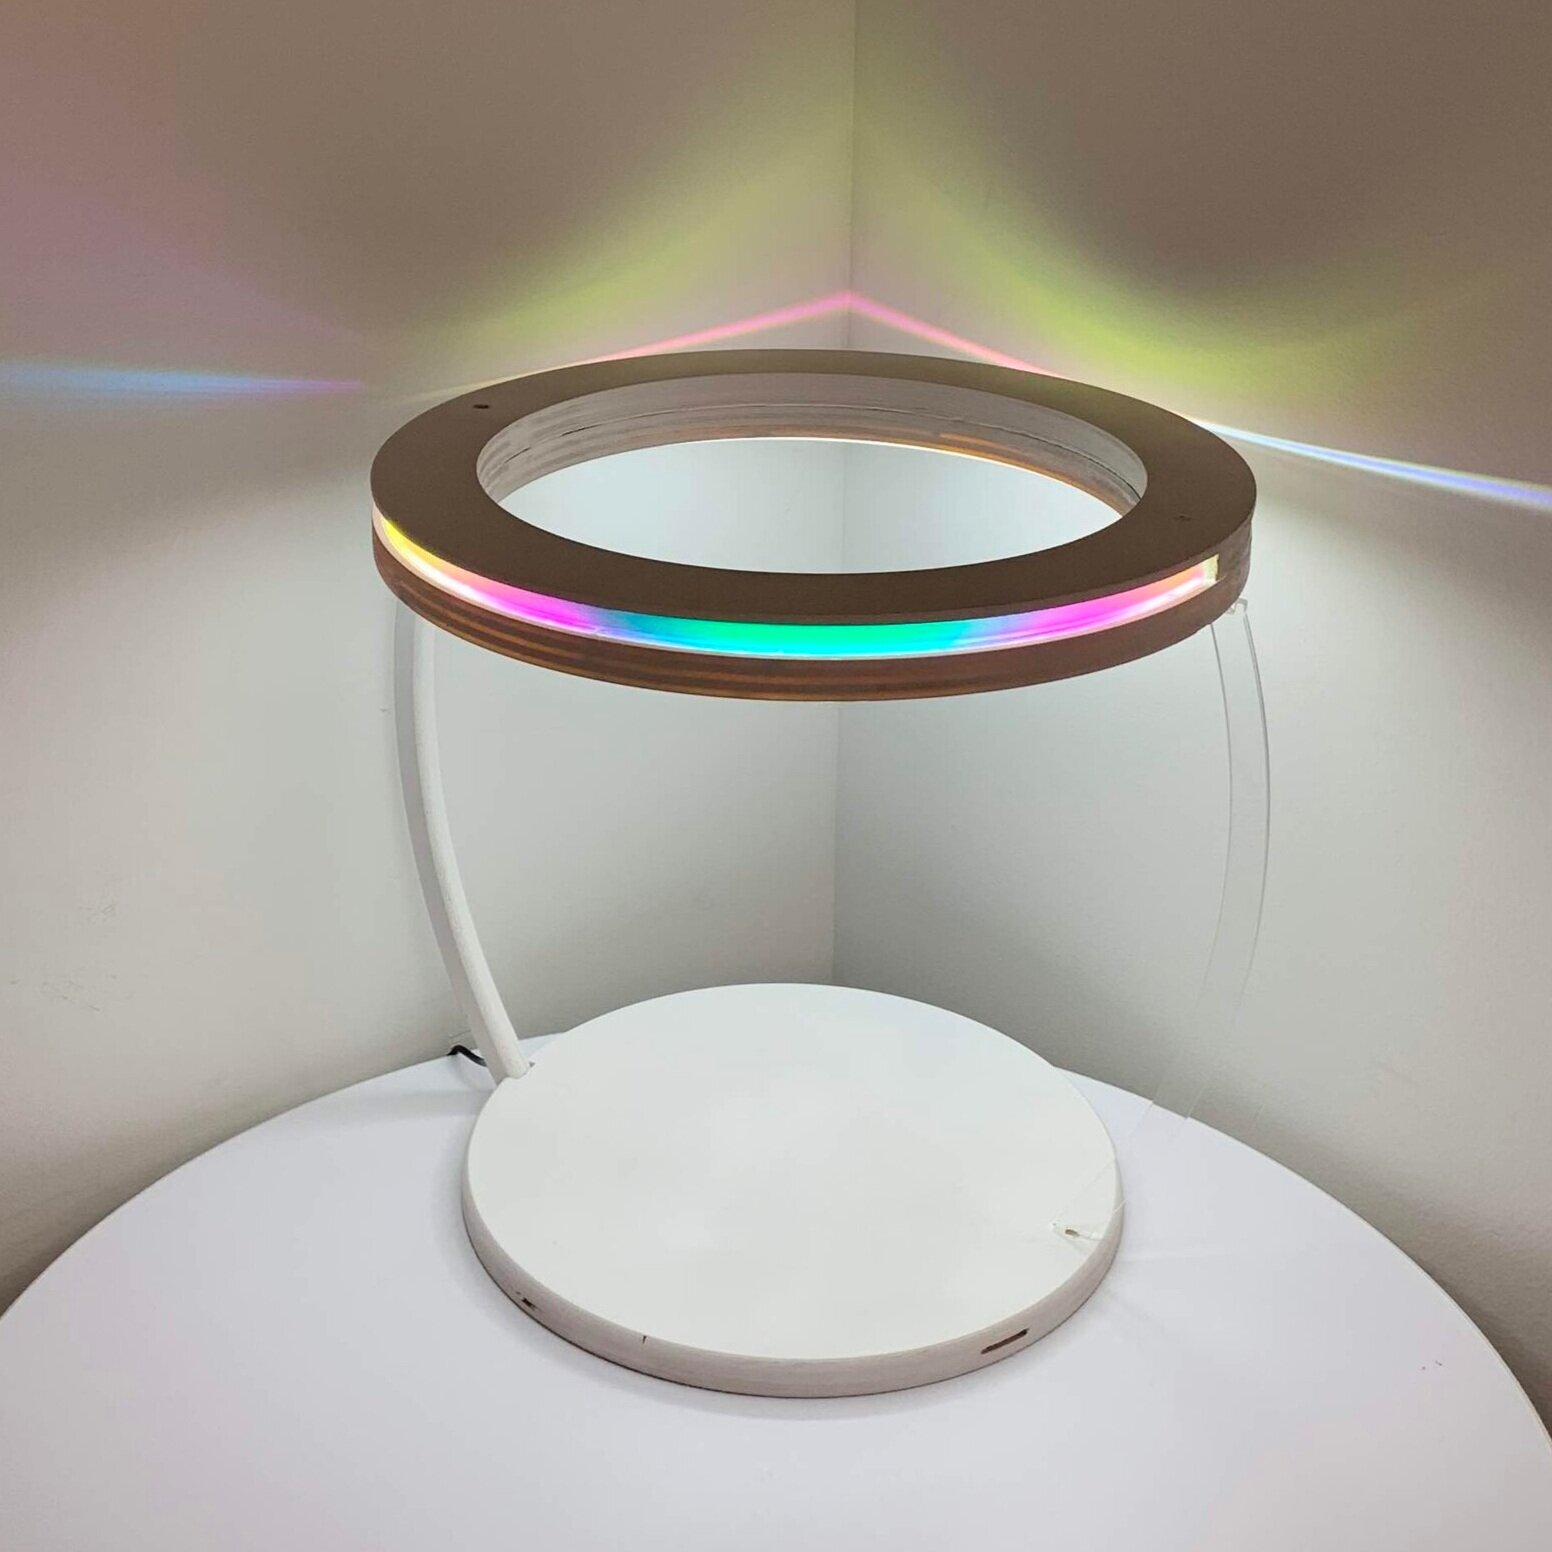
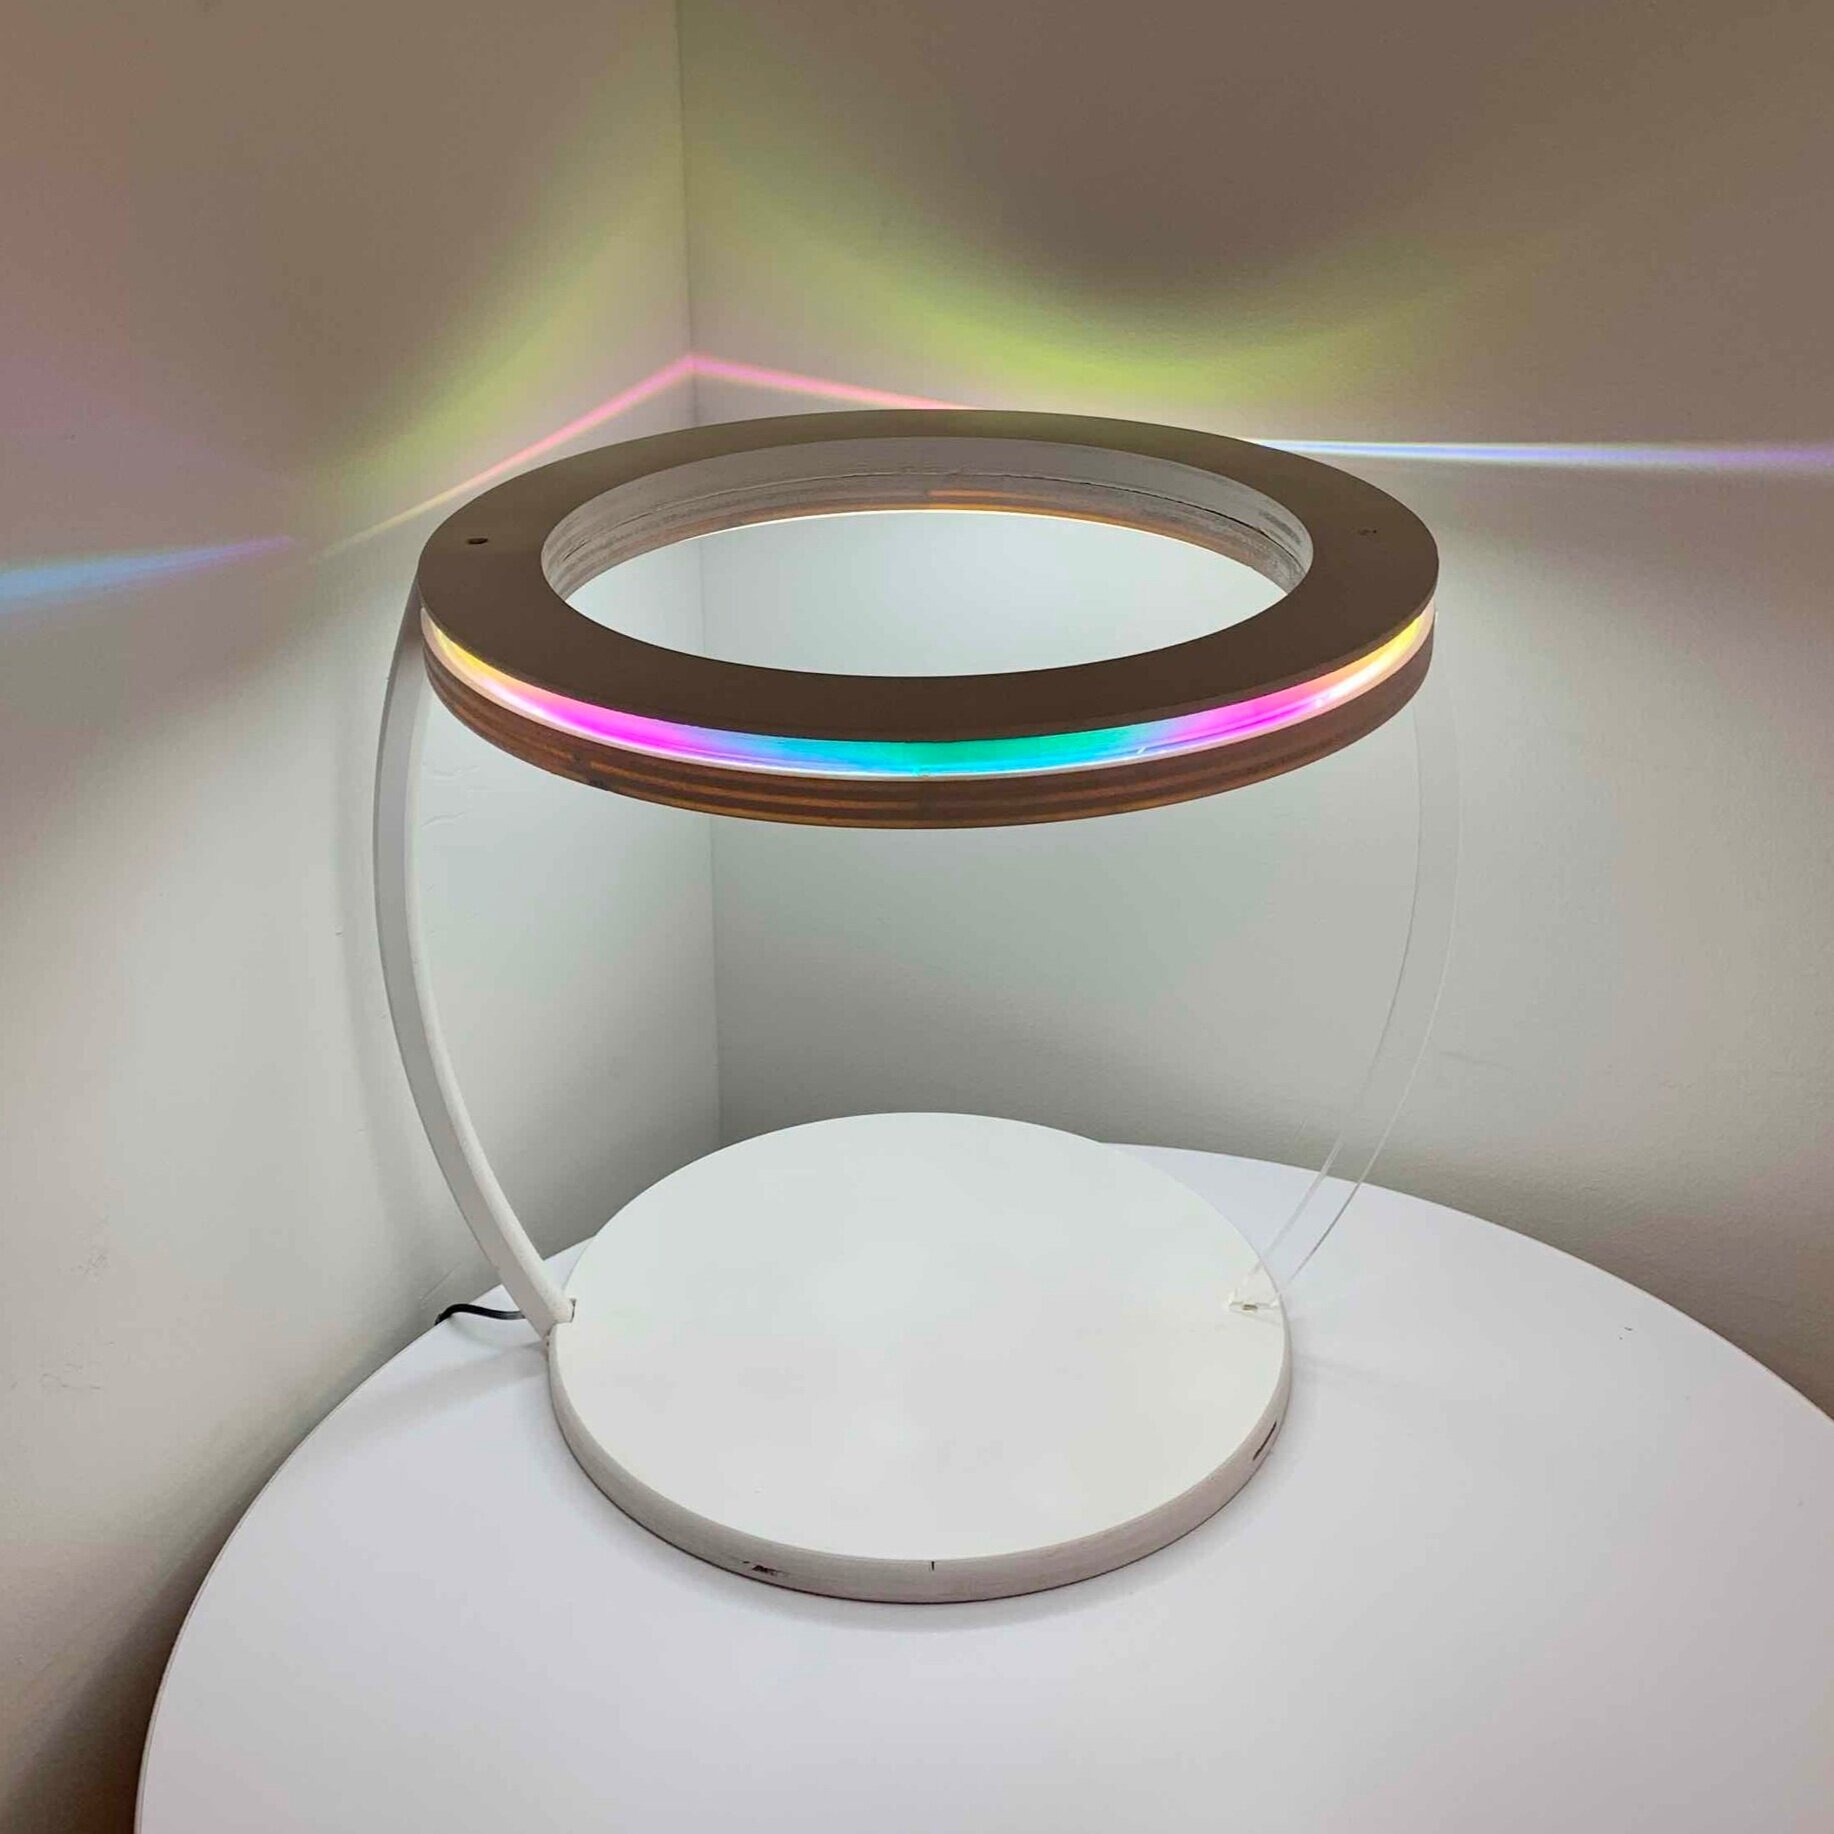
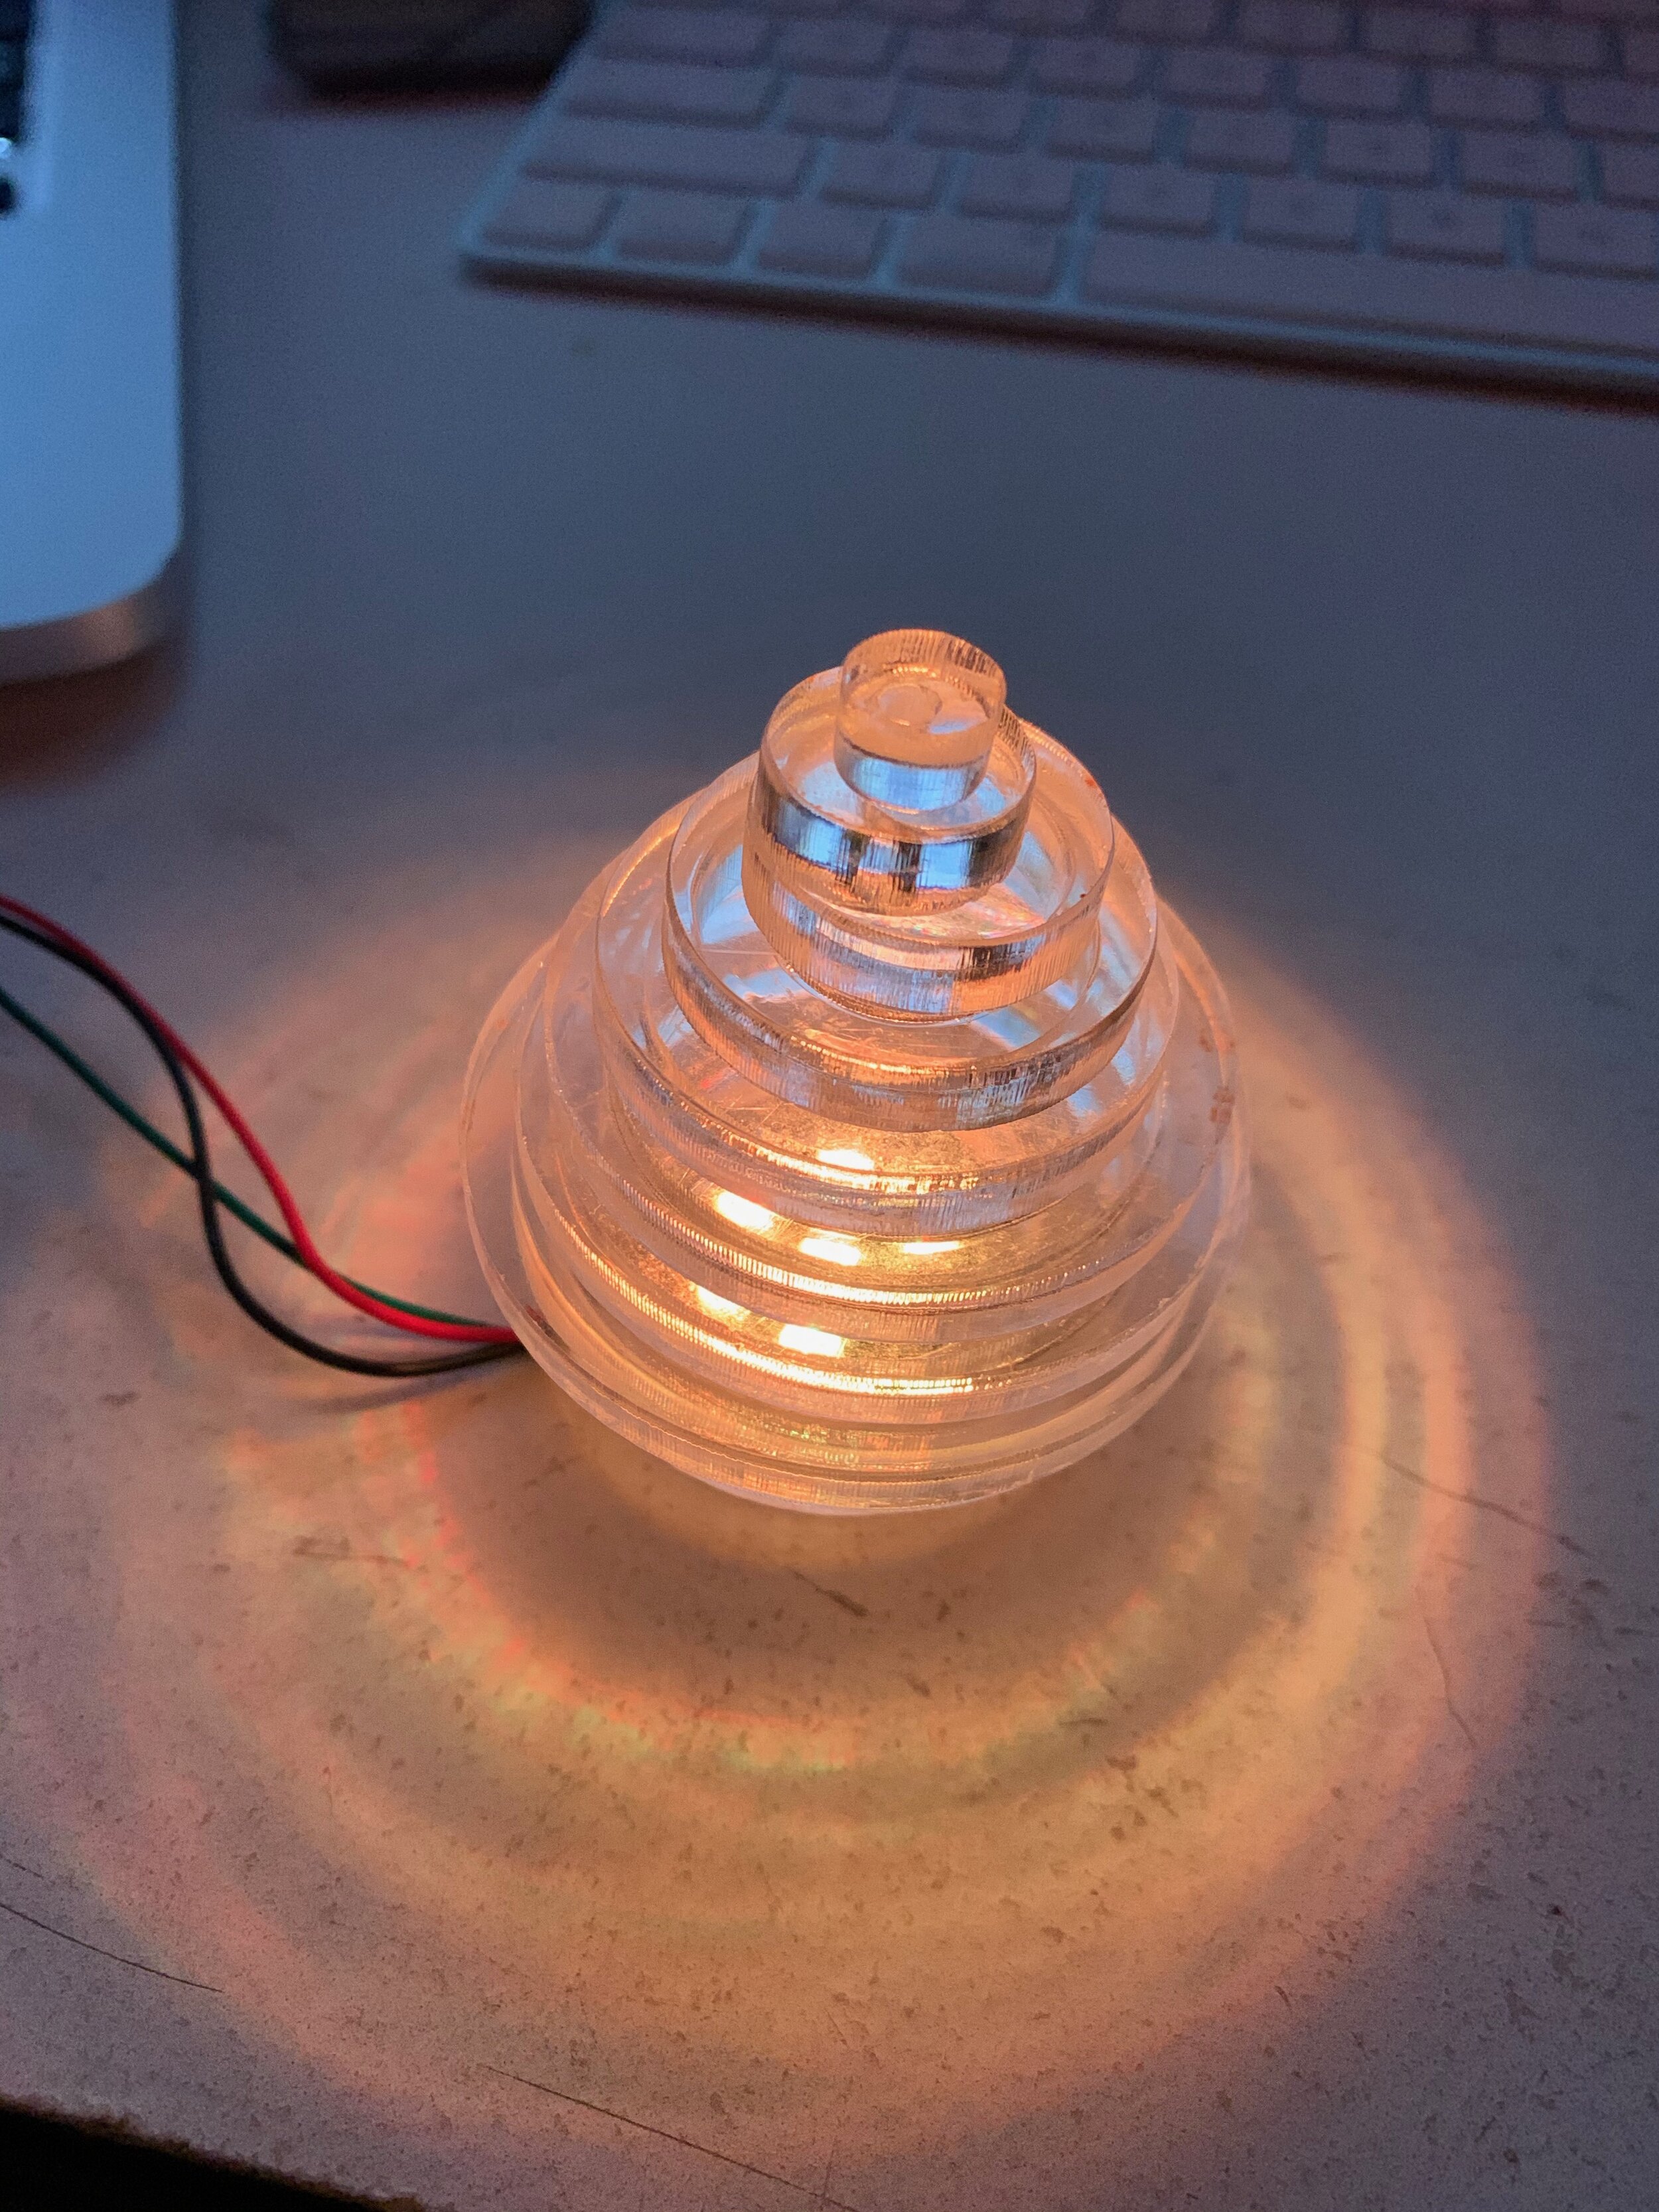
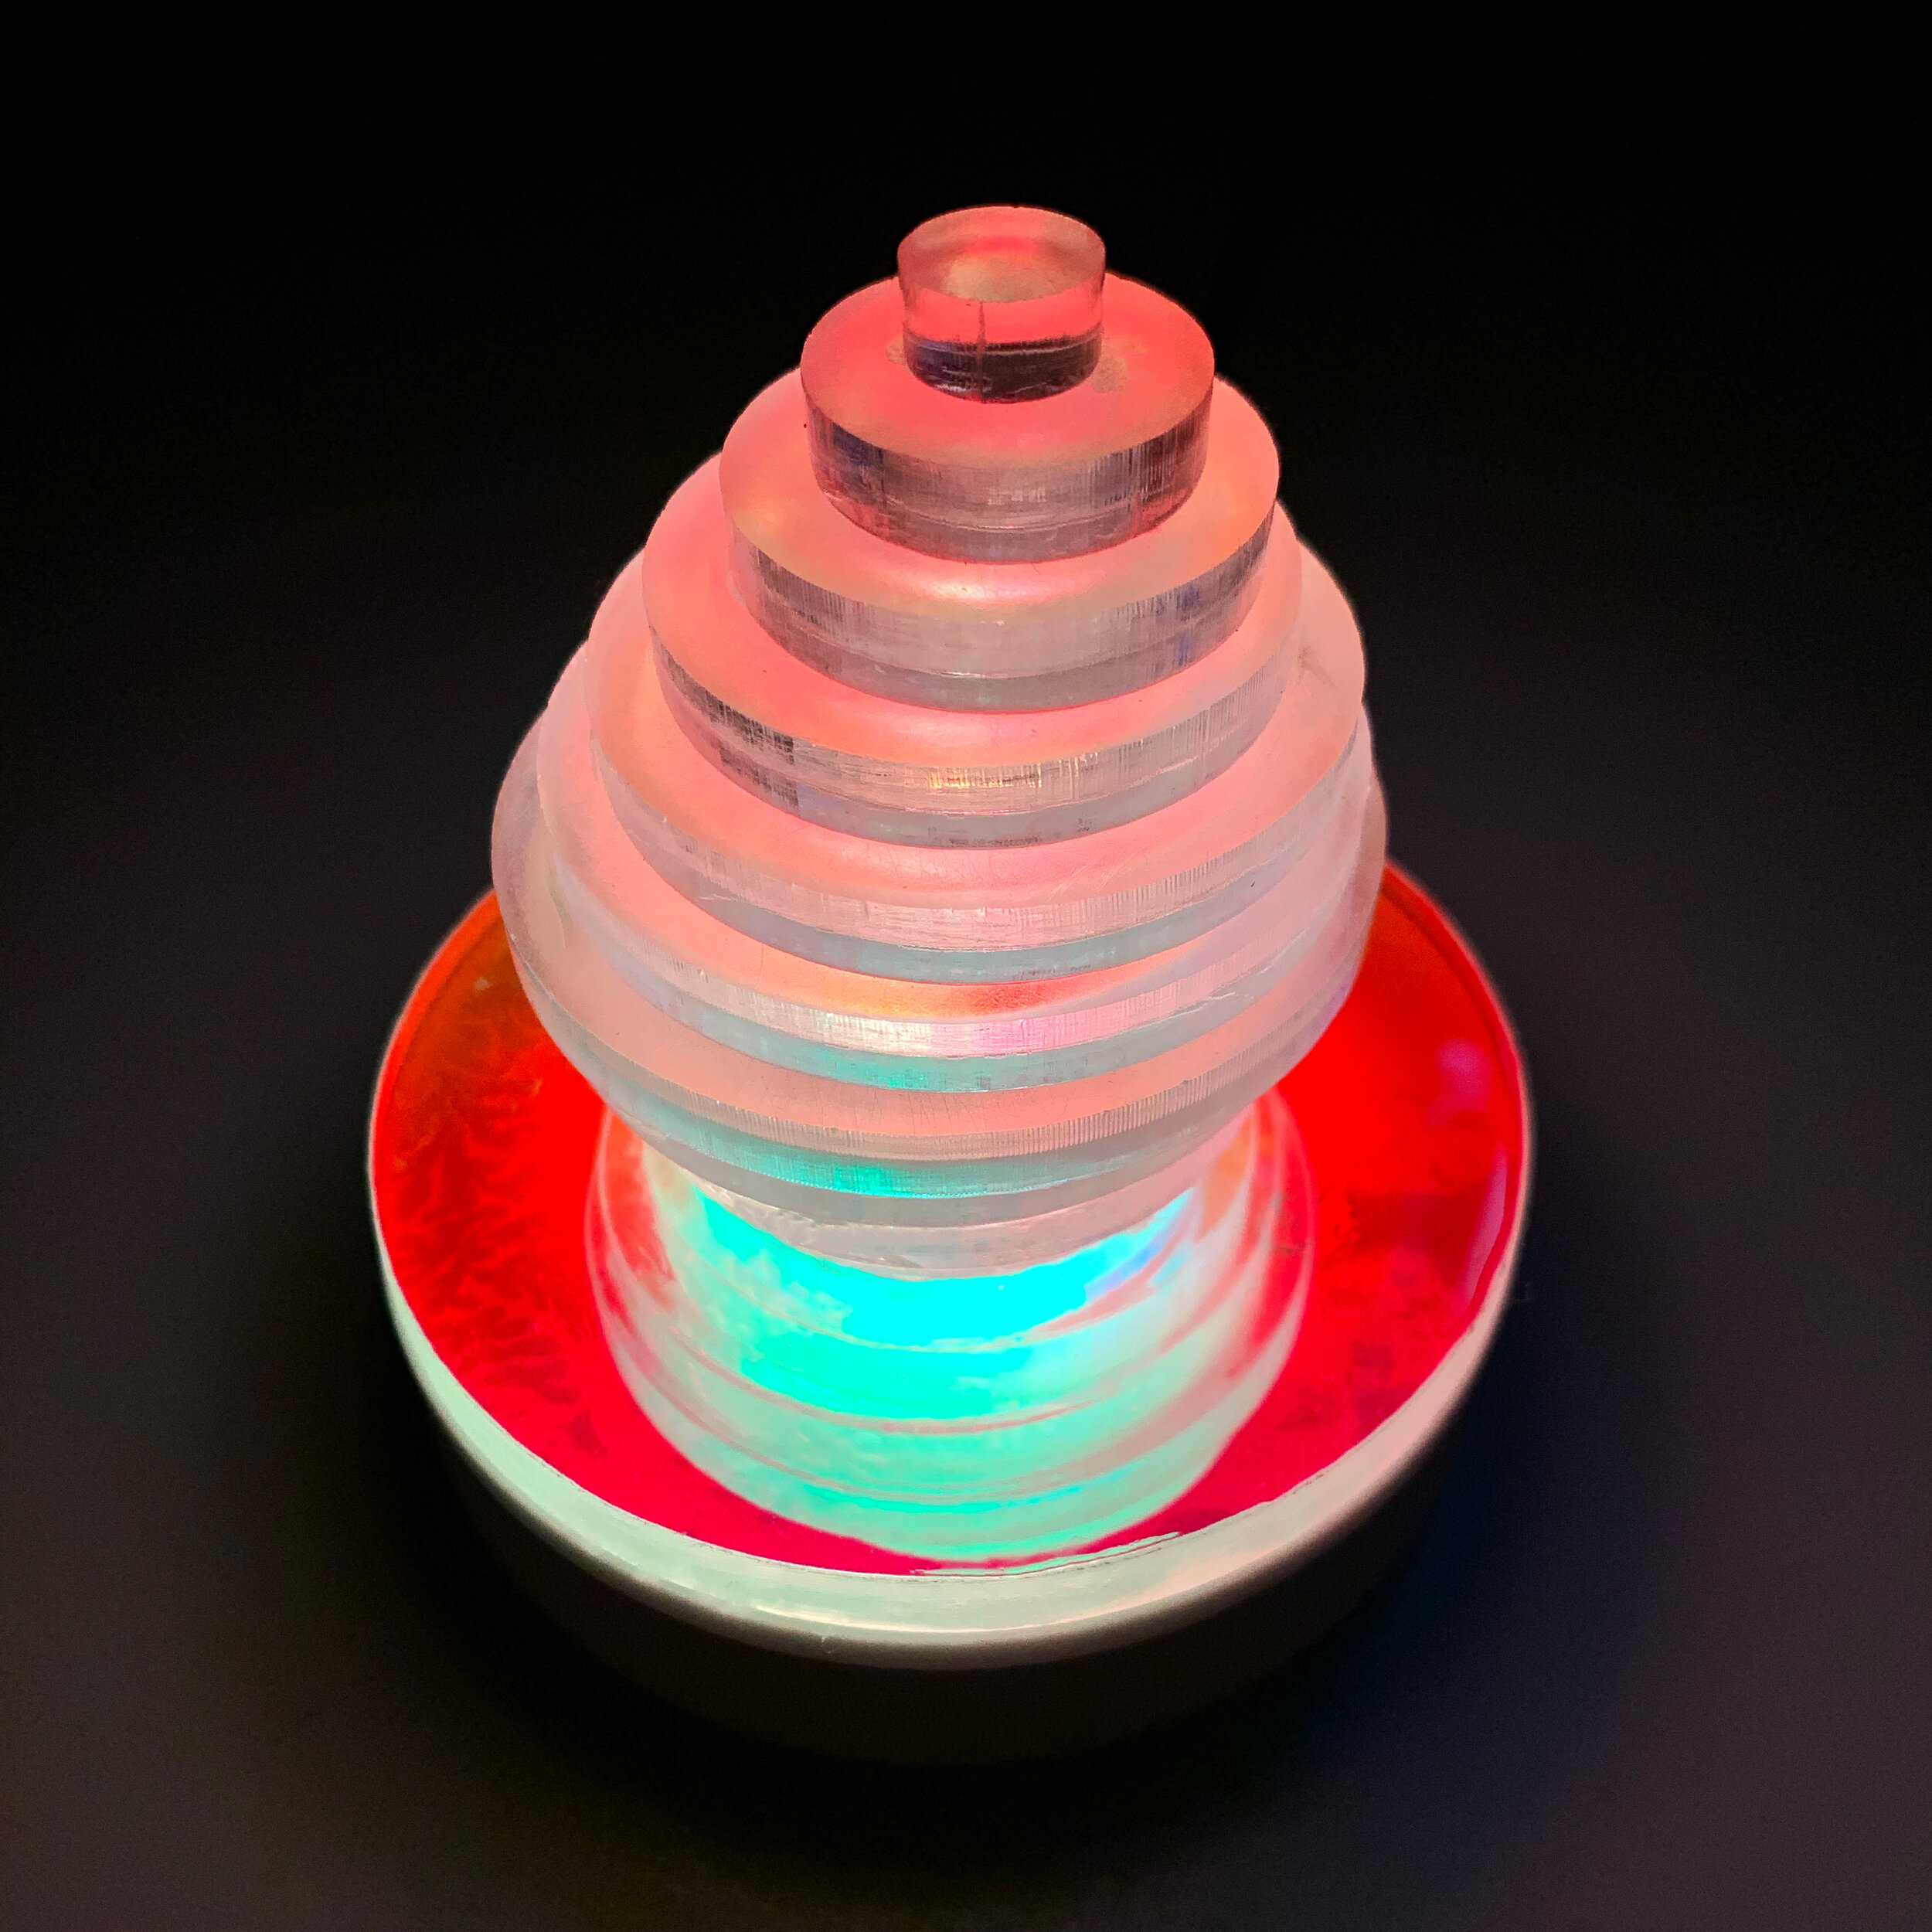
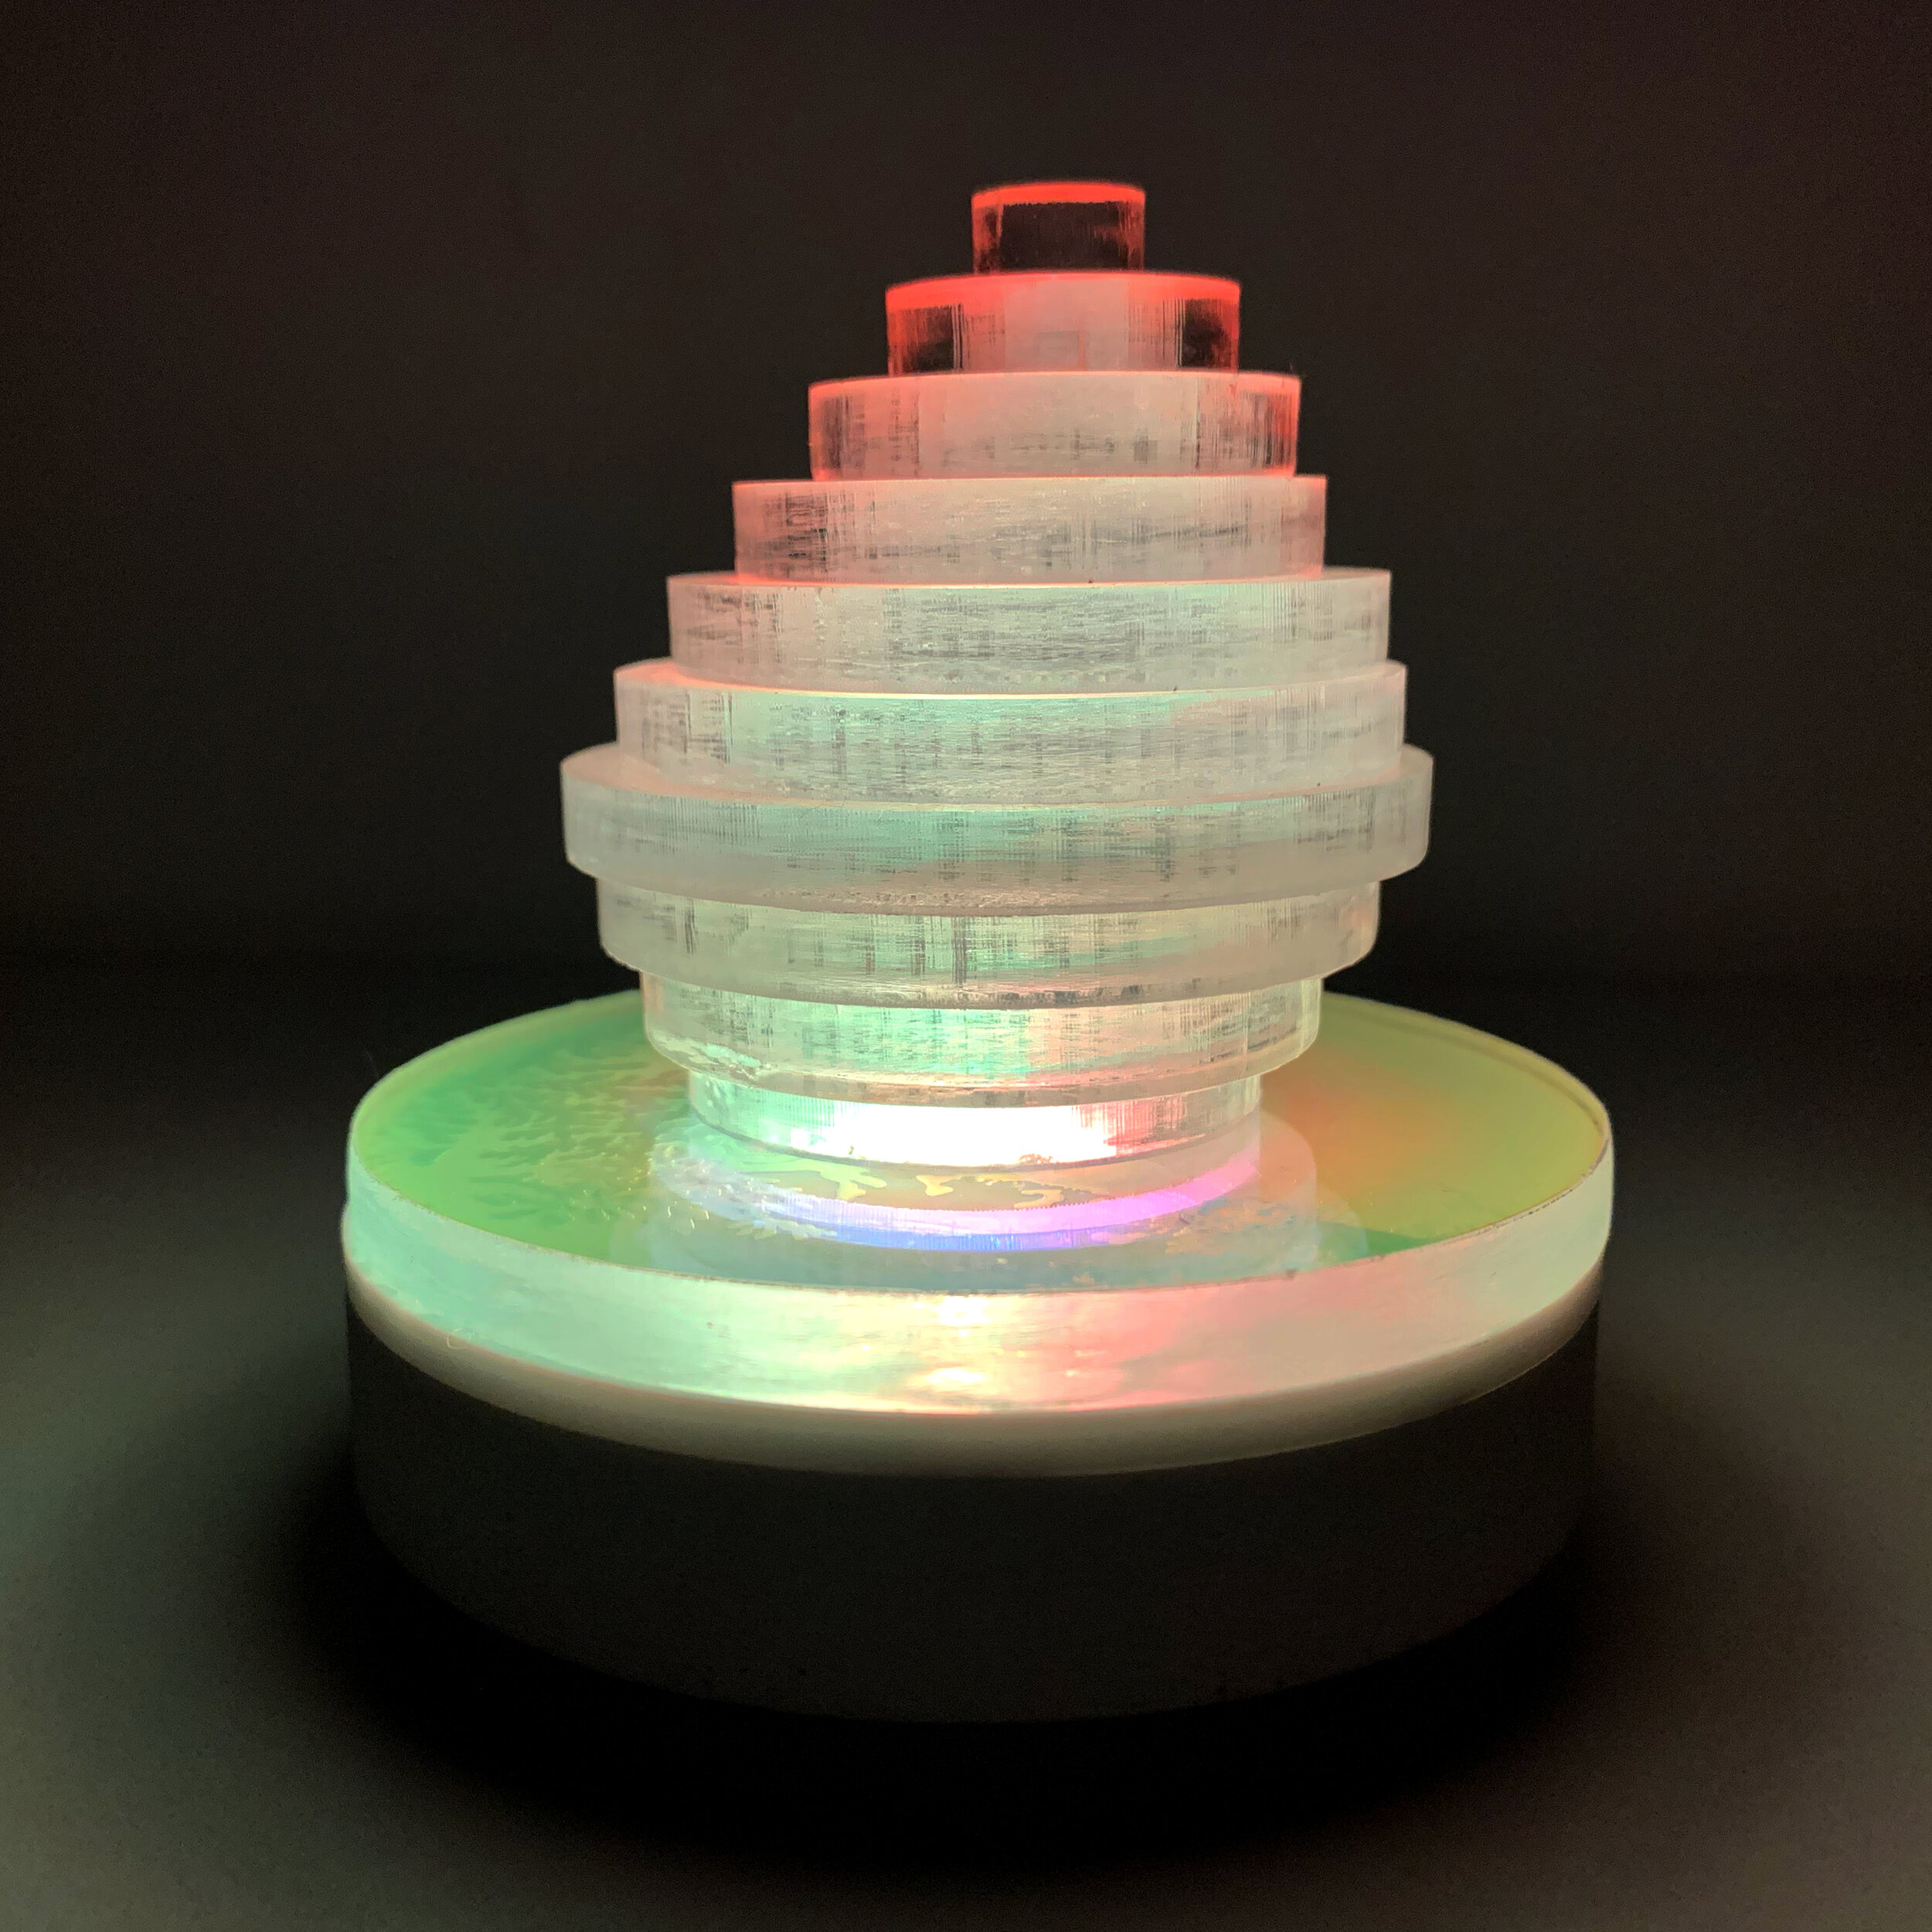
For my final project I created a fixture I call Times Square Hue. It is a light that changes over the course of 24 hours based on live webcam data from Times Square sent through OBS as a virtual webcam into processing where it is thresholded, saturated, and then mapped to hue bulbs. The bulbs are enclosed within platonic solids made from dichroic film inside of lenticular lenses.

Below you can see the data being processed in real time. Each rectangle, scans across the image subsections gets mapped to one bulb. The resulting output in visible in the video to the right. You can see the code here

TimesSquareHue1.jpg
IMG_4879.jpg
TimesSquareHue4.jpg
TimesSquareHue2.jpg
TimesSquareHue3.jpg

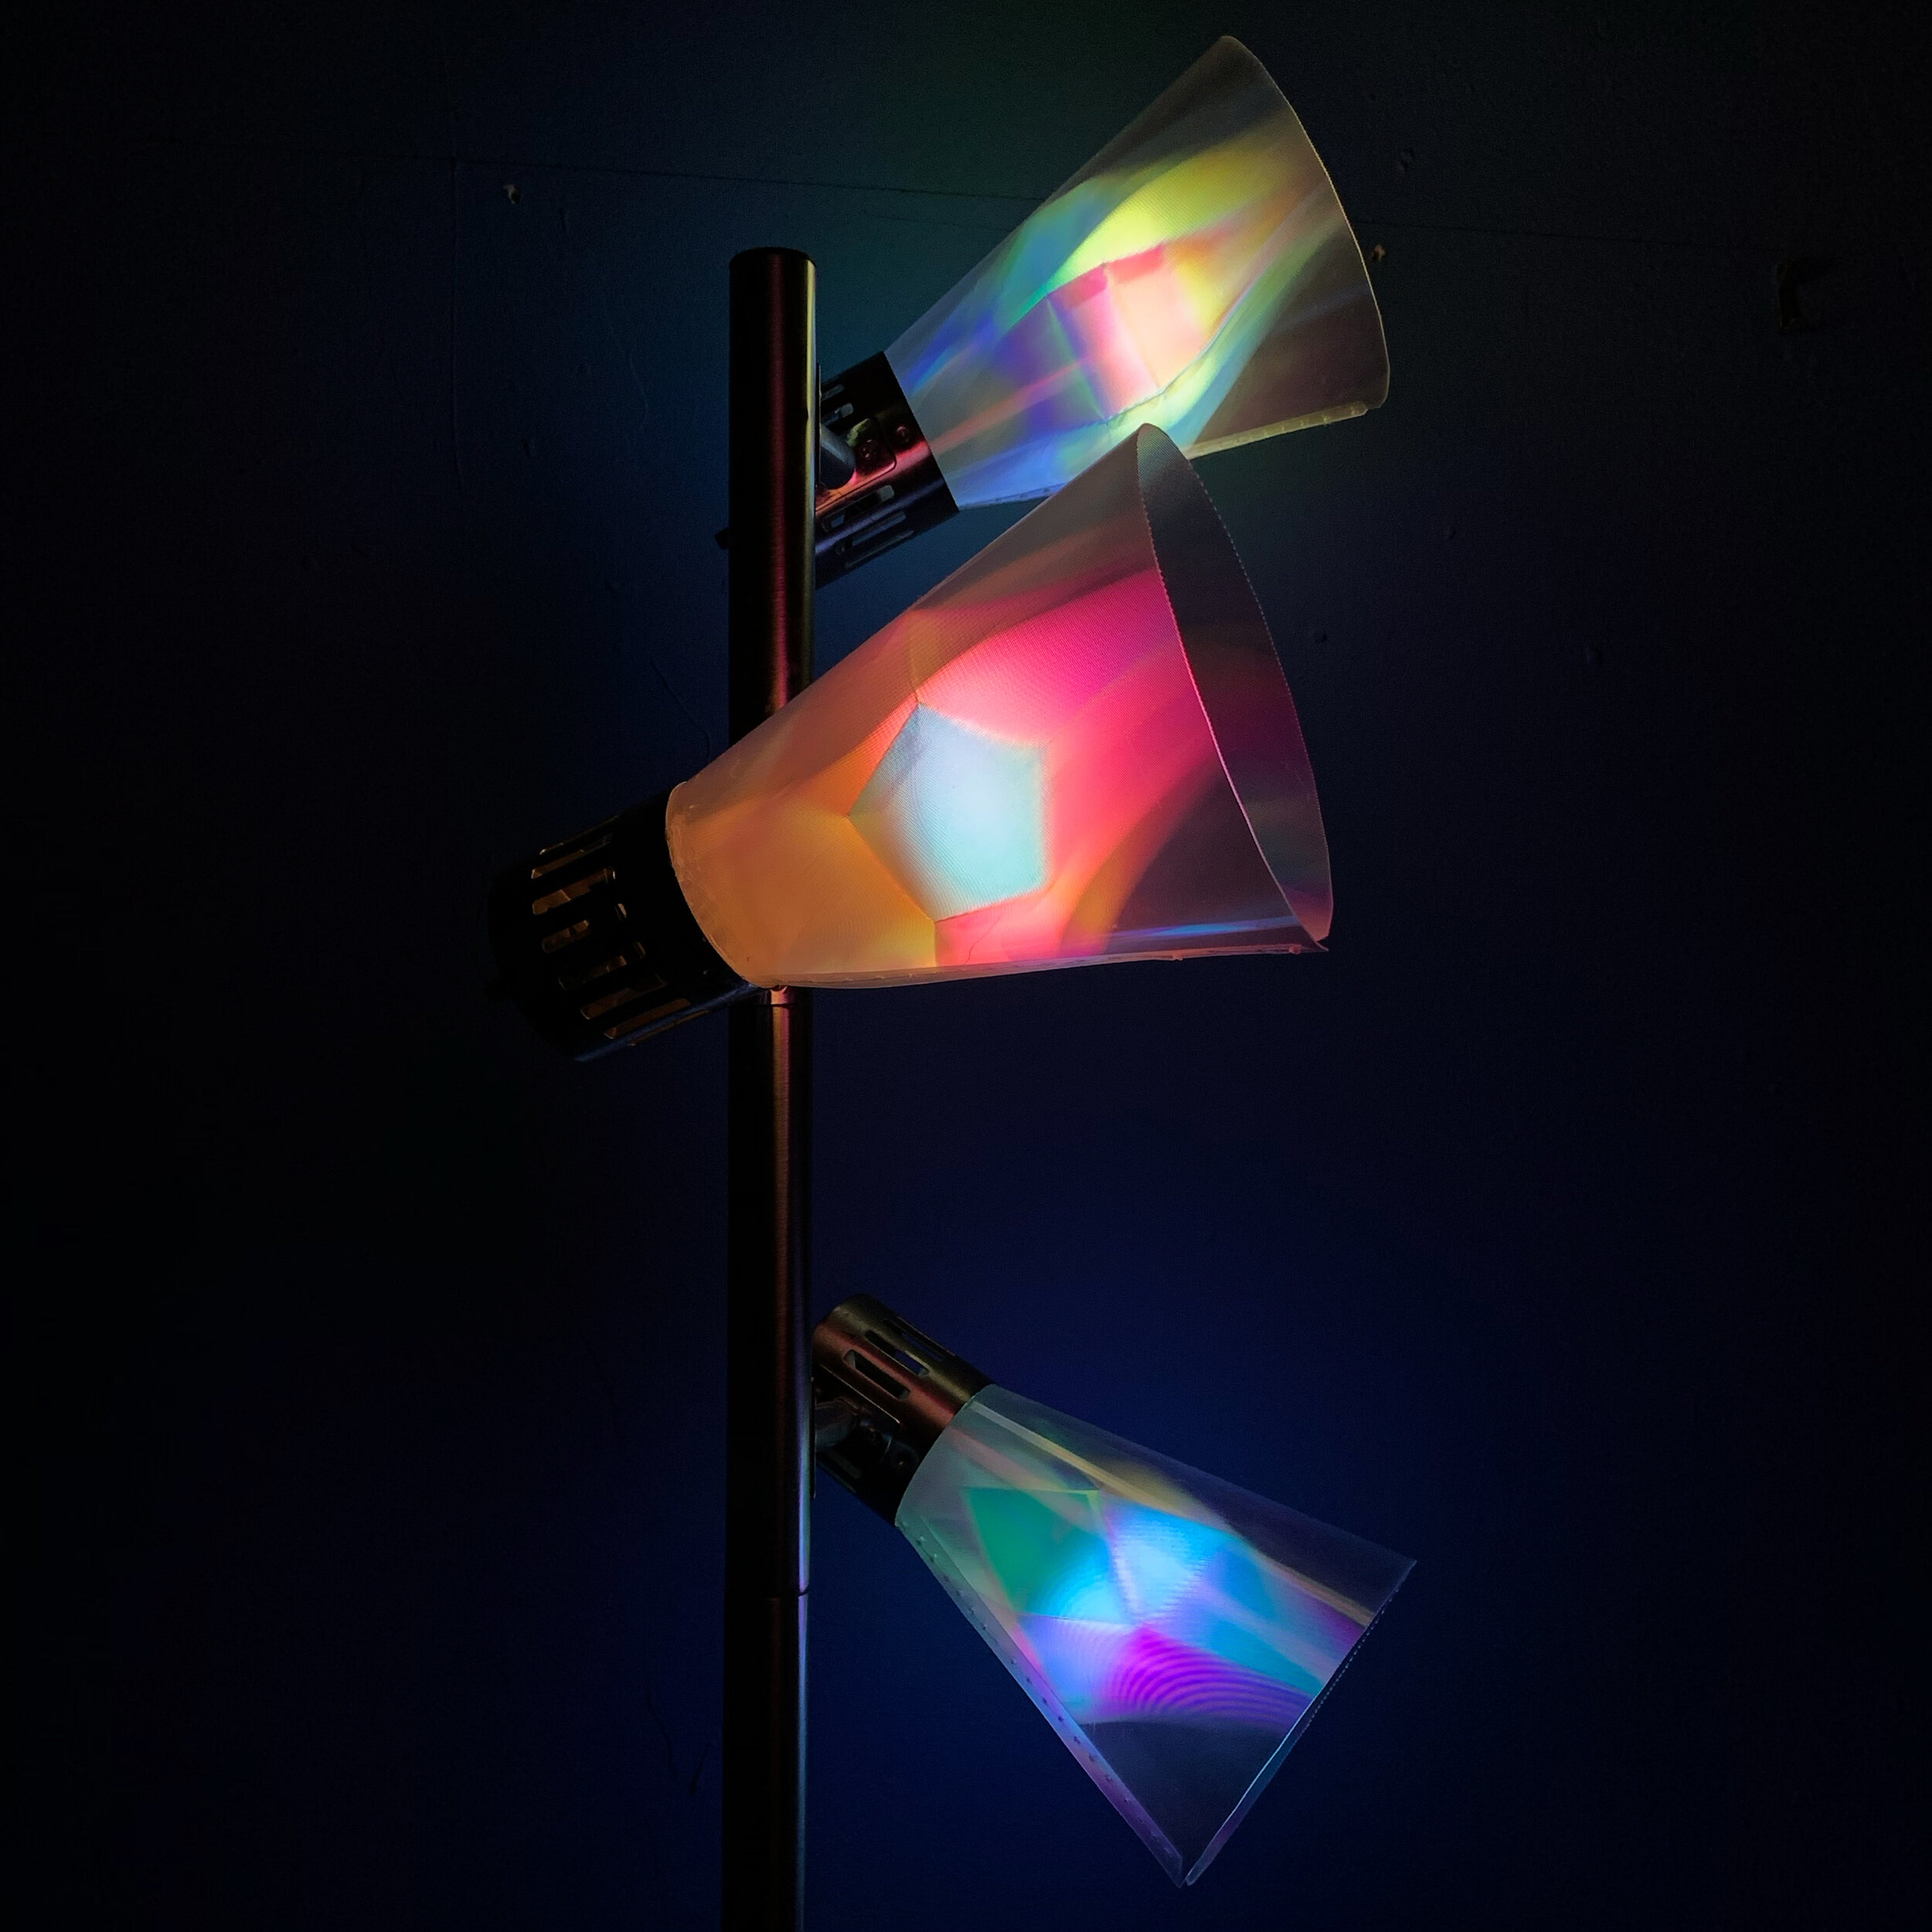
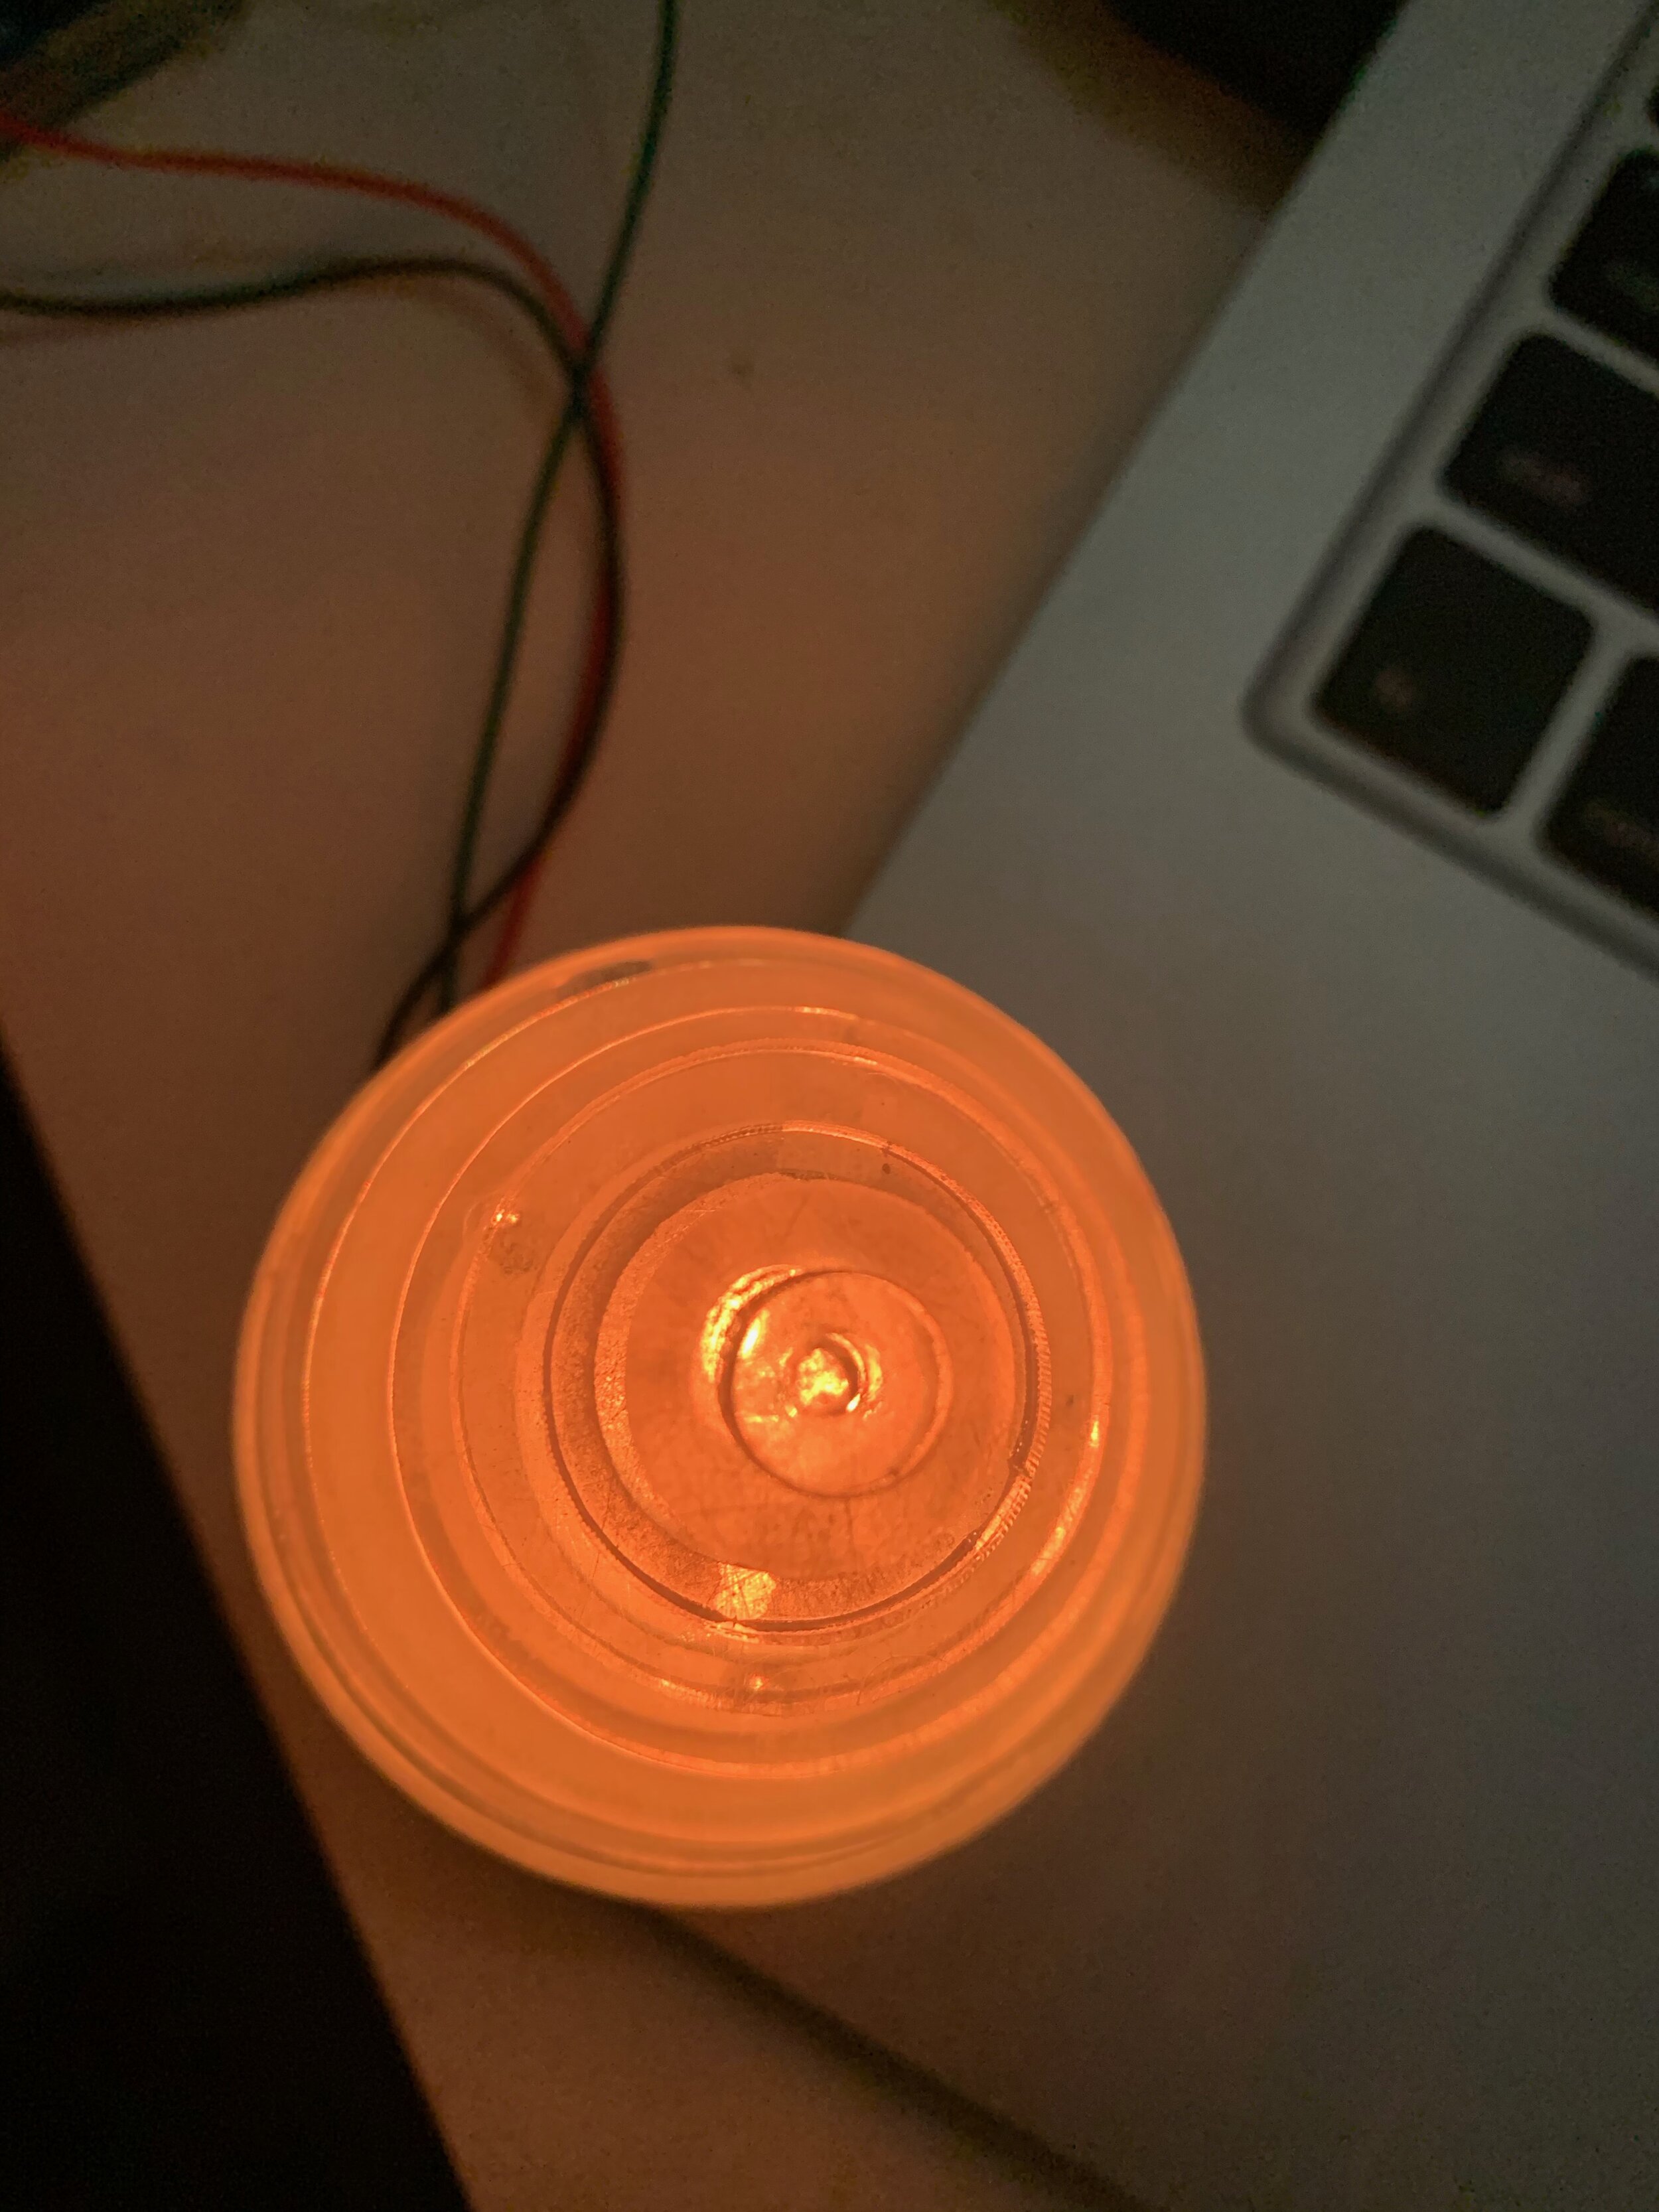
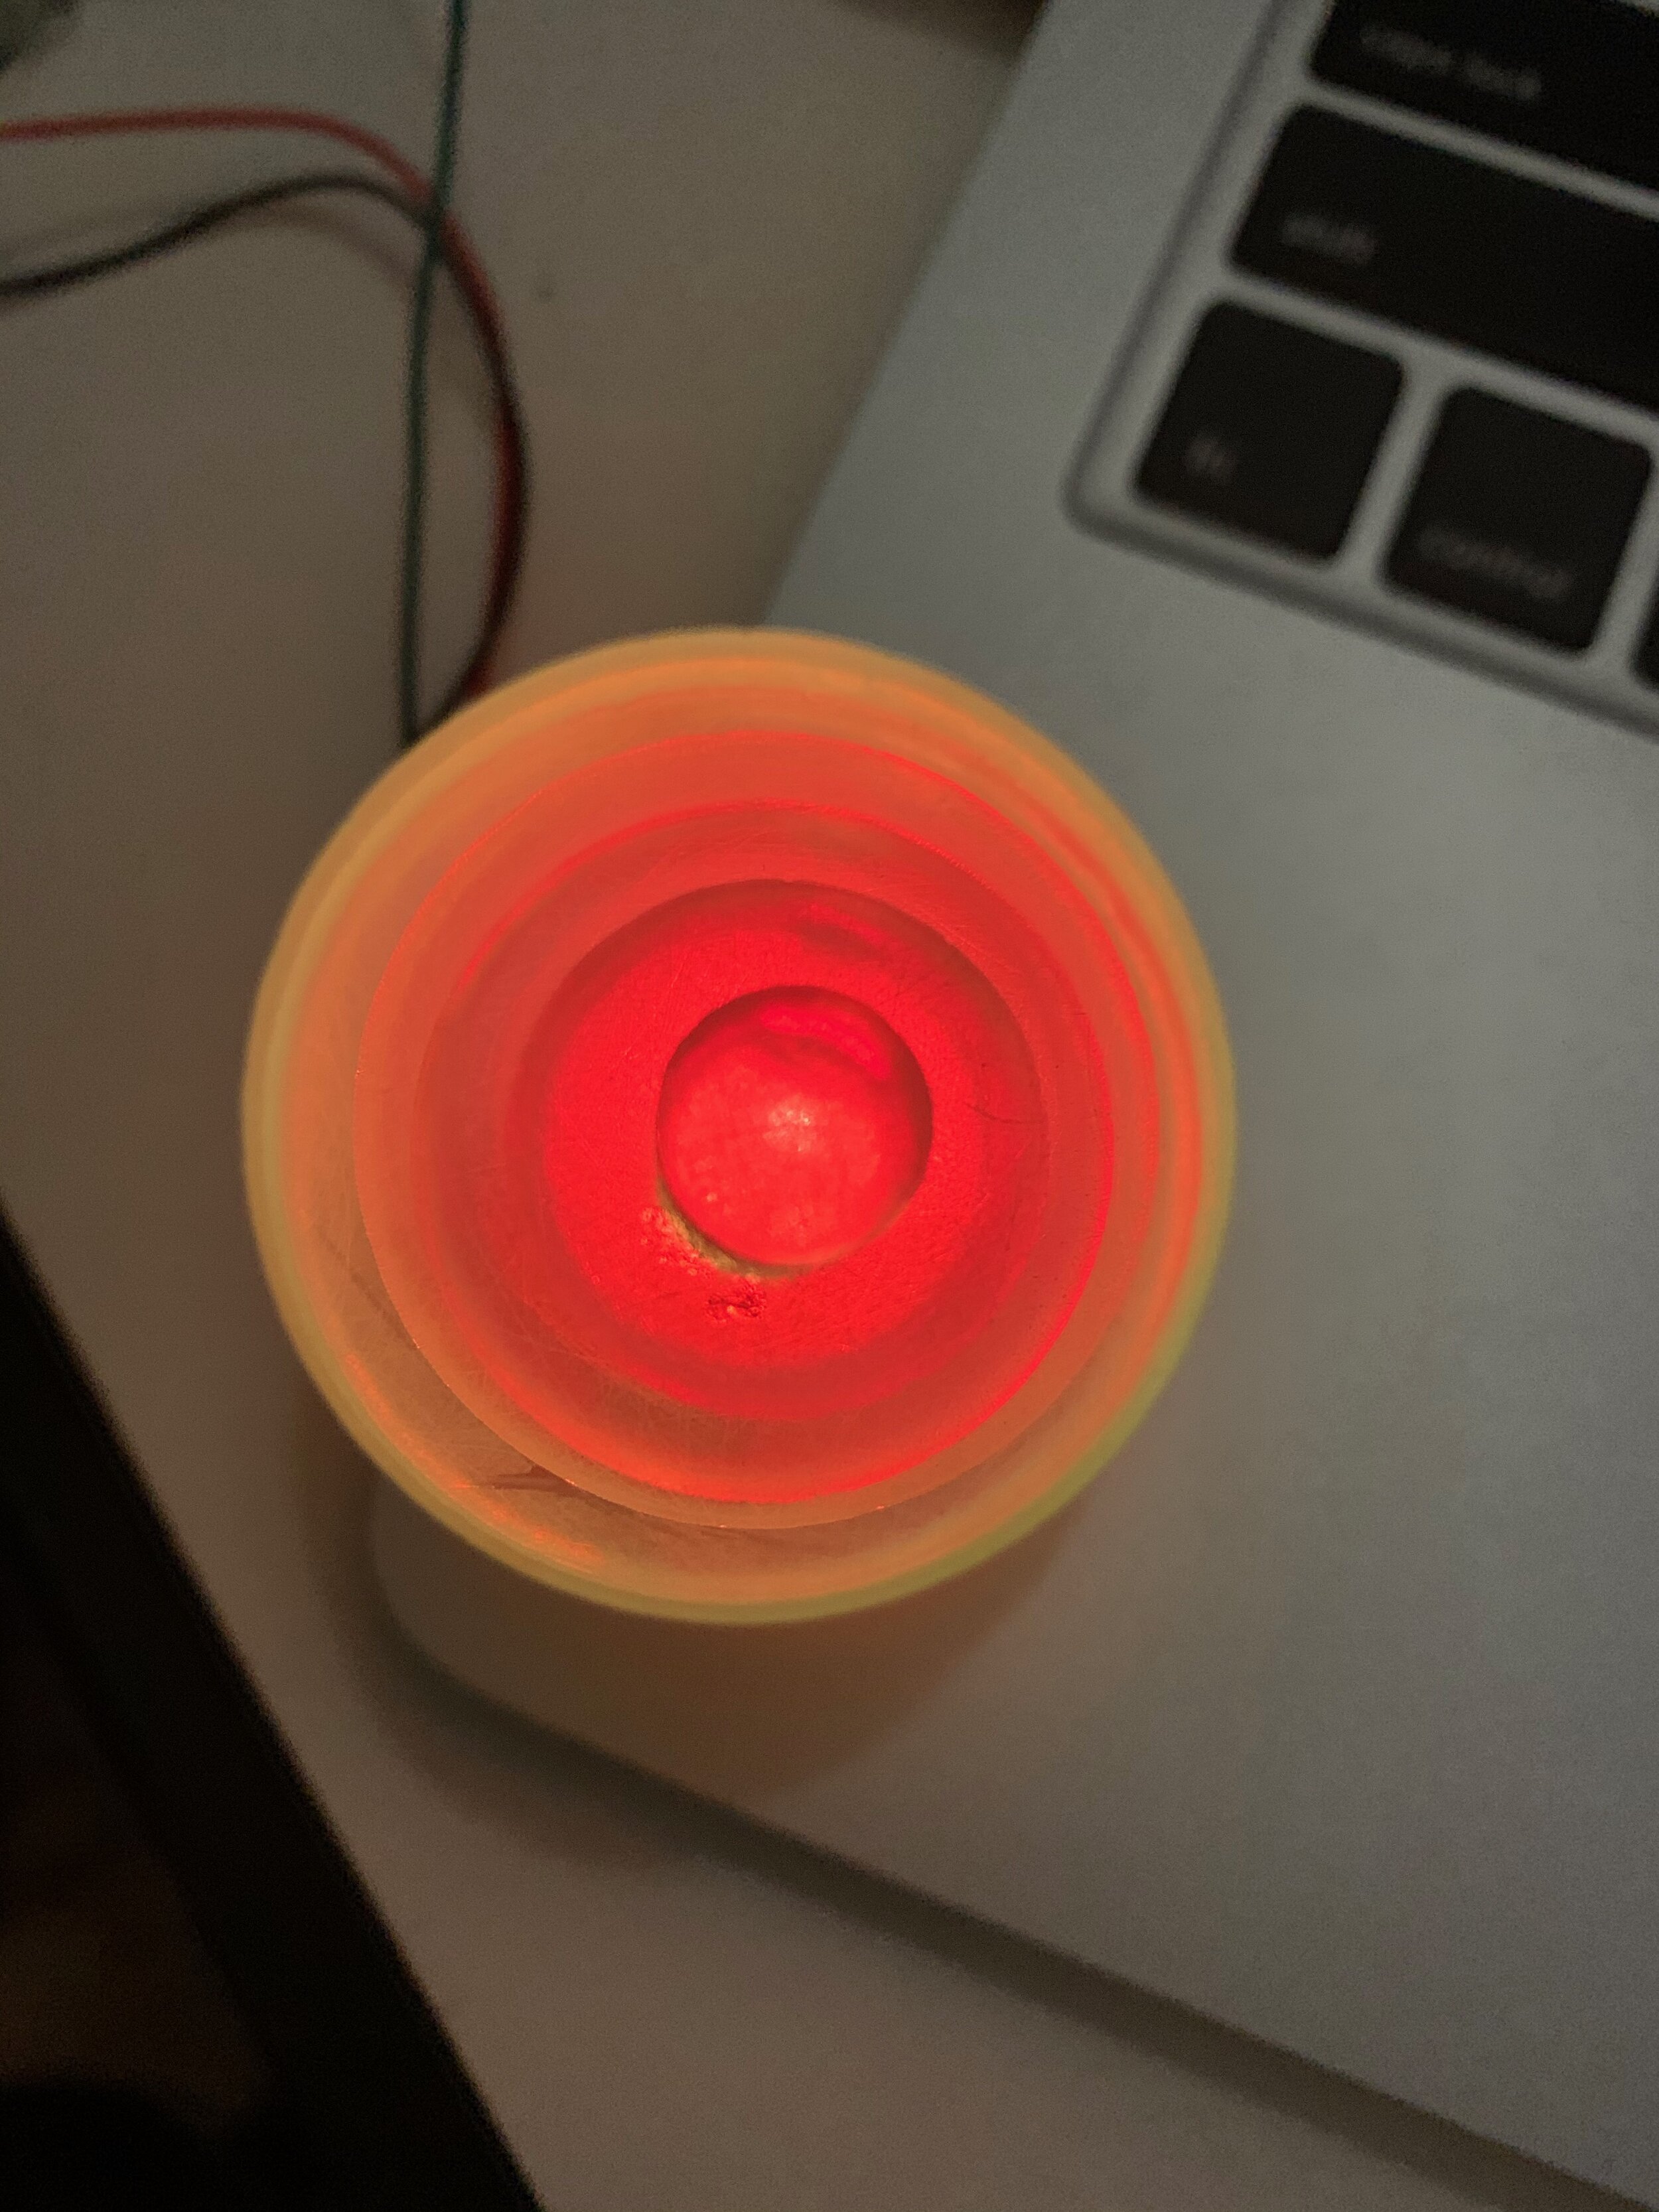
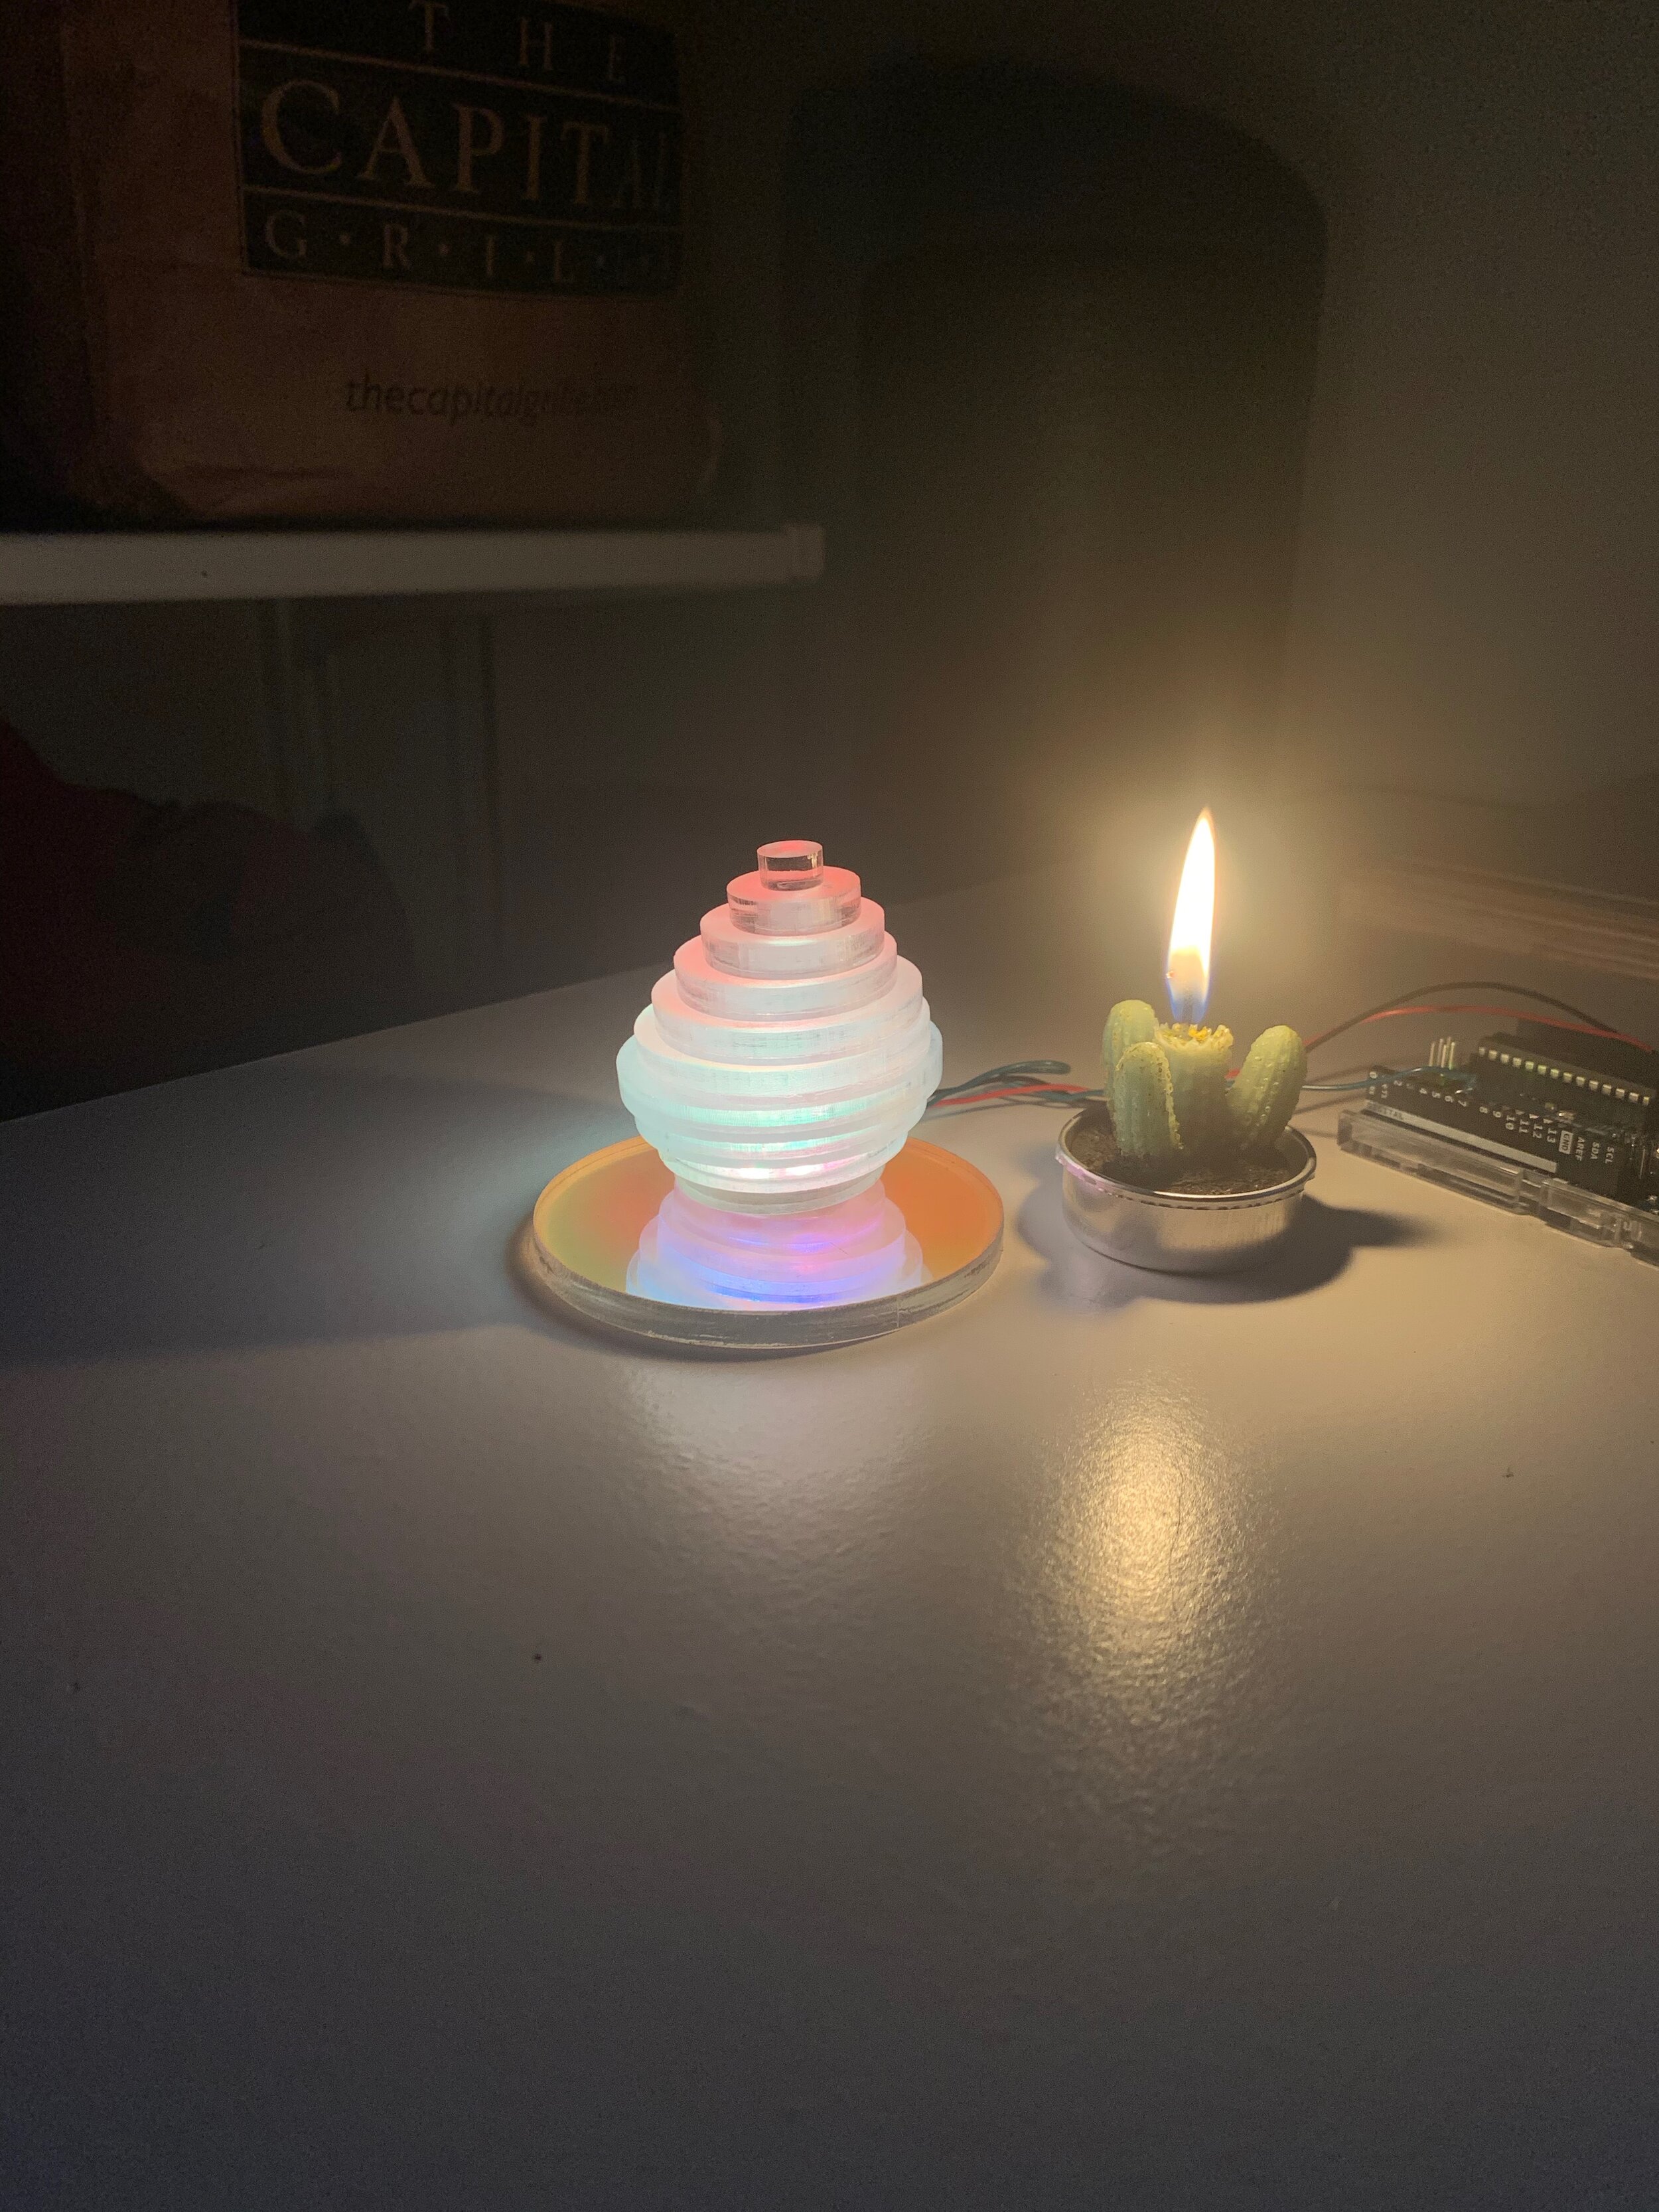
Here you can see the light changing with the webcam data in relation to the rest of my room. It is very difficult to capture because as the bulbs change the camera white balance is thrown off, forcing me to record the video at a very low brightness setting. In reality, the light can run at a much brighter setting illuminating most of my room in a comfortable warm, slightly pink light.

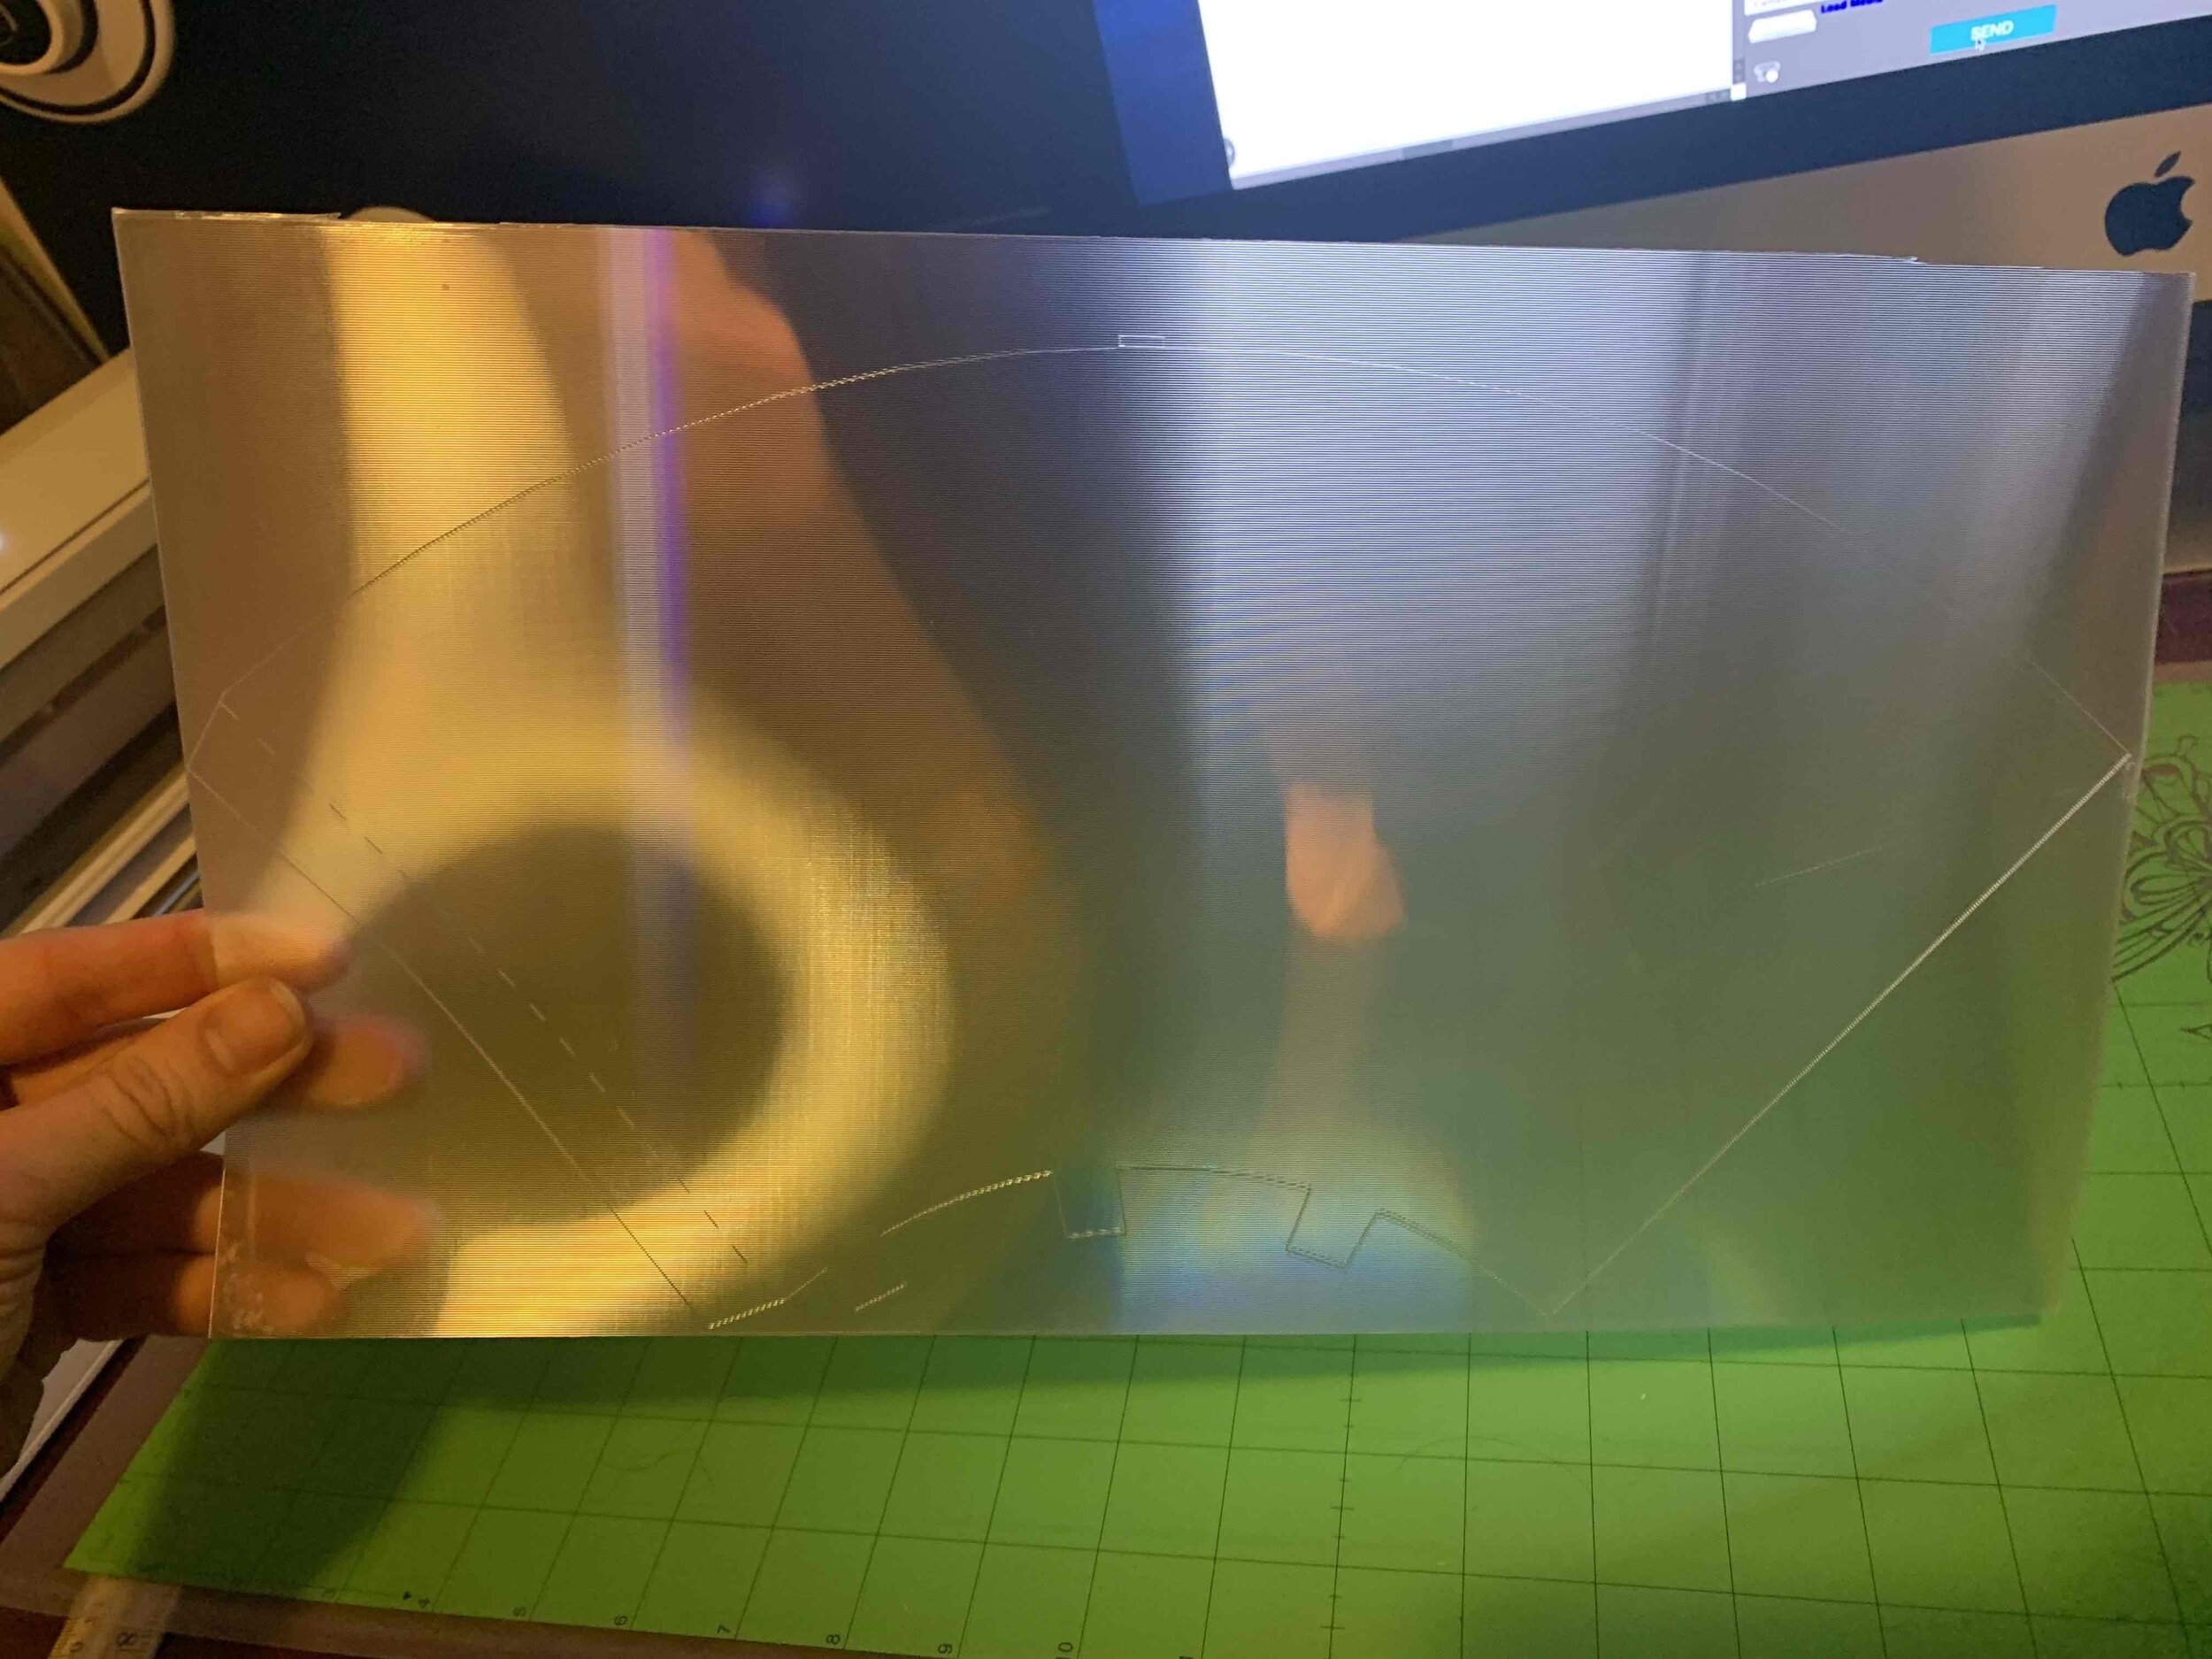
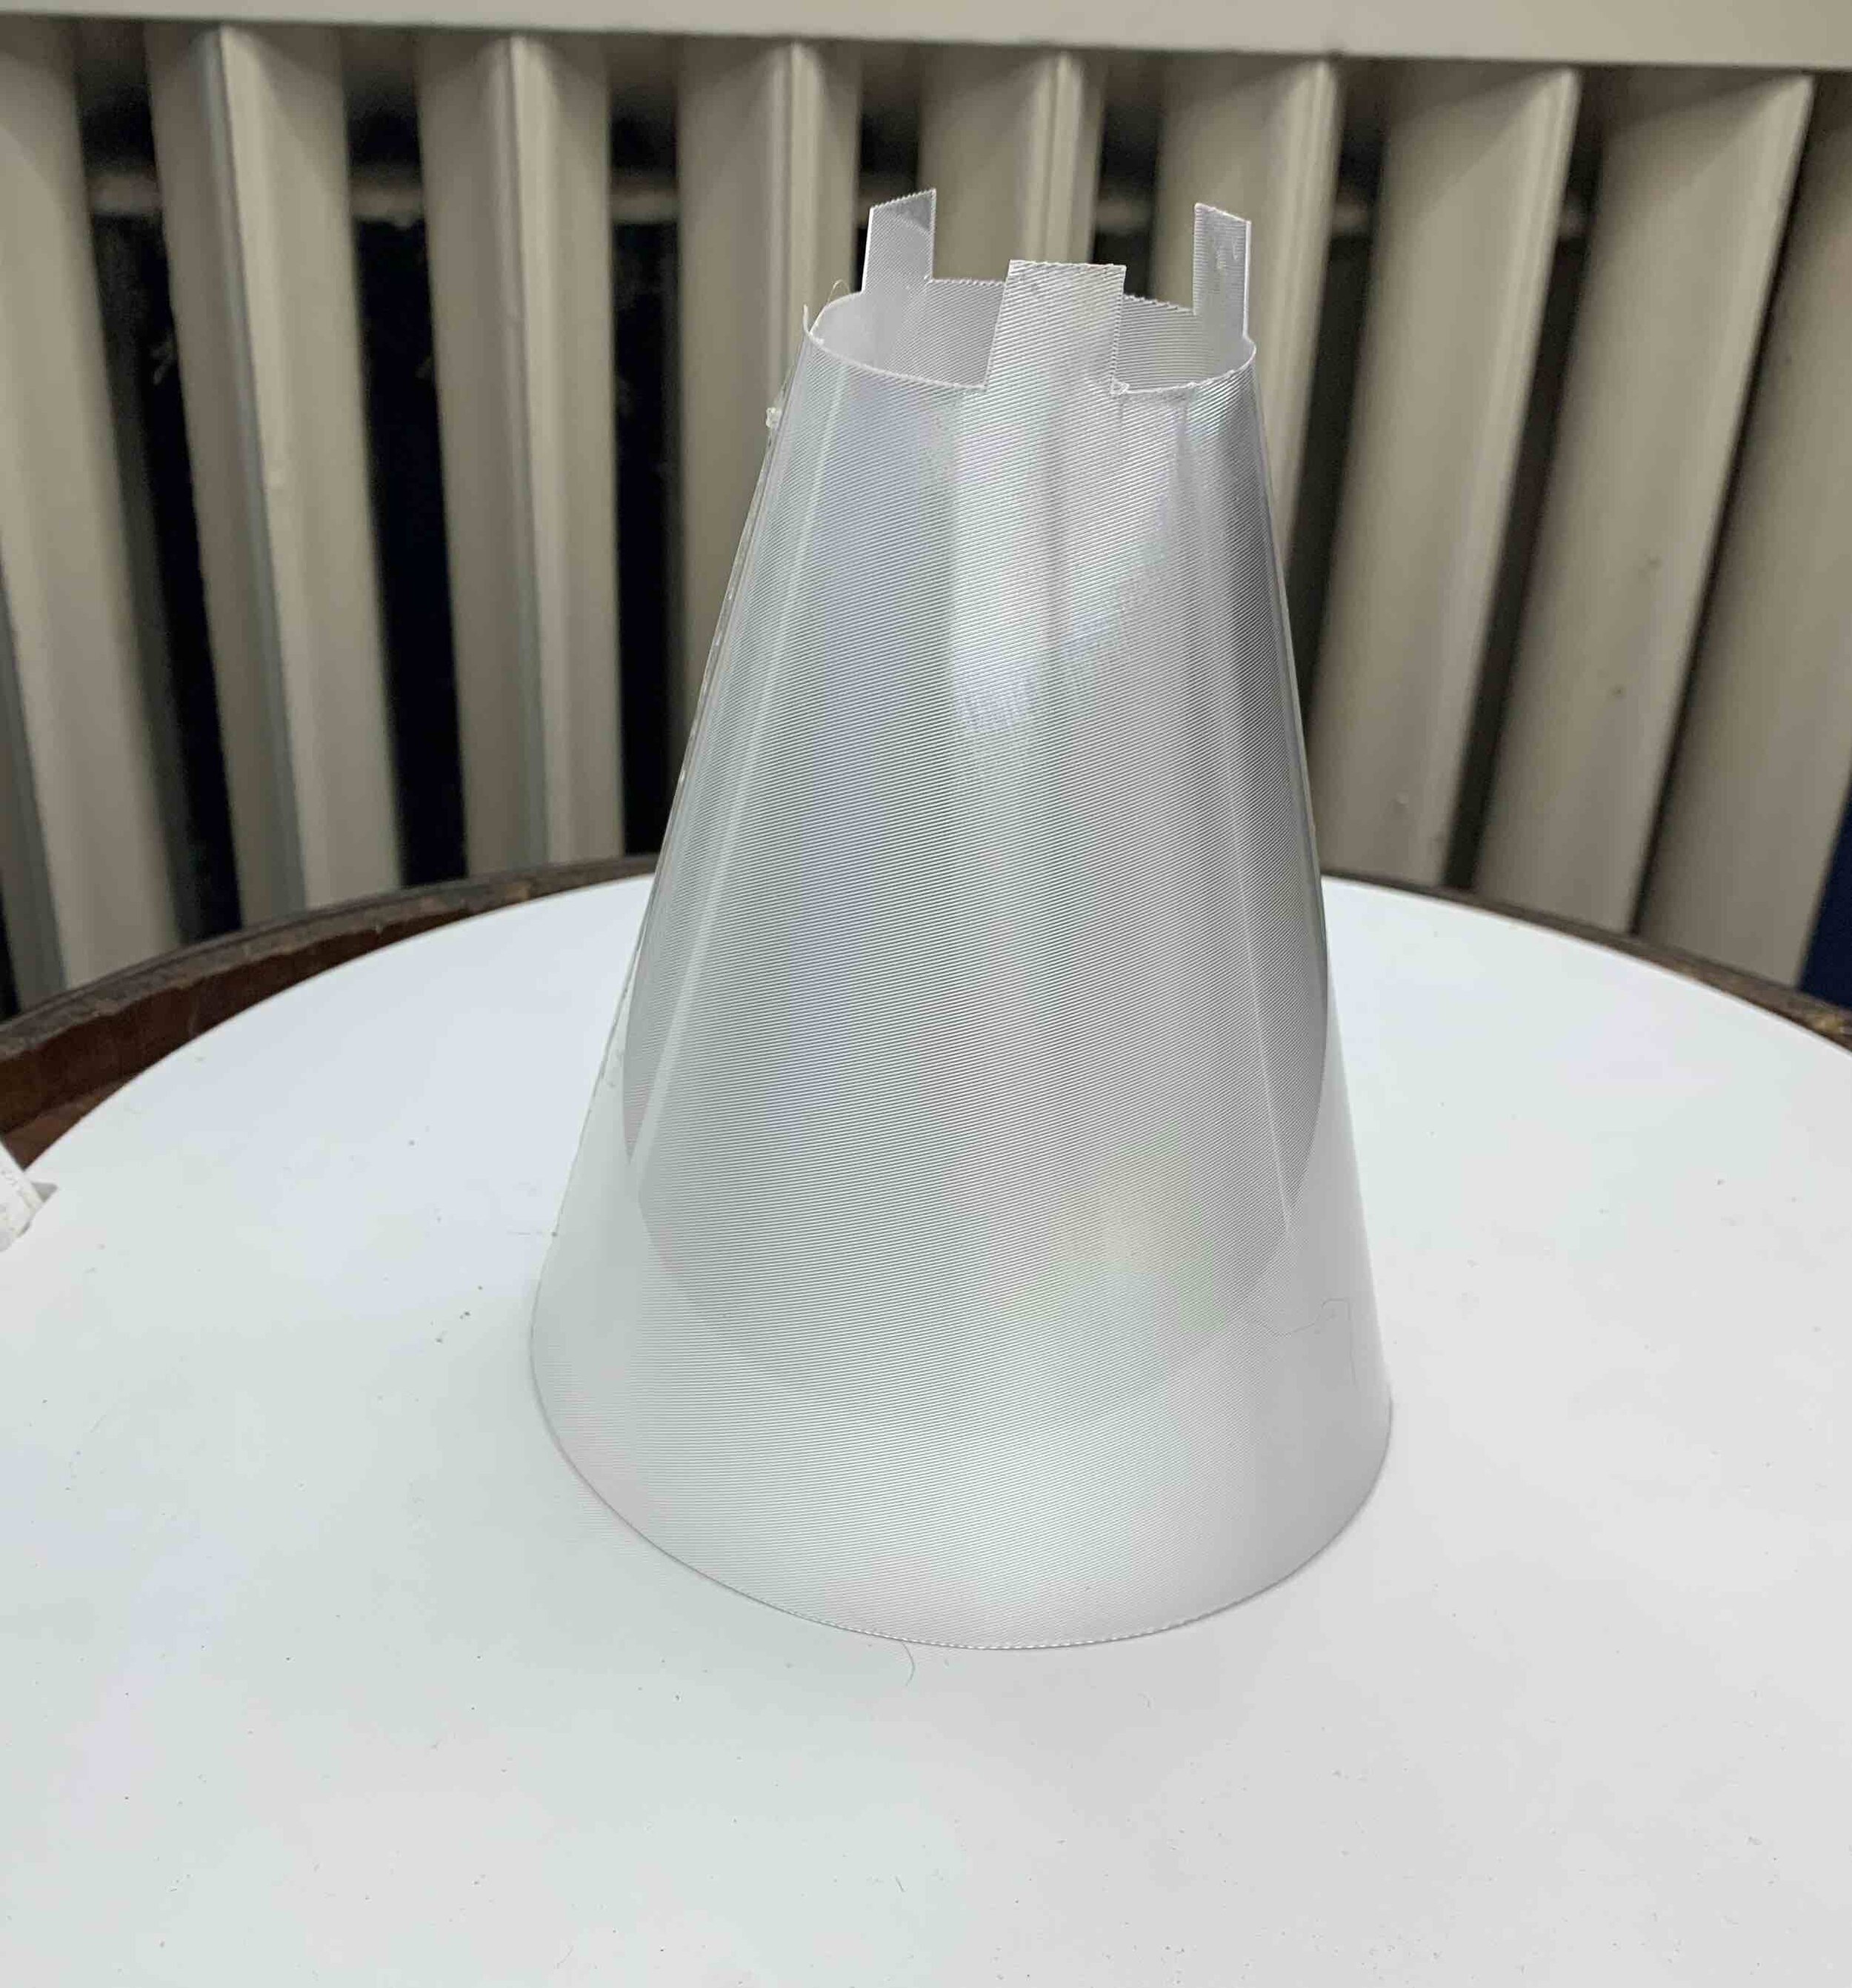
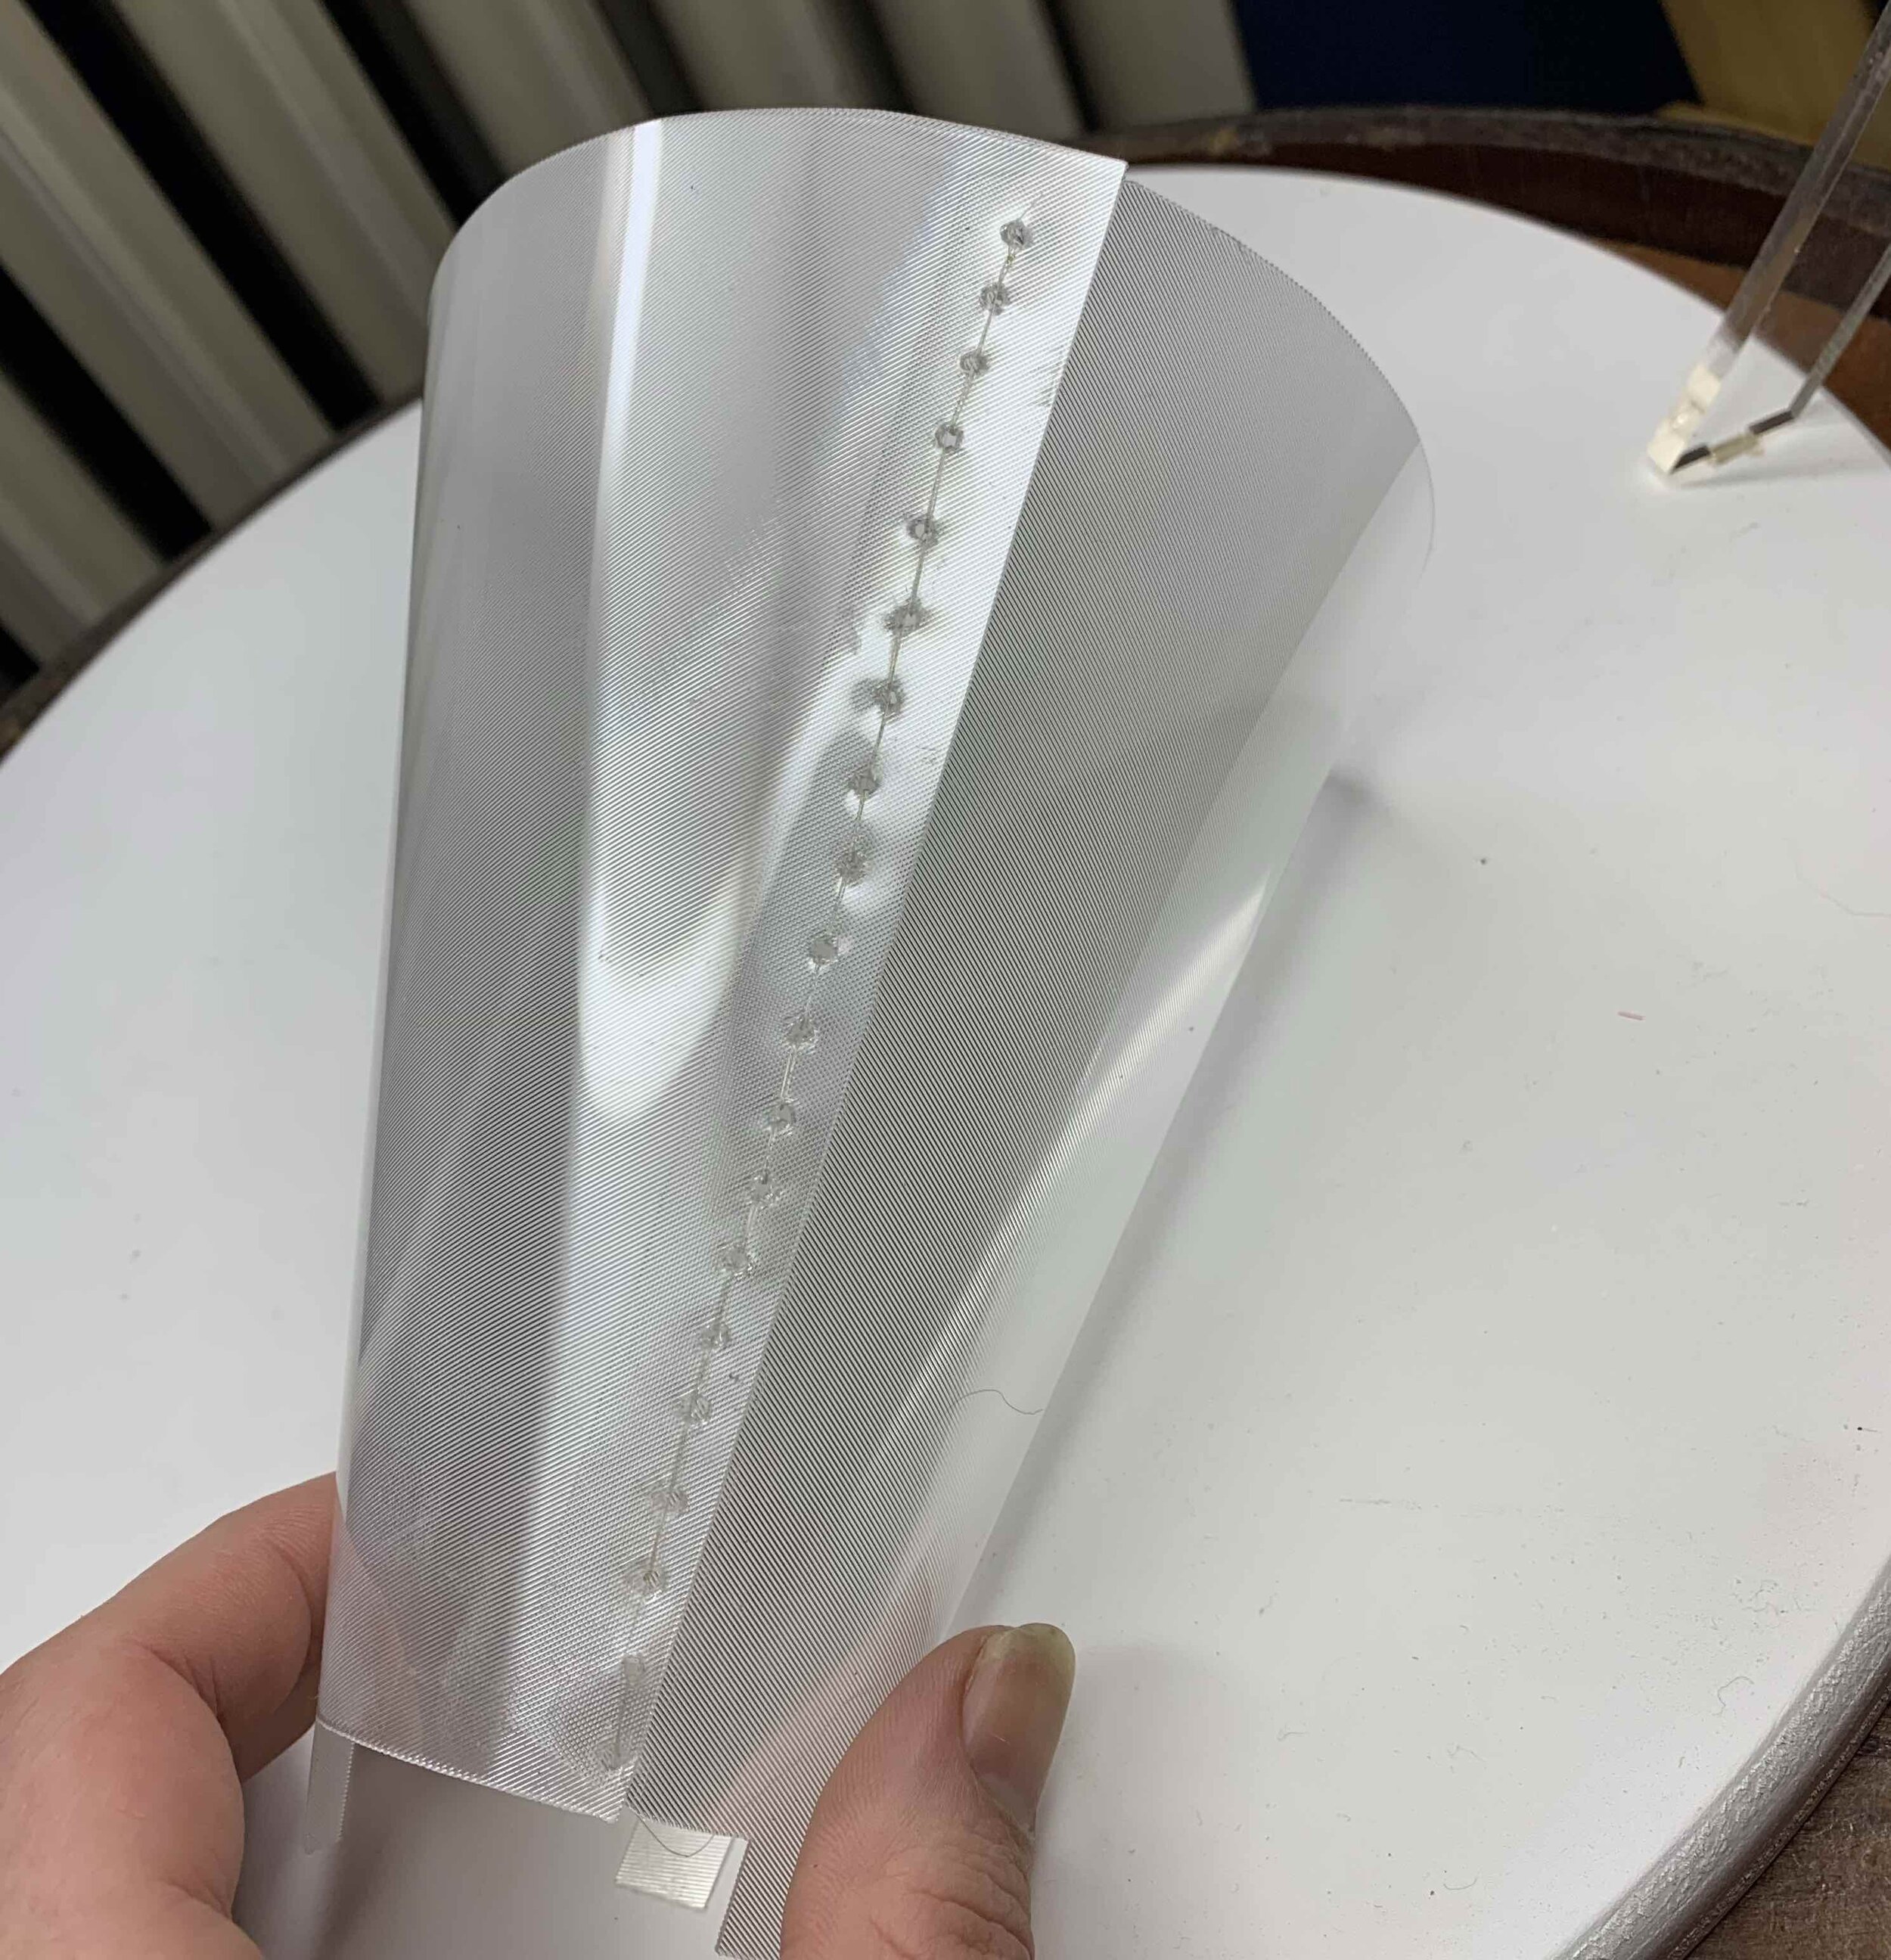
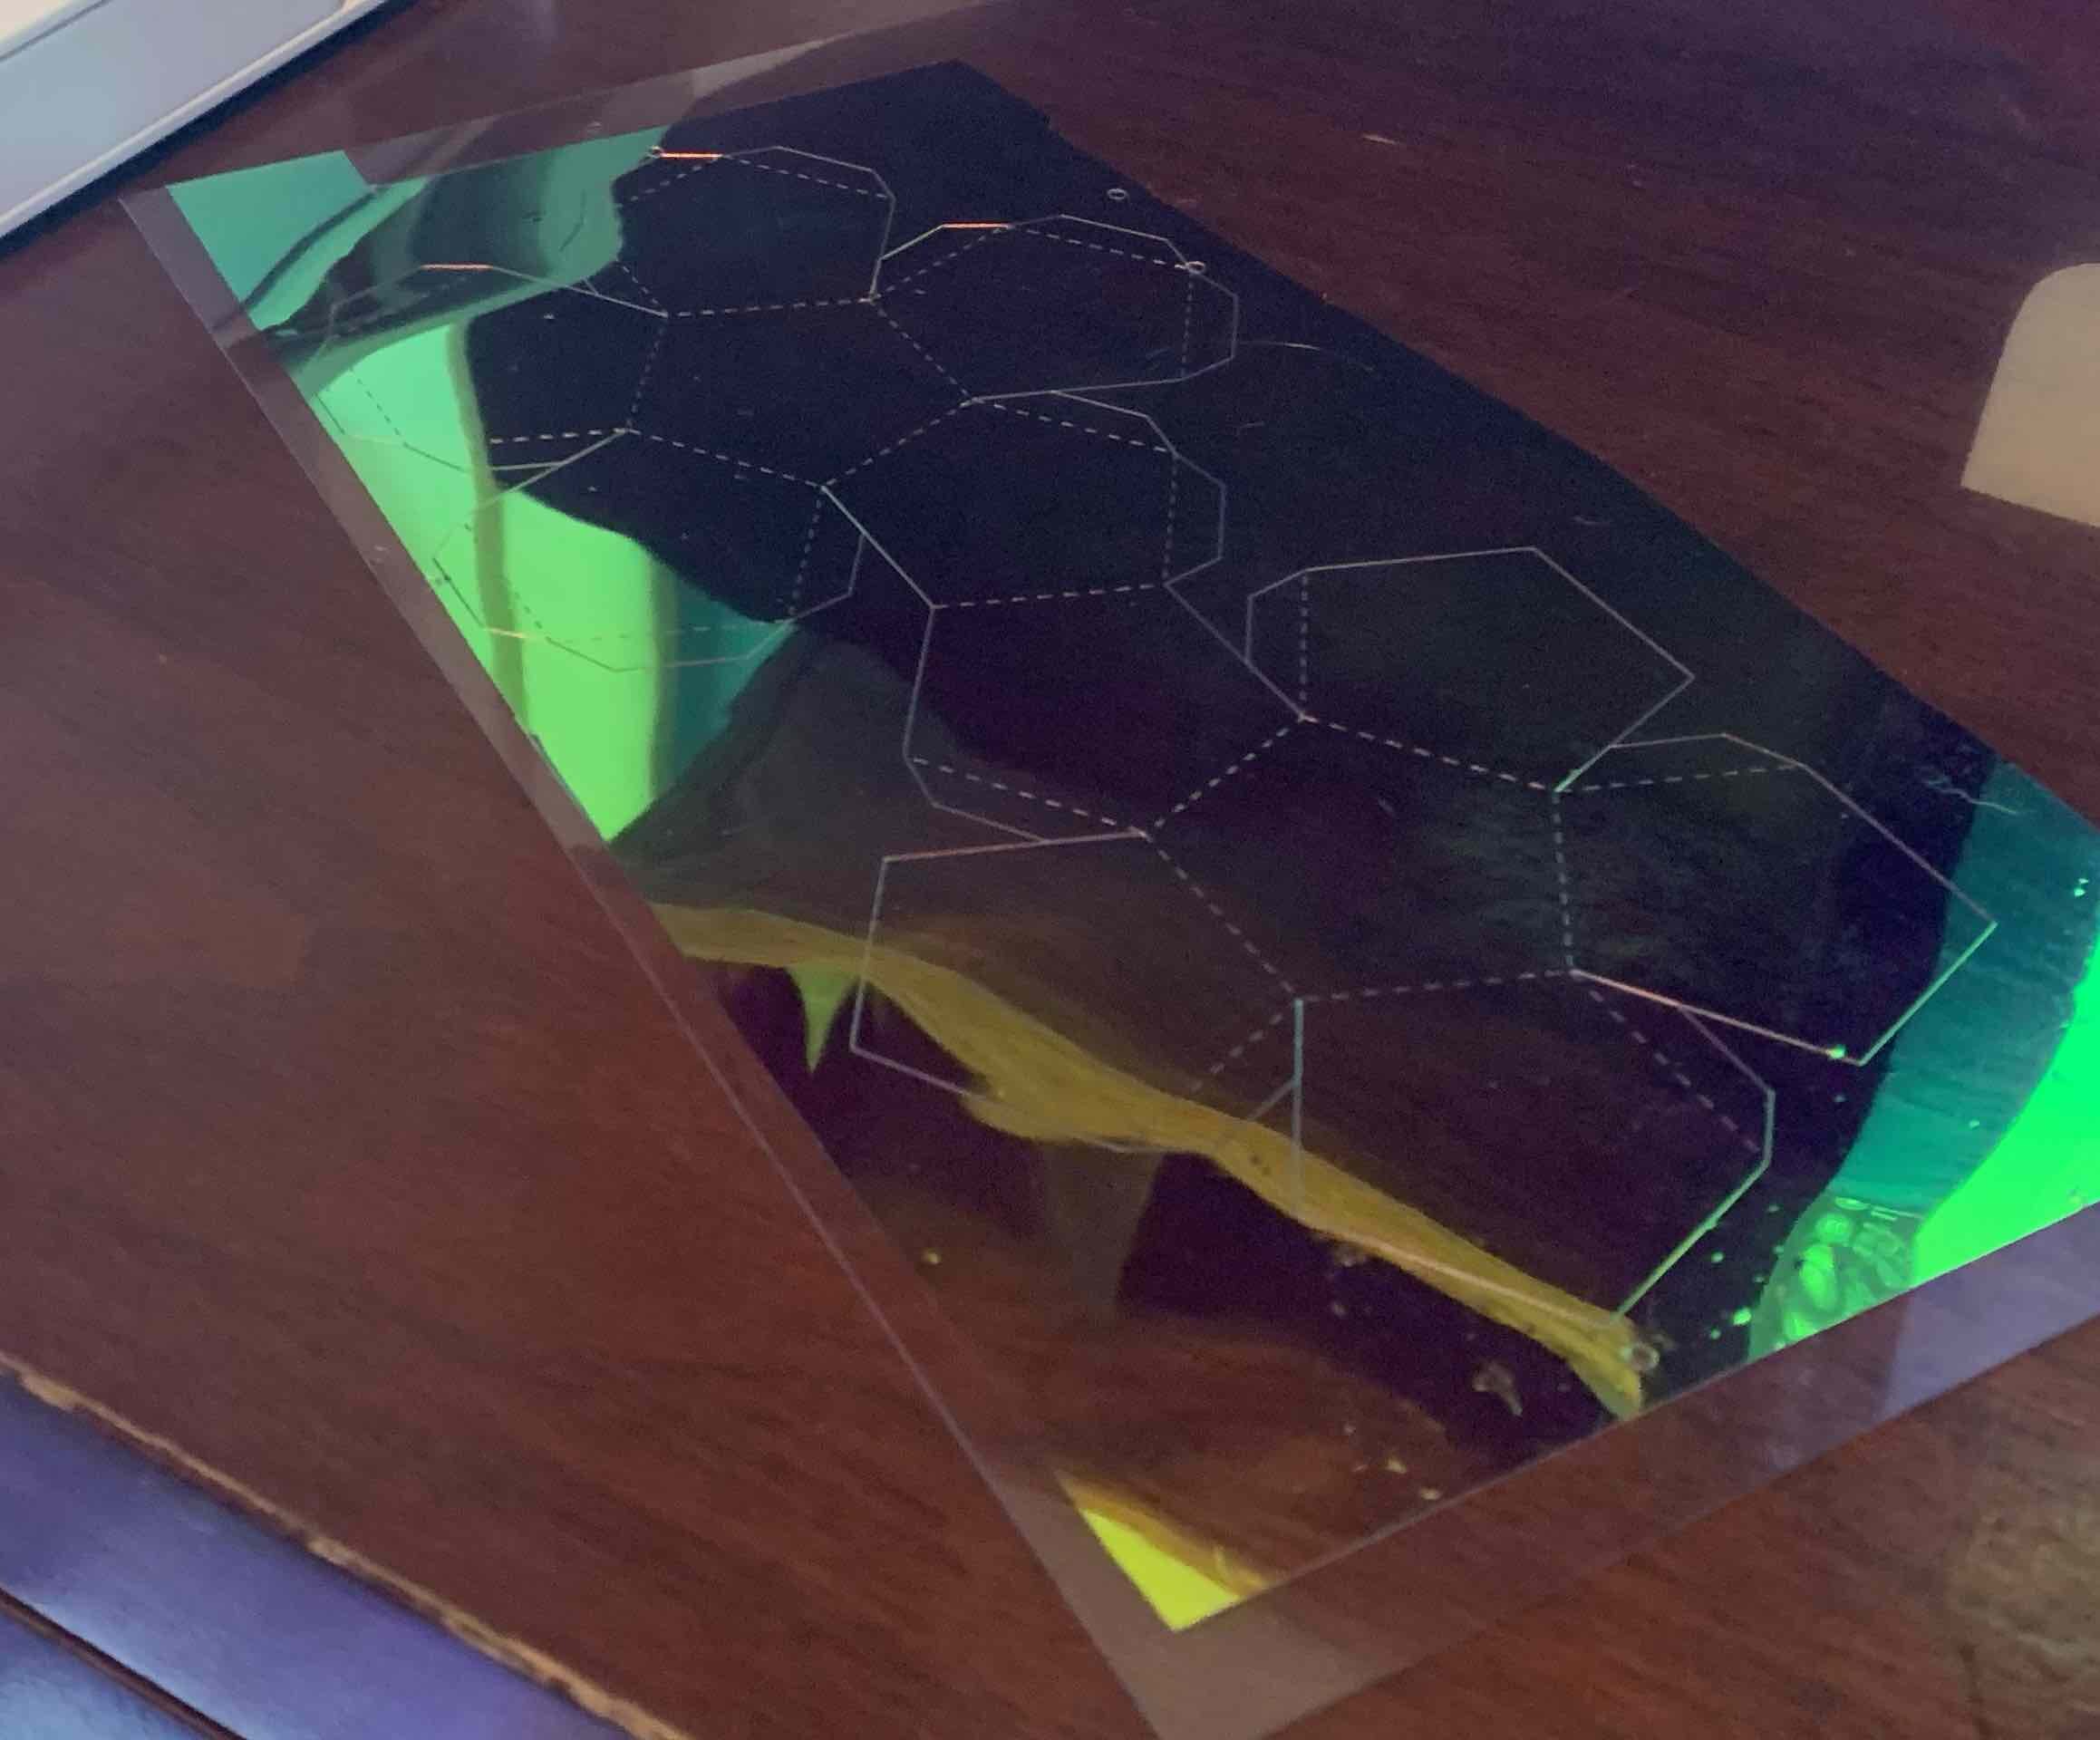
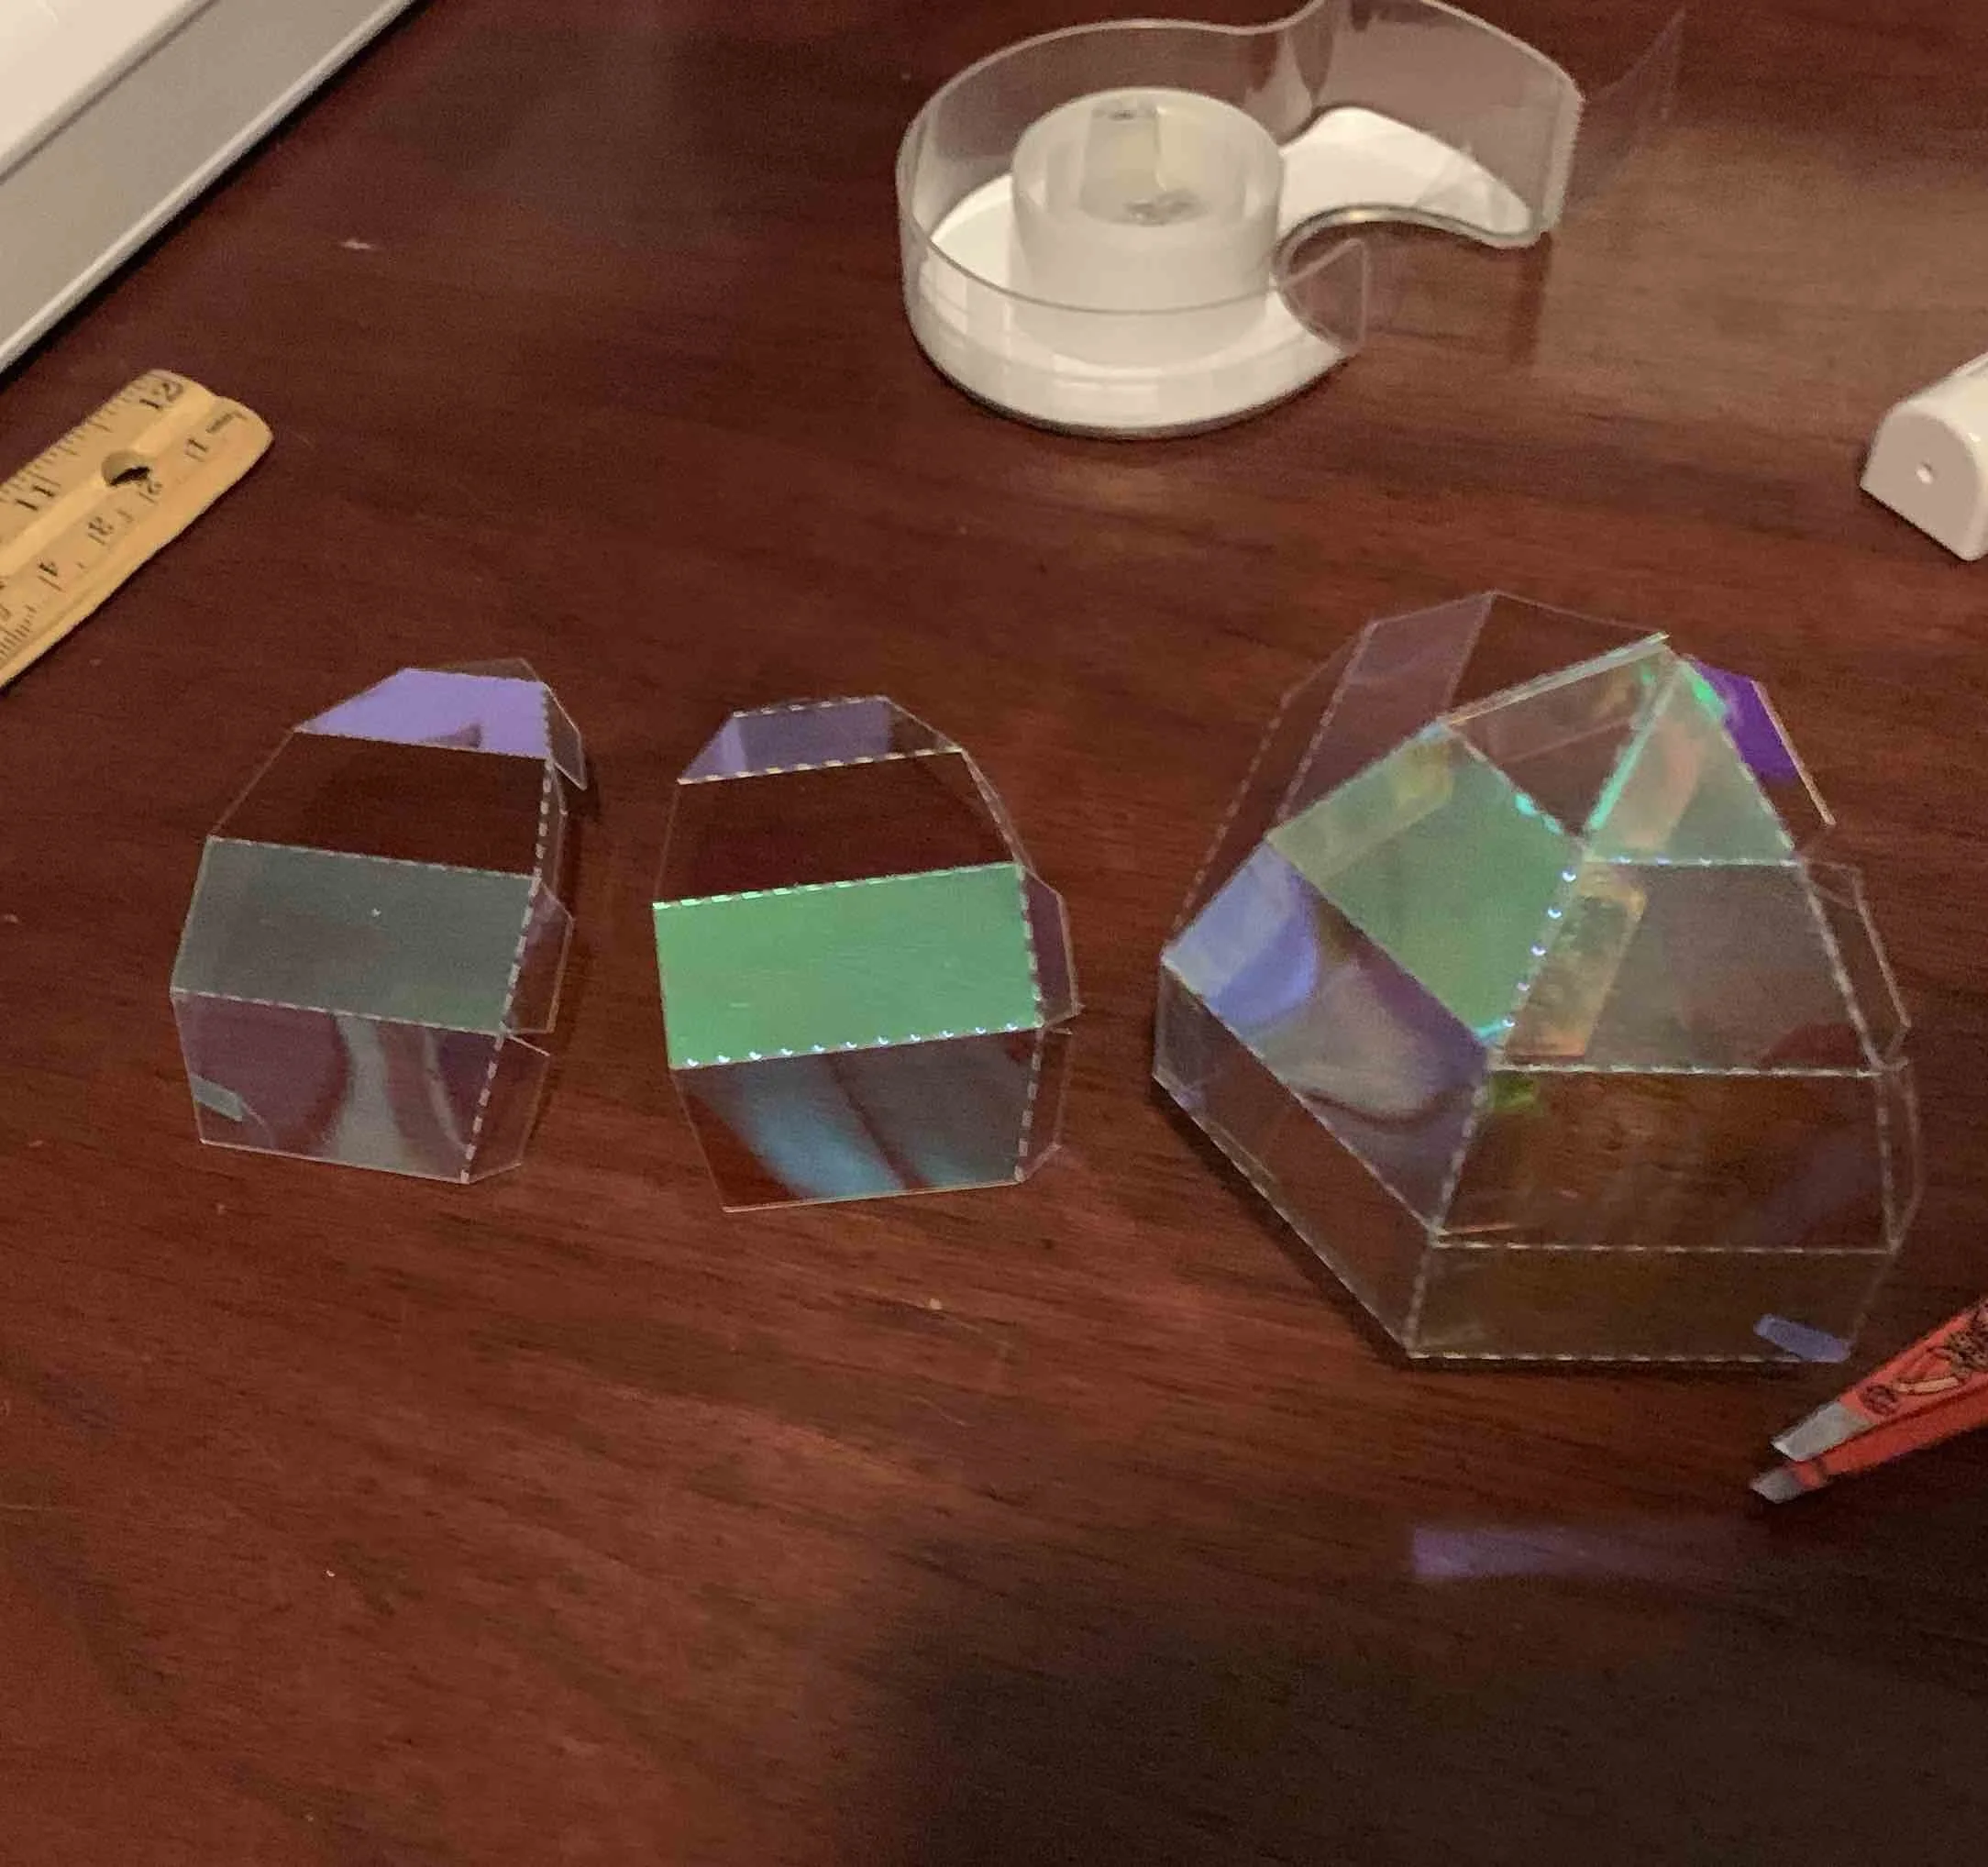
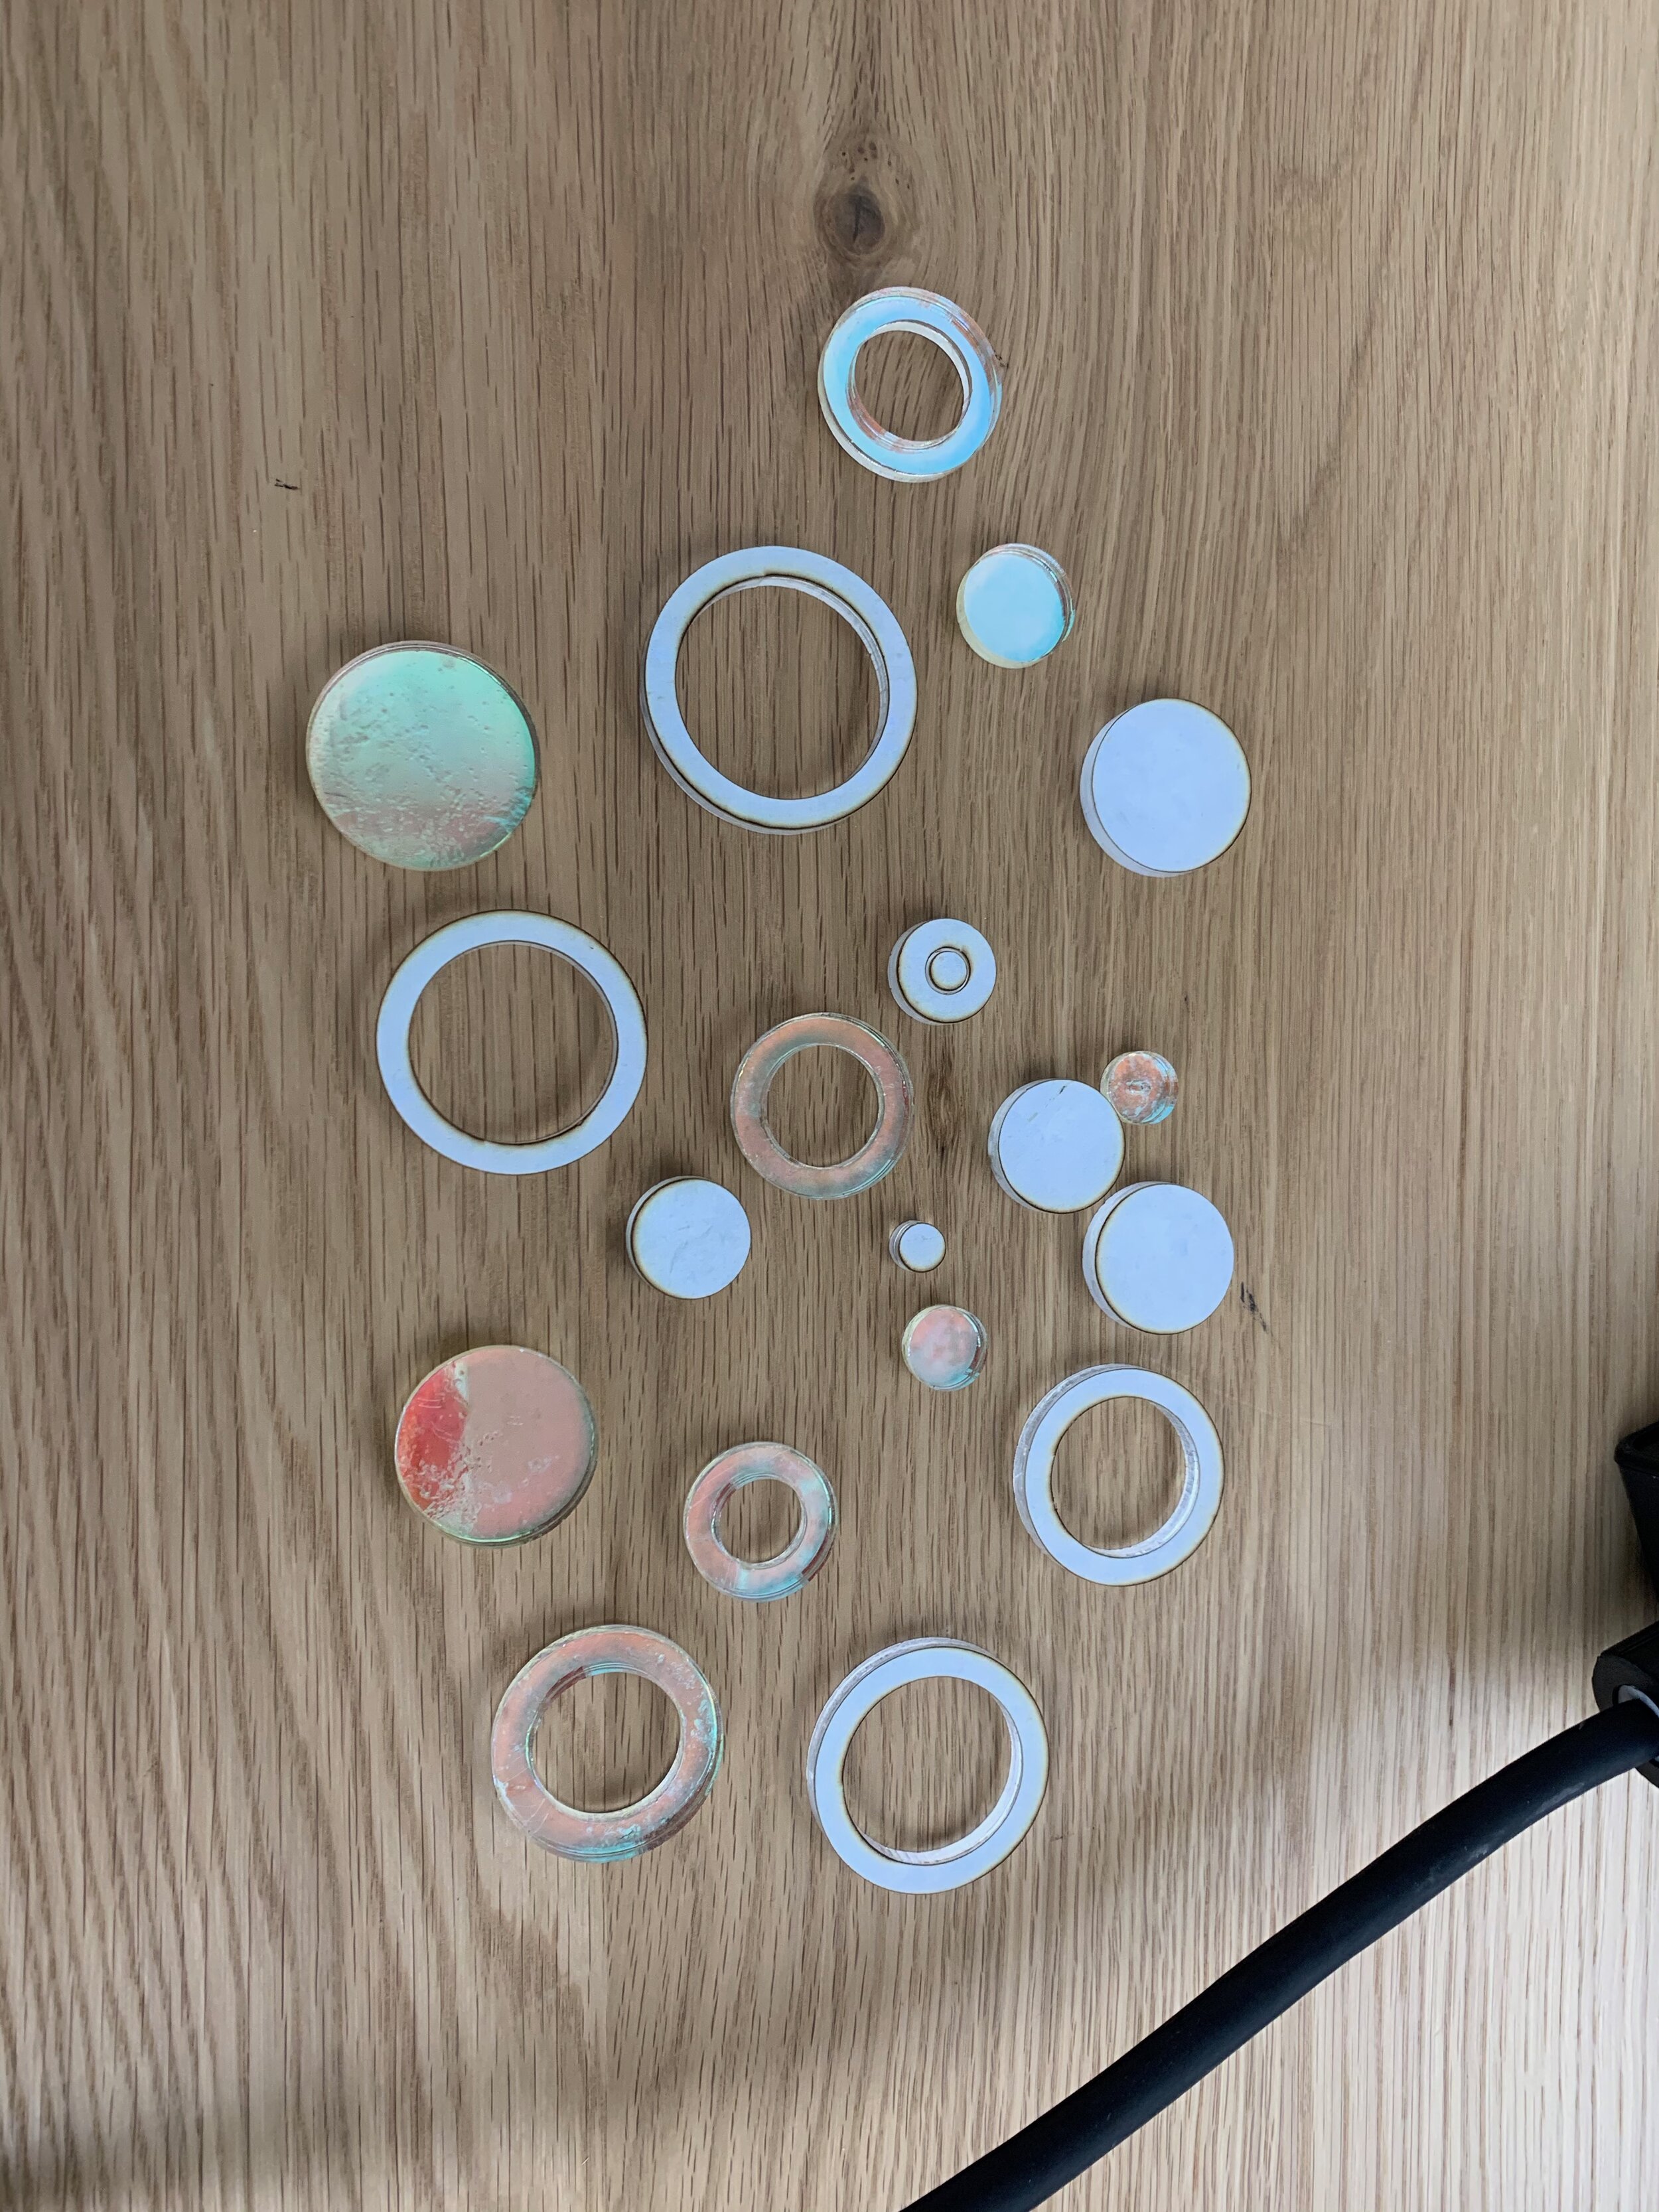
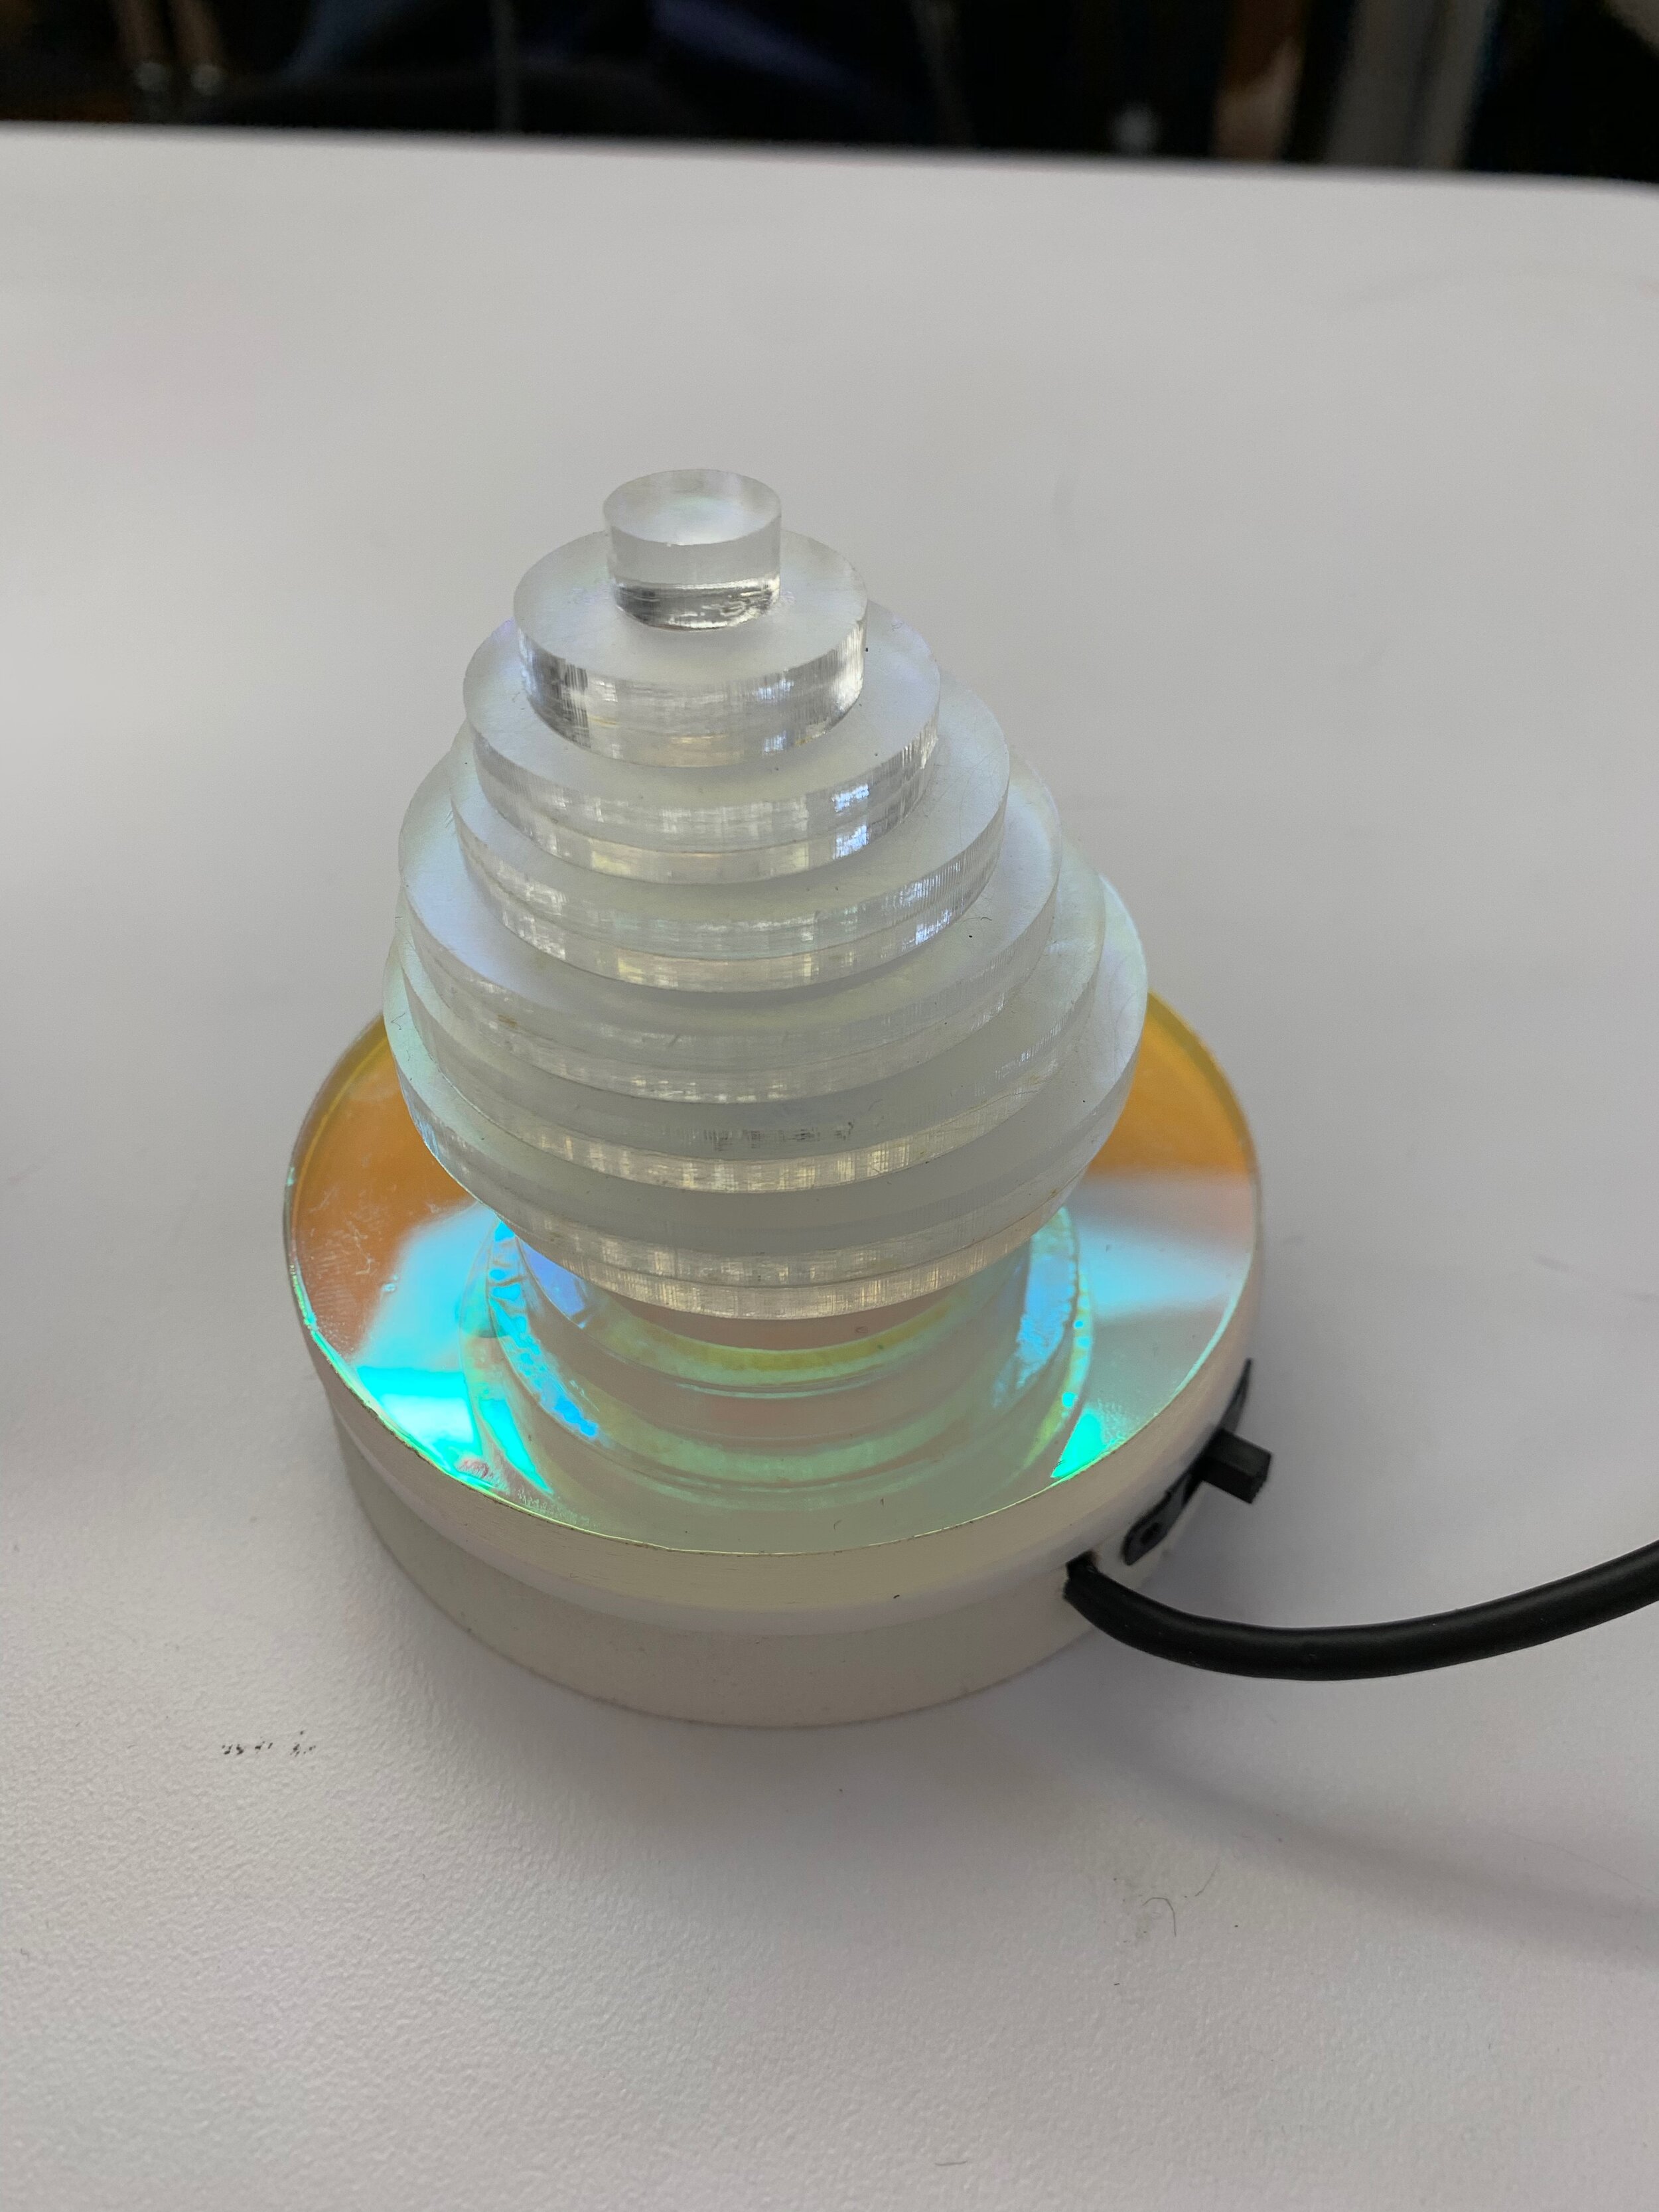
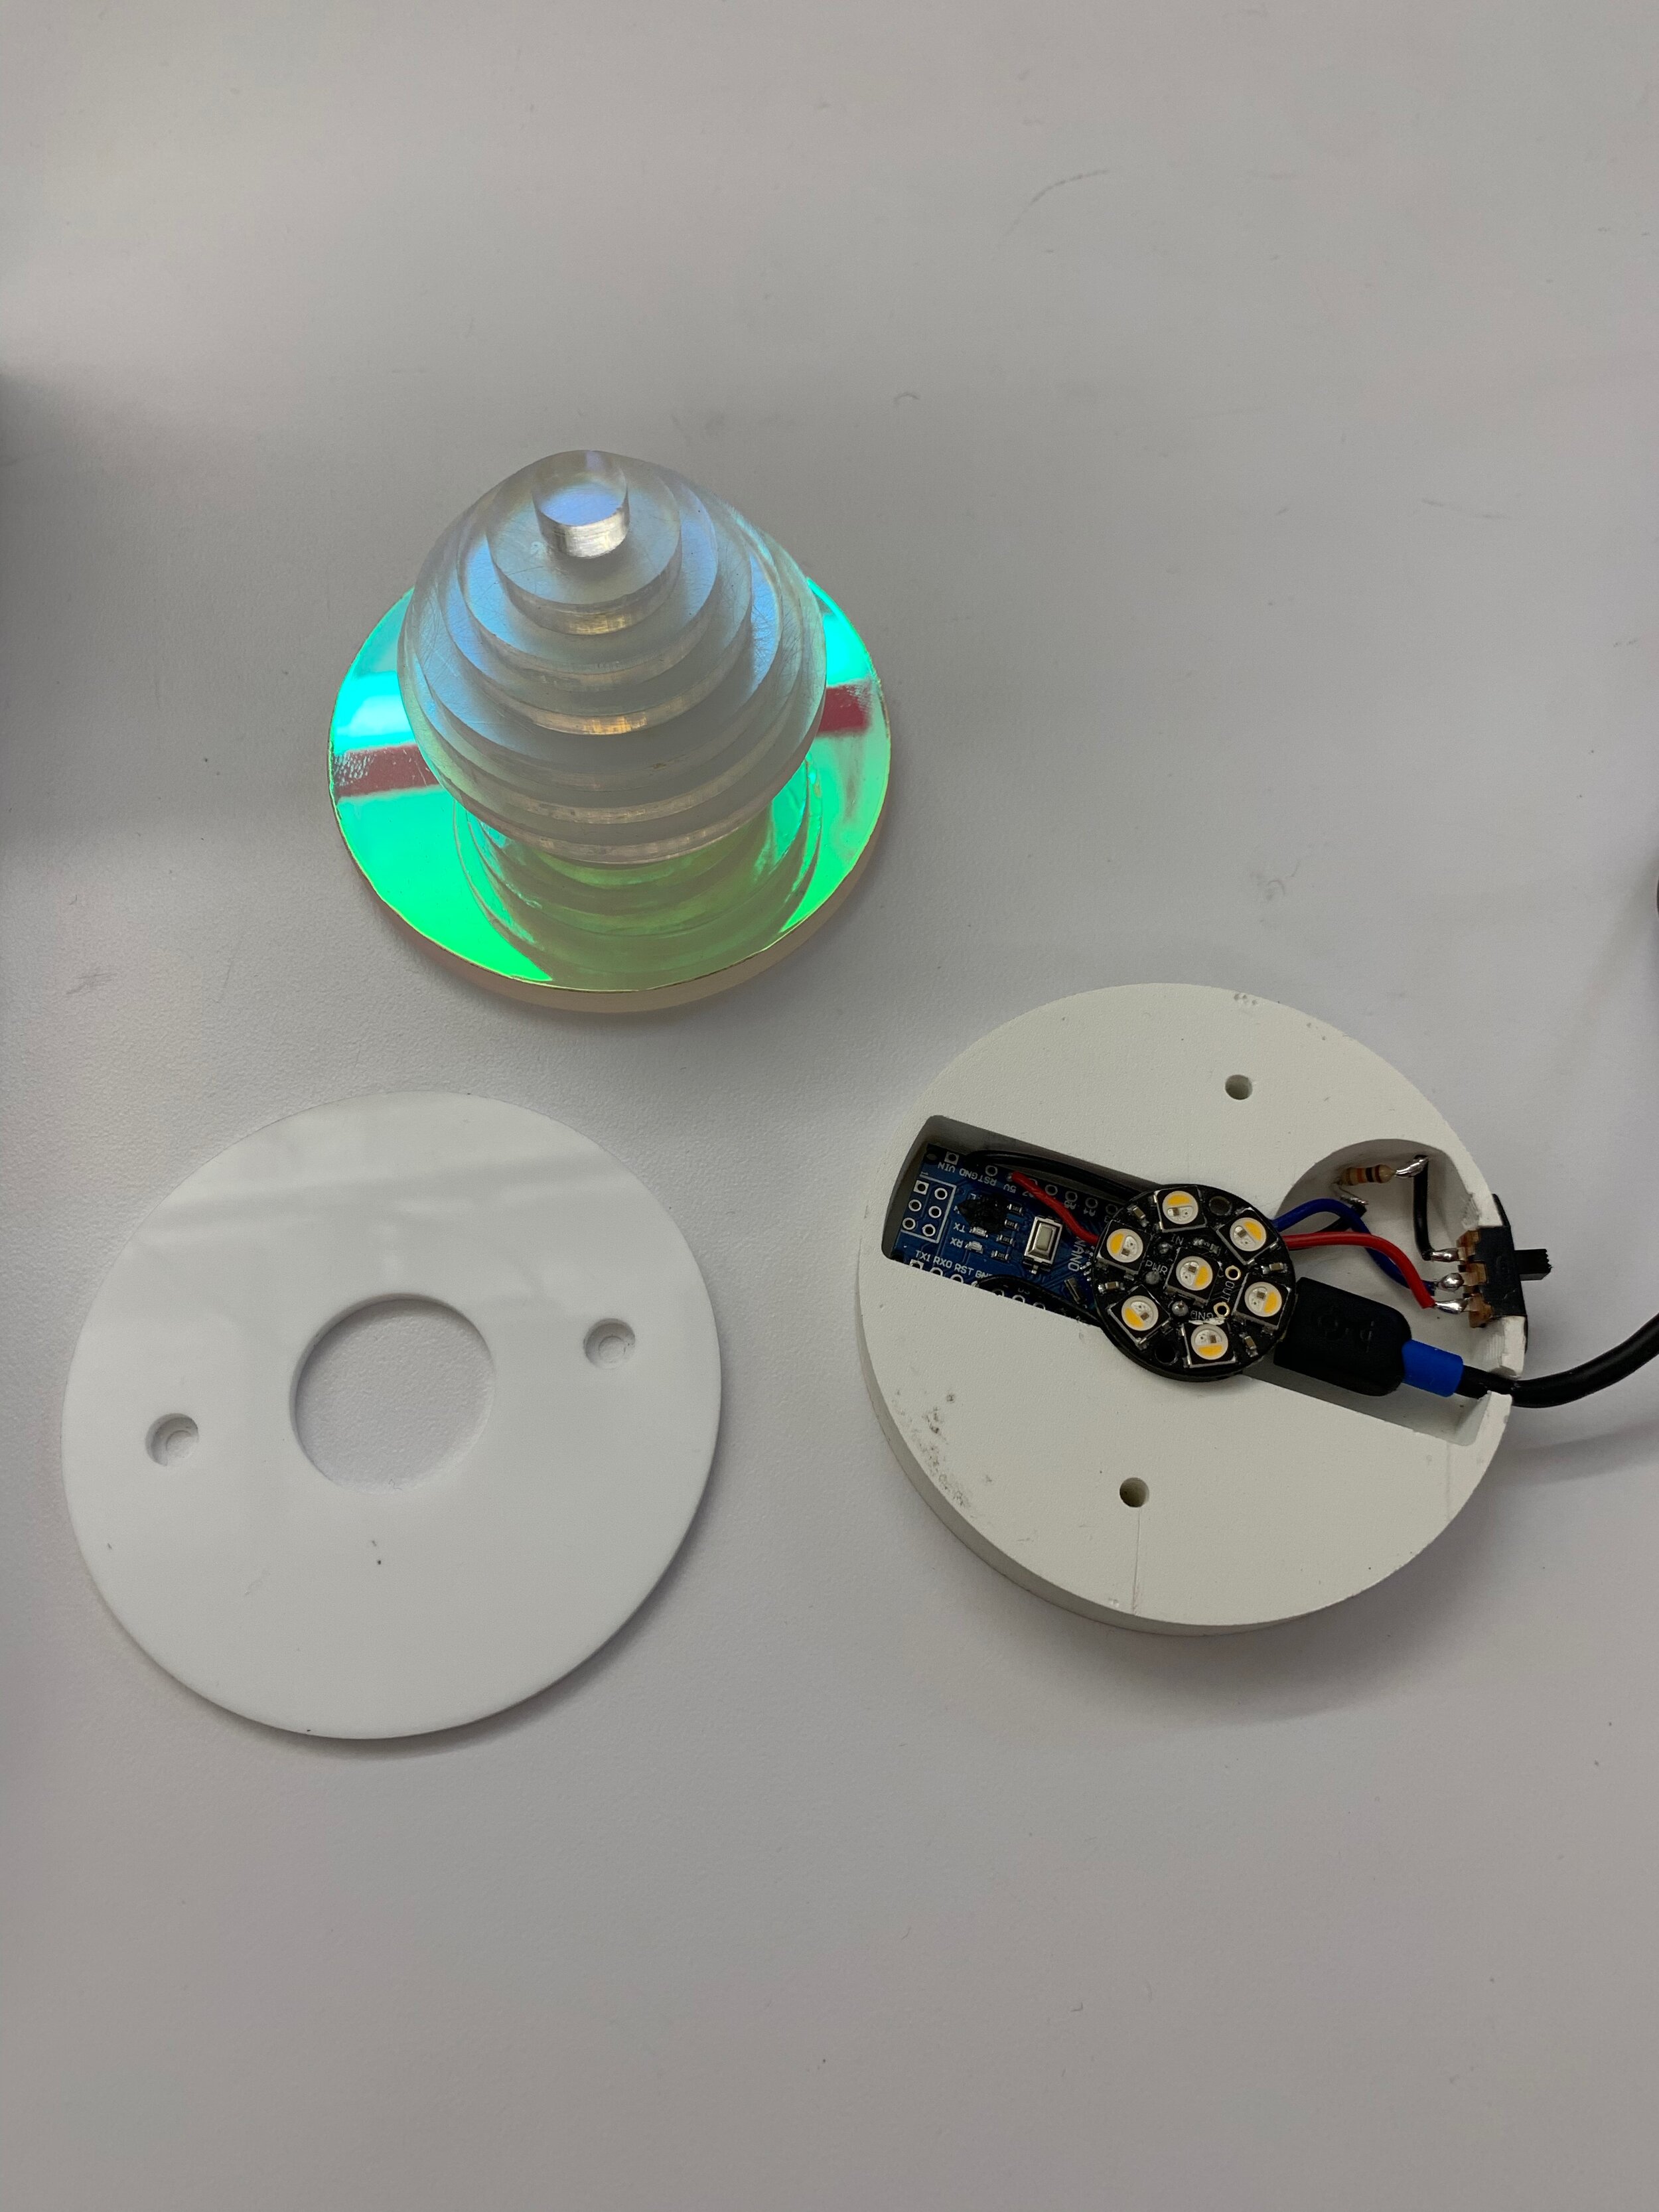
The platonic solids were generated with an online tool Templatemaker.nl. I apply dichroic film to plastic sheet then cut the vectors with the vinyl cutter. I did the same for the lenticular lens. Both materials were too strong to be cut through with the Cameo 4 but I was able to score the materials deeply enough to pull the pieces apart with my fingers.

Lenticular lens is a series of cylindrical lenses embedded in a substrate. The result is a magnifying effect in one plane. The normal use case is to embed multiple images together and create an animation effect as someone moves by the image. In my use case, and when the lens is far farther from the source, the lens stretches the light, in this case along the axis of the bulb height.

Dichroic filters selectively allow certain colors to pass through and reflect other colors. This effect is due to a phenomena called thin film interference; when light passes through a film, some waves are reflected by the film boundaries causing some wavelengths to be amplified and others to be cancelled out. In my use case, the colors projected onto the lenticular lens are determined by the interaction between the hue bulb color and the dichroic film. The resulting colors can only contain wavelengths that are present inside the hue bulb so there is a limit to the output colors. I tuned the processing sketch to output a range of hues (after the dichroic interaction) that I found to be pleasant.

Multiple images embedded behind a lenticular lens.

Multiple images embedded behind a lenticular lens.

Screen Shot 2020-05-03 at 2.39.48 PM.png
4.jpg

Midterm: Light Fixture

Dichroic Accent Reading Lamp:

For my midterm project, I created a table lamp for one of the phone booths. The lamp illuminates the table providing task lighting, similarly bright to the table lamp that was there before my lamp. The led strips are 12V bright white 5730 Leds, 72LED/M .5W/LED (similar to this product). The lamp has a dimmer switch to turn it on and increase / decrease the brightness. The top of the lamp includes a dichroic plexiglass accent. There is a channel for the light to pass behind the dichroic illuminating the material and creating a multicolored gradient from the point of view of the observer, as well as refracted colored light on the wall behind the lamp. I created all of the parts of the lamp on the CNC machine. Overall the piece came out much bigger than I imagined it, I should have cut it out of cardboard first. The lamp head was too heavy for the arm to support without bending so I added a laser cut clear acrylic support.

1.jpg

Production Assignment 2: Candle

Assignment: Create an artificial candle or lantern using a NeoPixel jewel or other programmable LED. Your candle should include a base and a shade or diffuser. Try to capture the colors and behavior of a real candle in programming your candle.

For this assignment I created an acrylic “candle” made up of rings of acrylic with dichroic film on them arranged in the shape of a flame. I nested the flame portion inside a disc of dichroic which reflects the colors from the bottom of the candle. The reflected colors are greenish blue. The candle appears to have a yellow/red gradient from the side, a red to green gradient from the top, and a blue/green to red gradient when viewing the reflection of the candle.

The code I wrote tries to mimic a flame being ignited when the candle is turned on, after the ignition phase, there is a flicker, then the candle moves to its default state where there are minute changes while the program loops. Periodically a flicker occurs.

I sanded the insides of the rings perpendicular to the light source so the light travels vertically through the fixture. The tops of the rings are also sanded to diffuse the light filtered through the dichroic film. The outer edge of the bottom piece of acrylic is sanded so that the base catches light and illuminates.

The following pictures show the first attempt at the candle with regular acrylic unsanded, then sanded. Bottom pictures are lasered dichroic rings and the diffused sanded acrylic candle with dichroic.


Below are the pieces that were fabricated on the Othermill and a picture of the led candle next to it’s inspiration.

Arduino code available here